TCR20W Processing – MZ11 Injectors

Hi All,

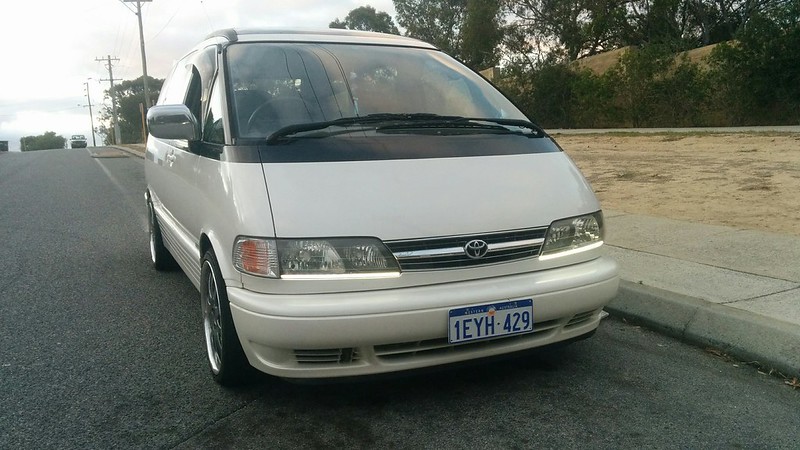
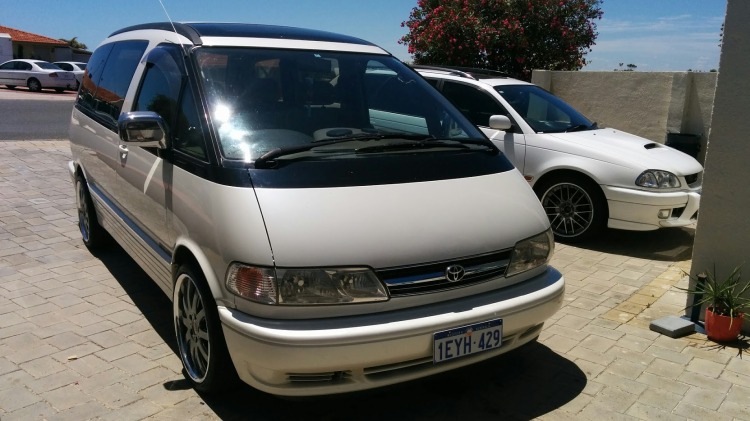
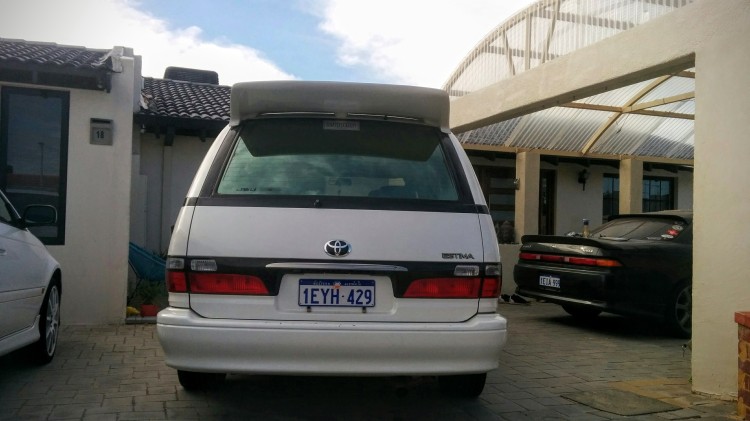
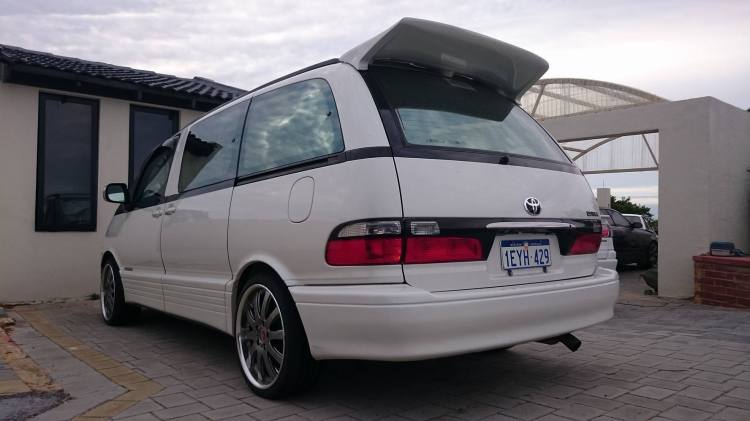
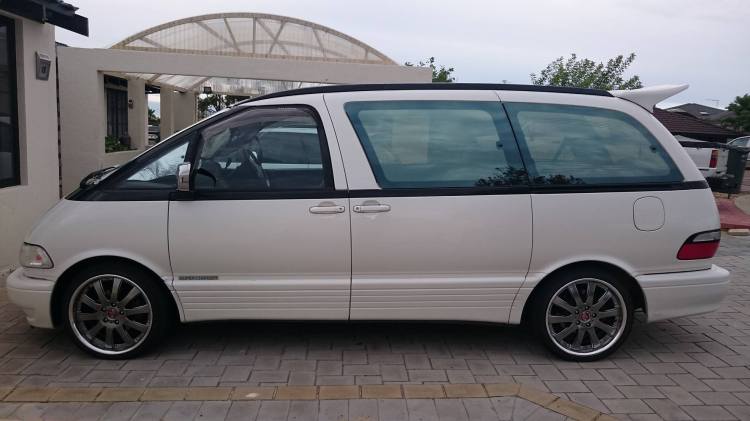
Over the week I managed to have a bit of a tinker with both the Estima and the Soarer.

IMG_20160331_082231

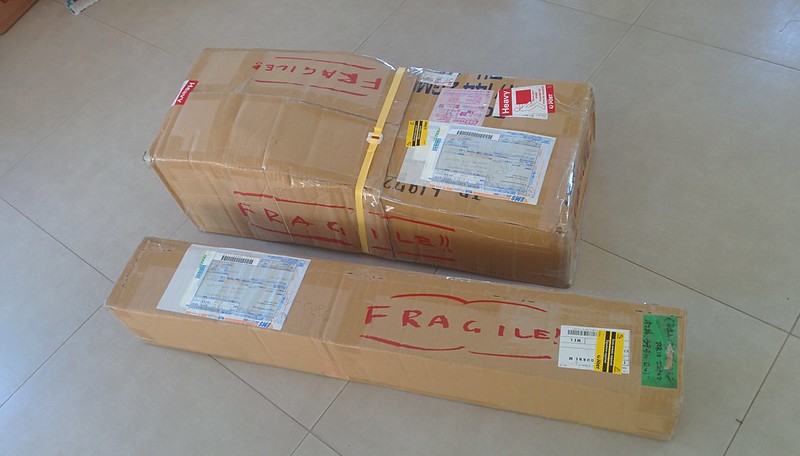
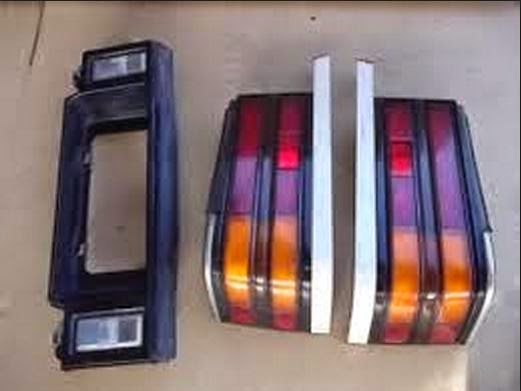
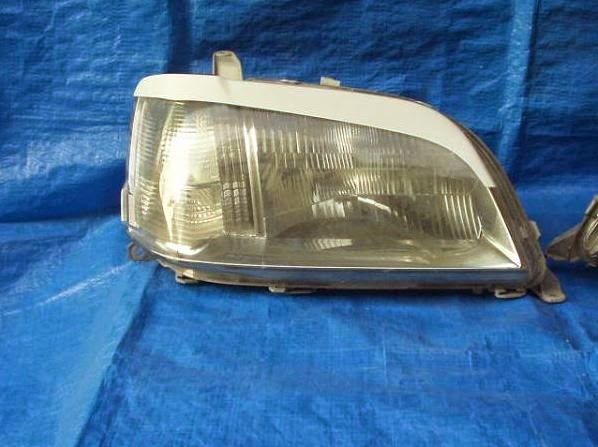
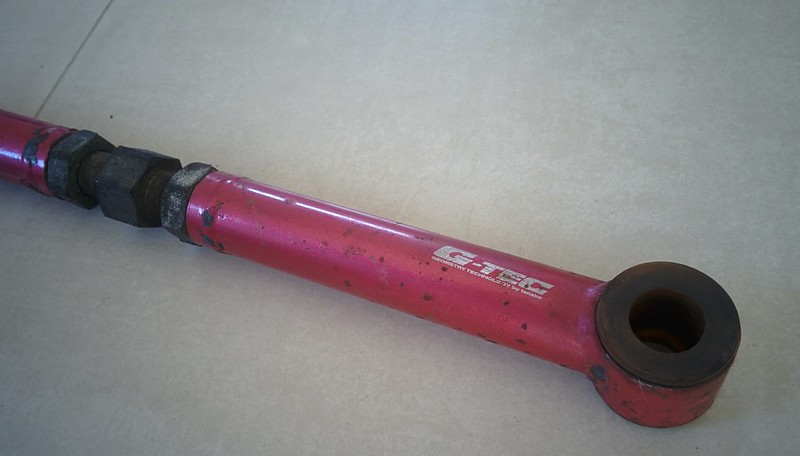
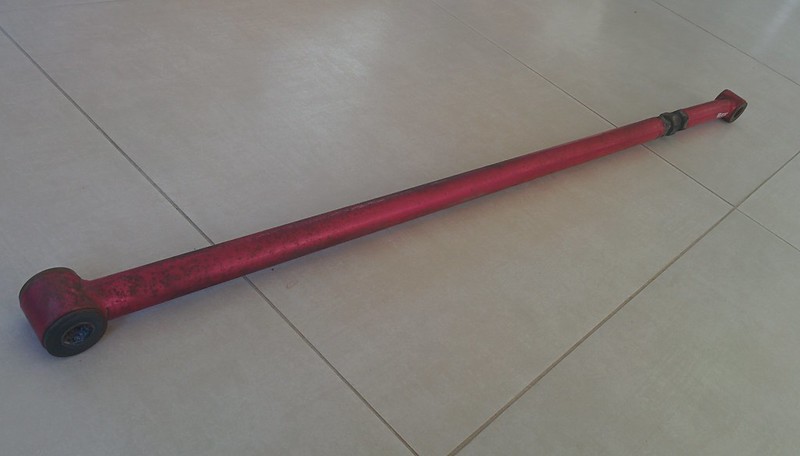
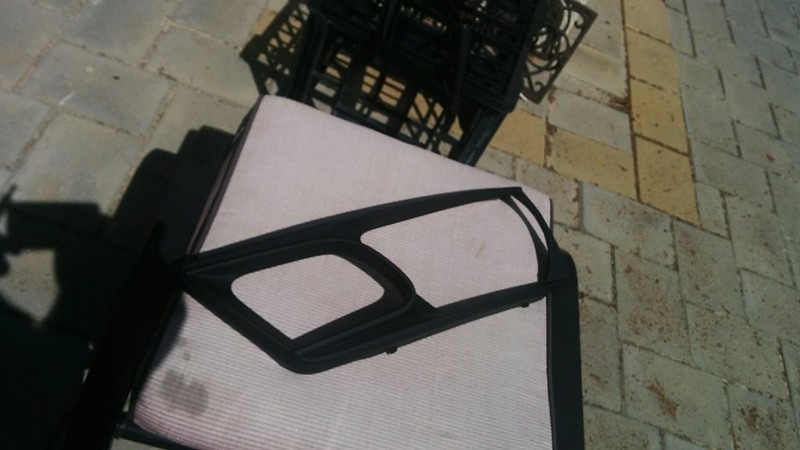
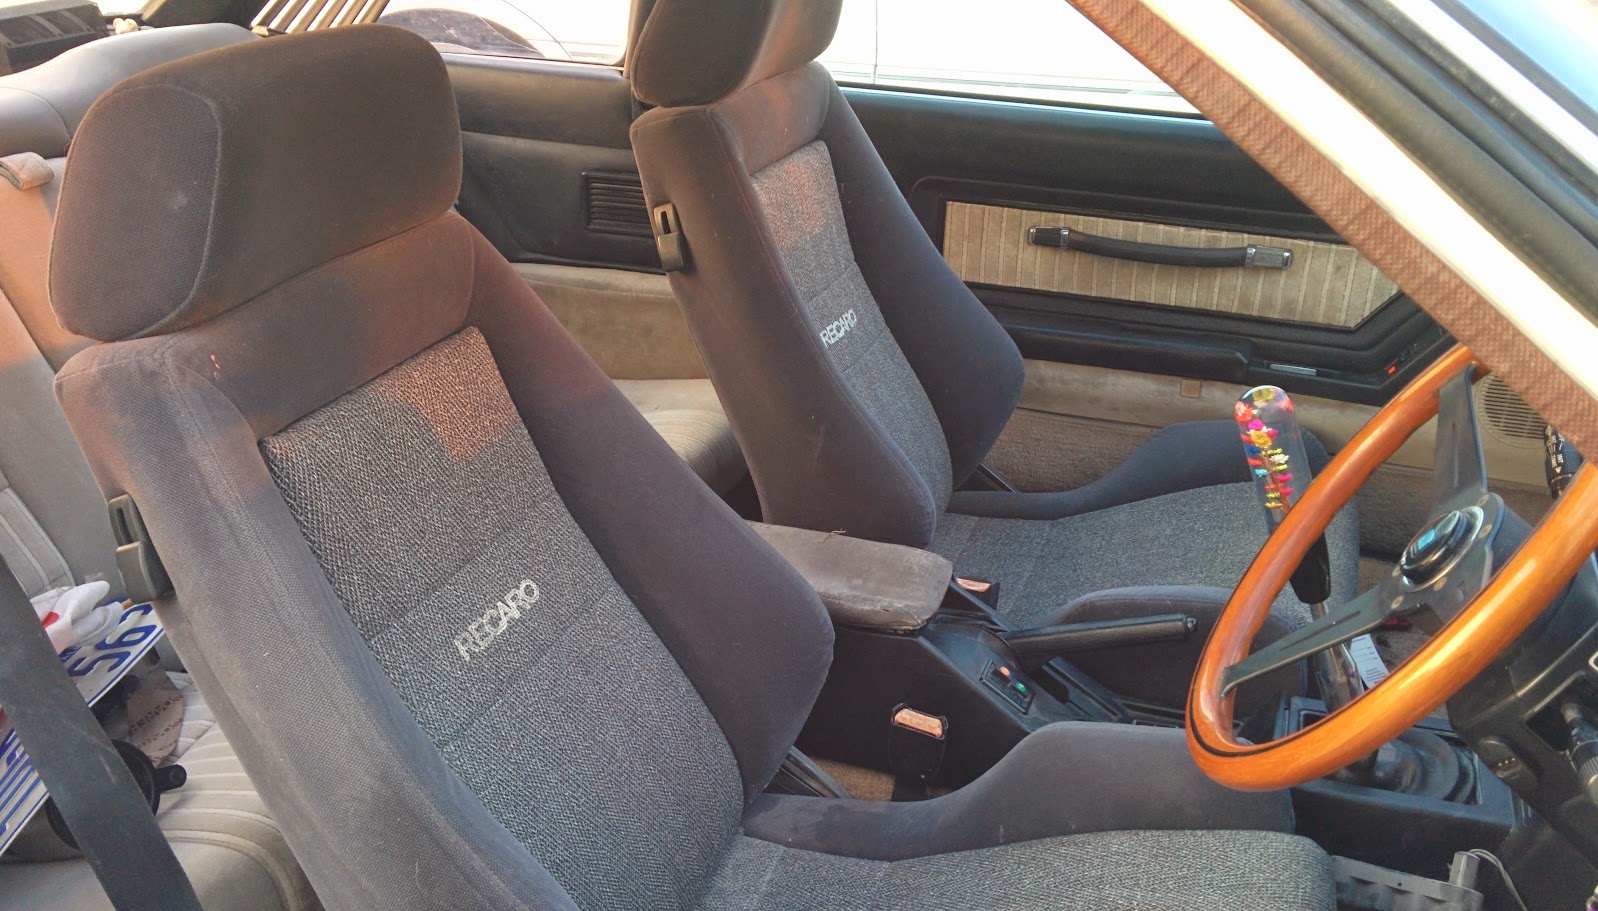
A package of Estima parts arrived from Mr Jesse Streeter a few days before i returned home for my break. This was another set of headlights, a rear seat headrest (which was missing when i purchased the van) and a Tanabe G-tec adjustable panhard rod.

IMG_20160331_083134IMG_20160331_082737IMG_20160331_082758

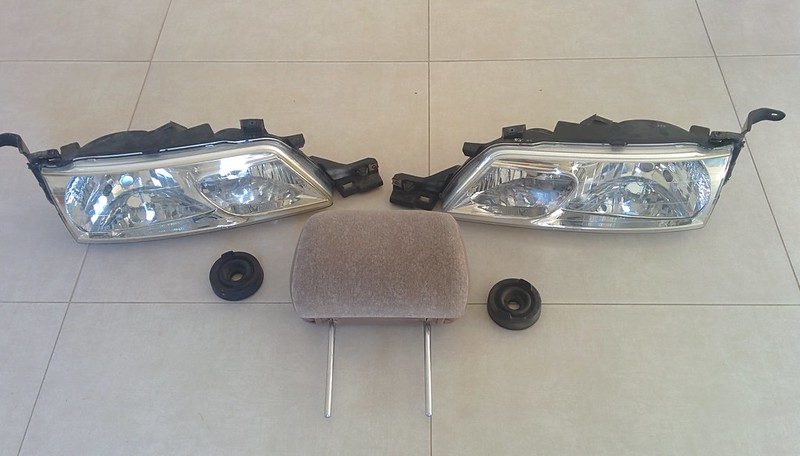
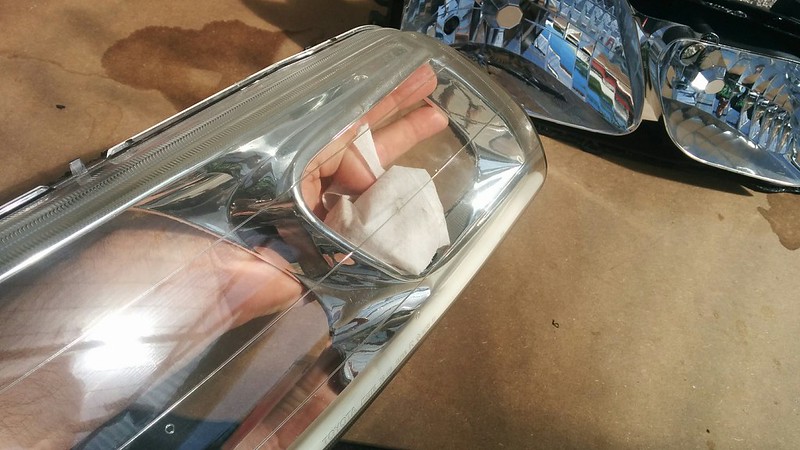
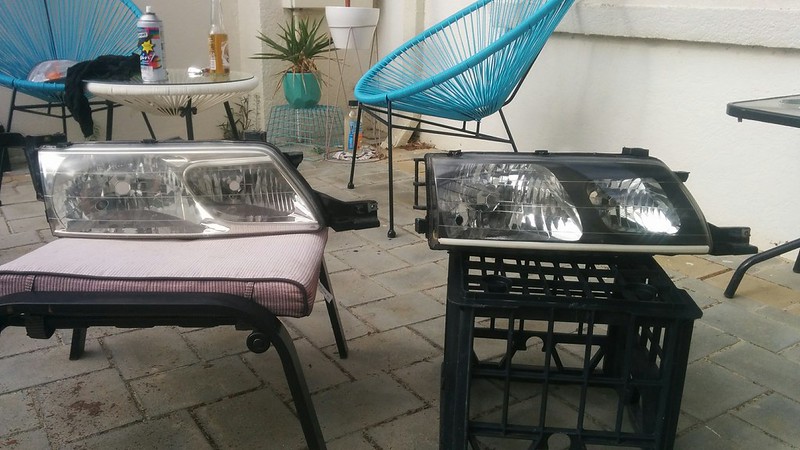
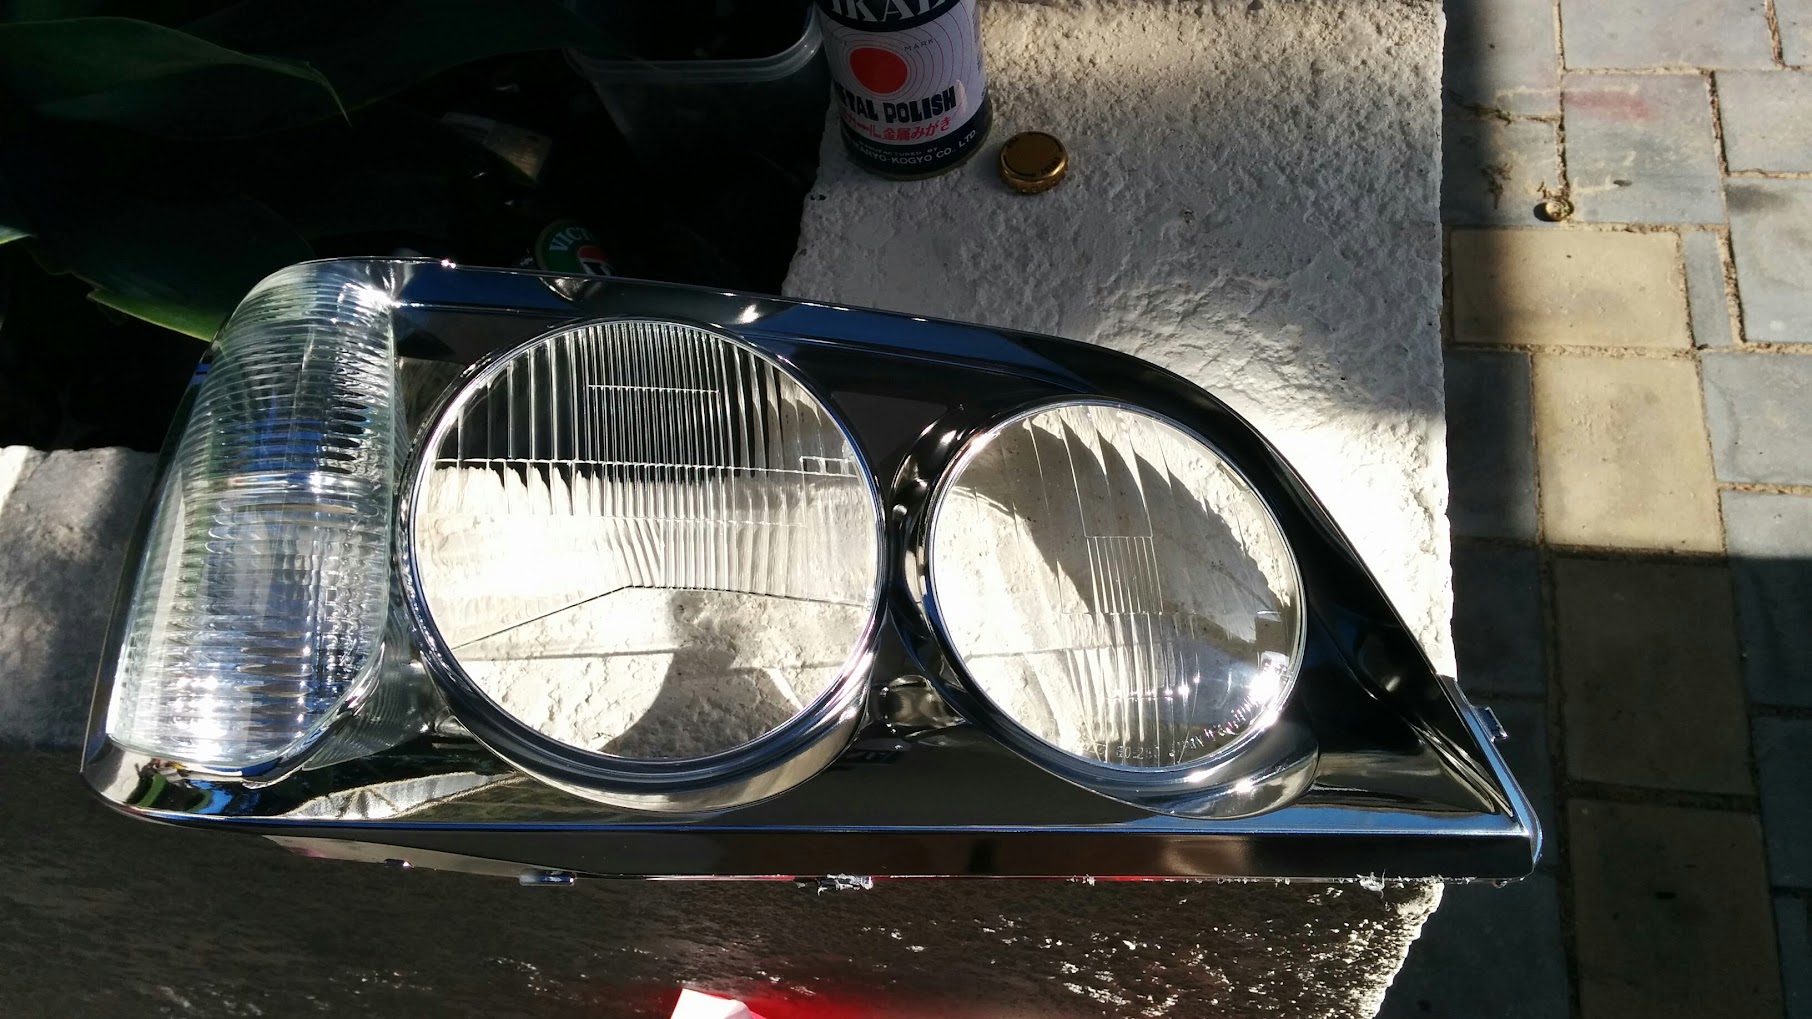
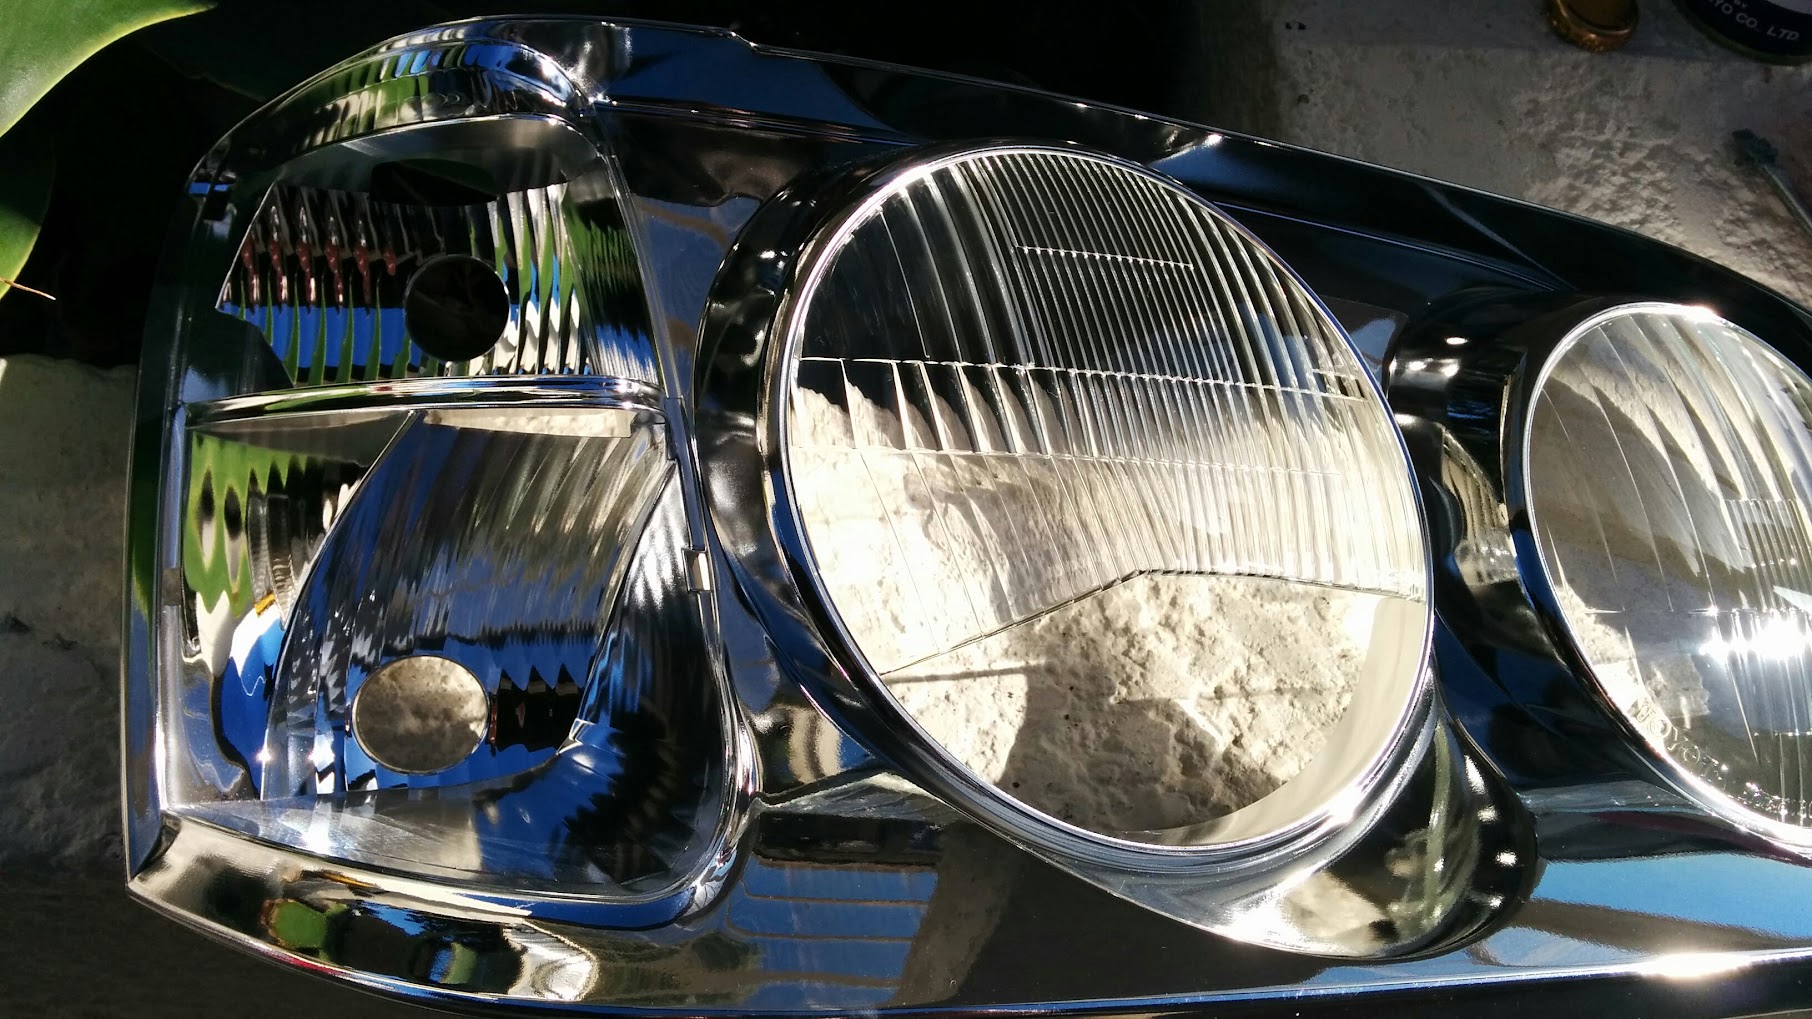
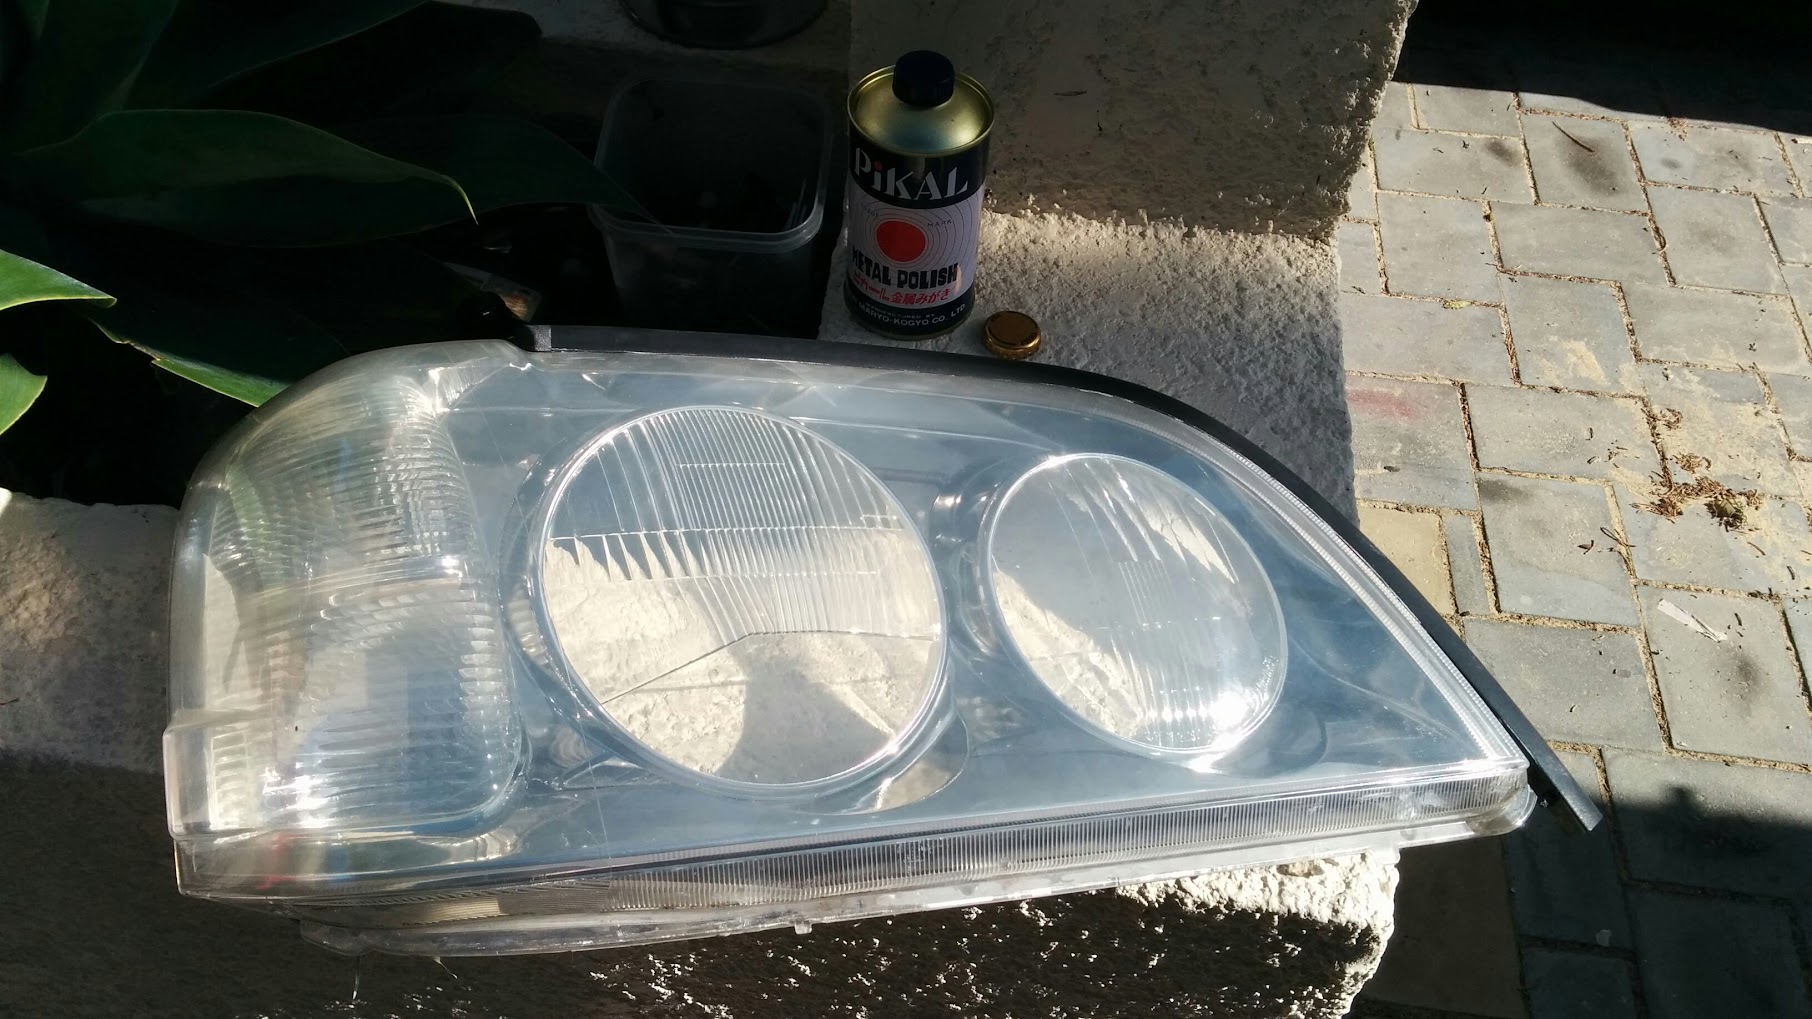
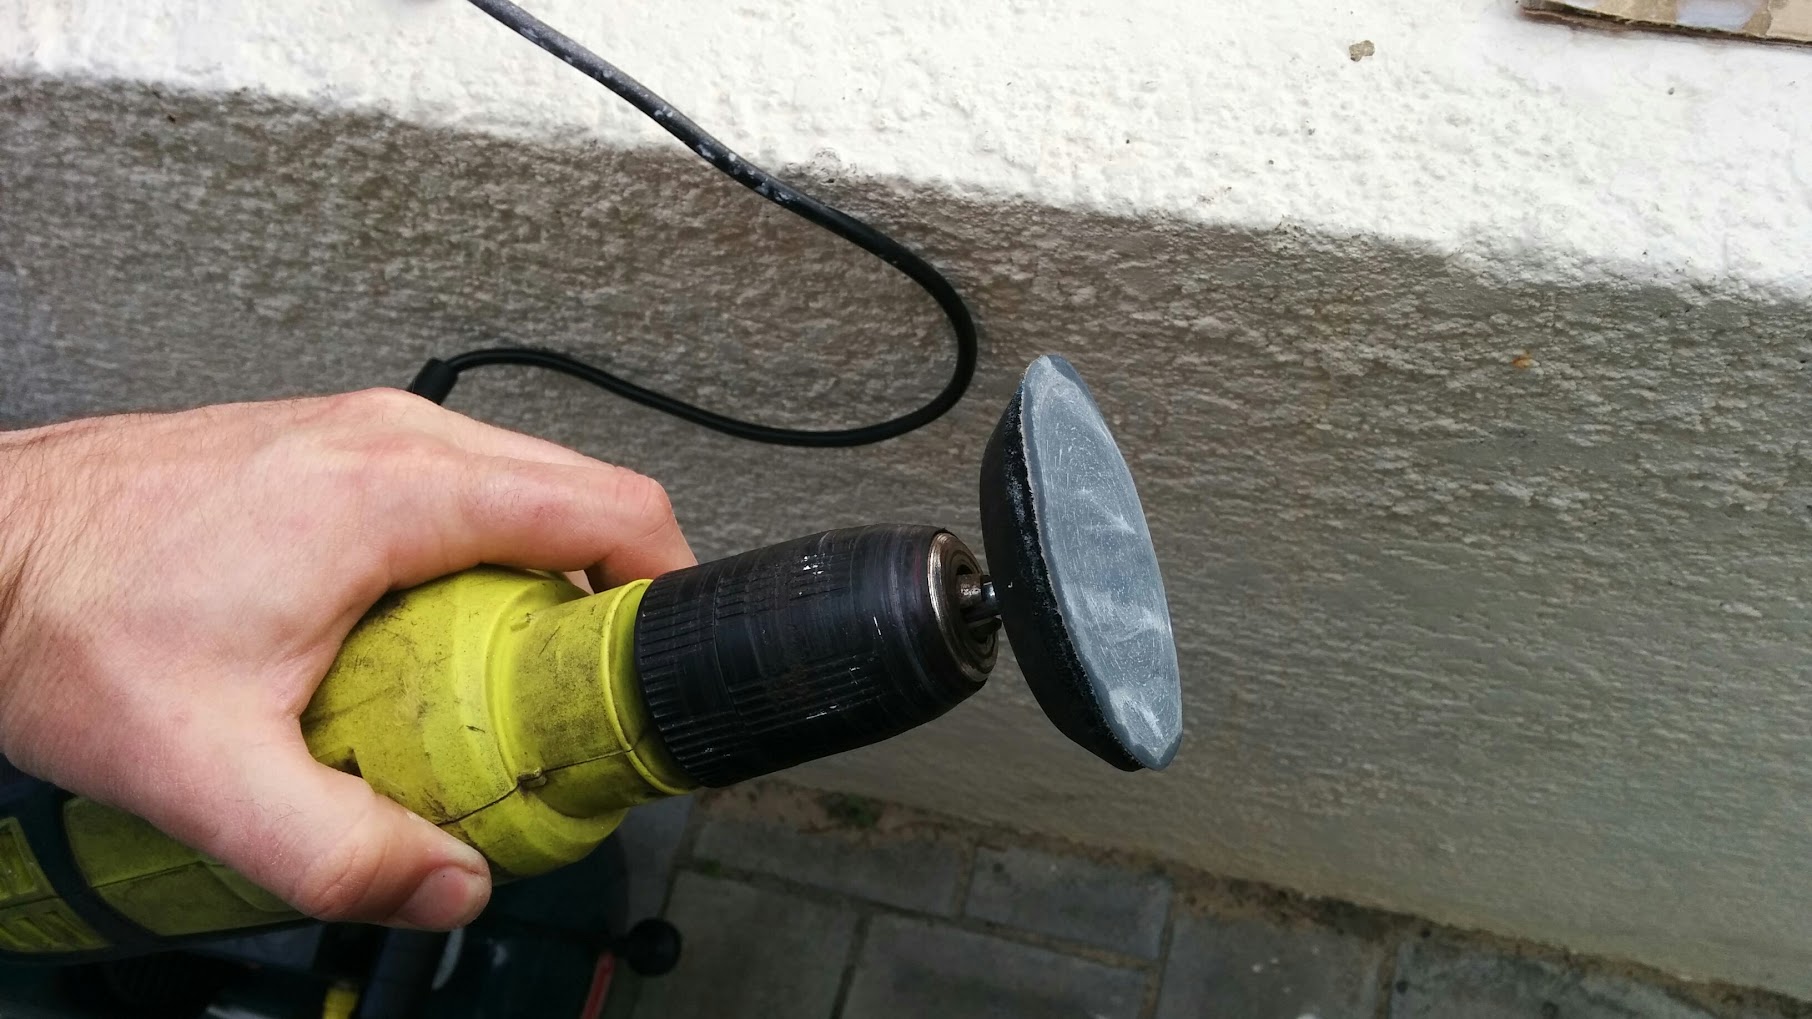
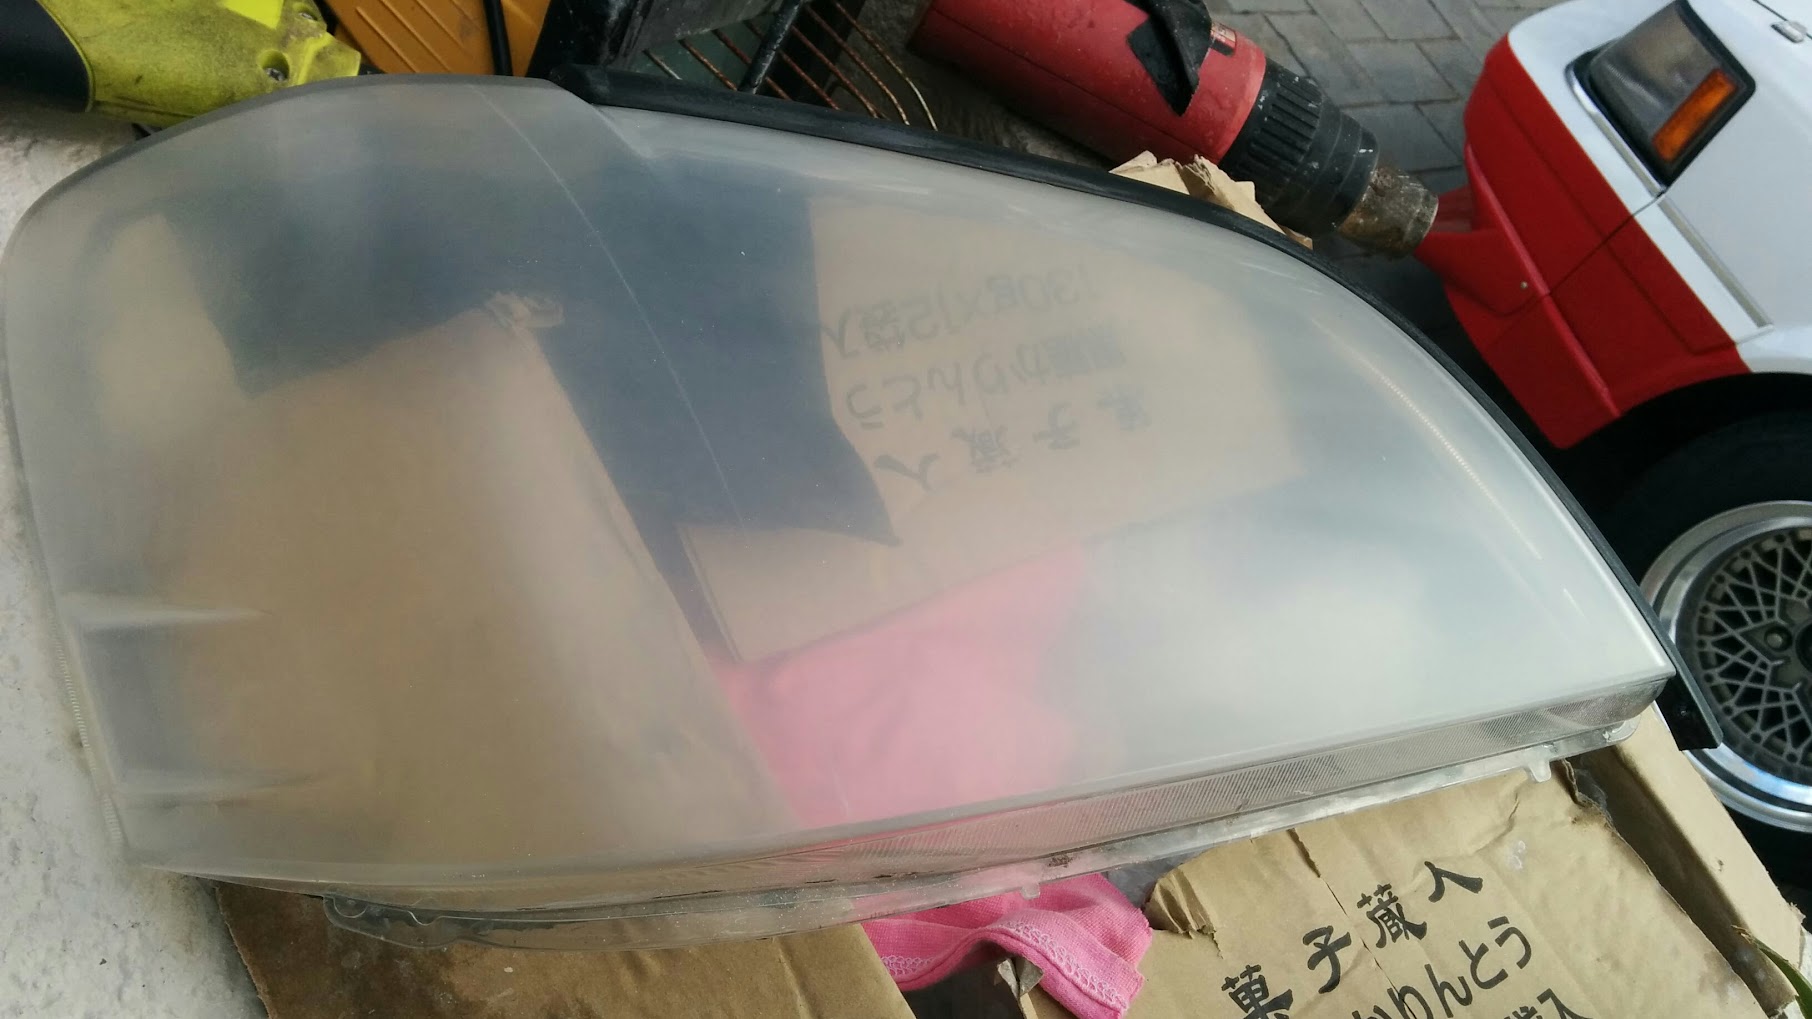
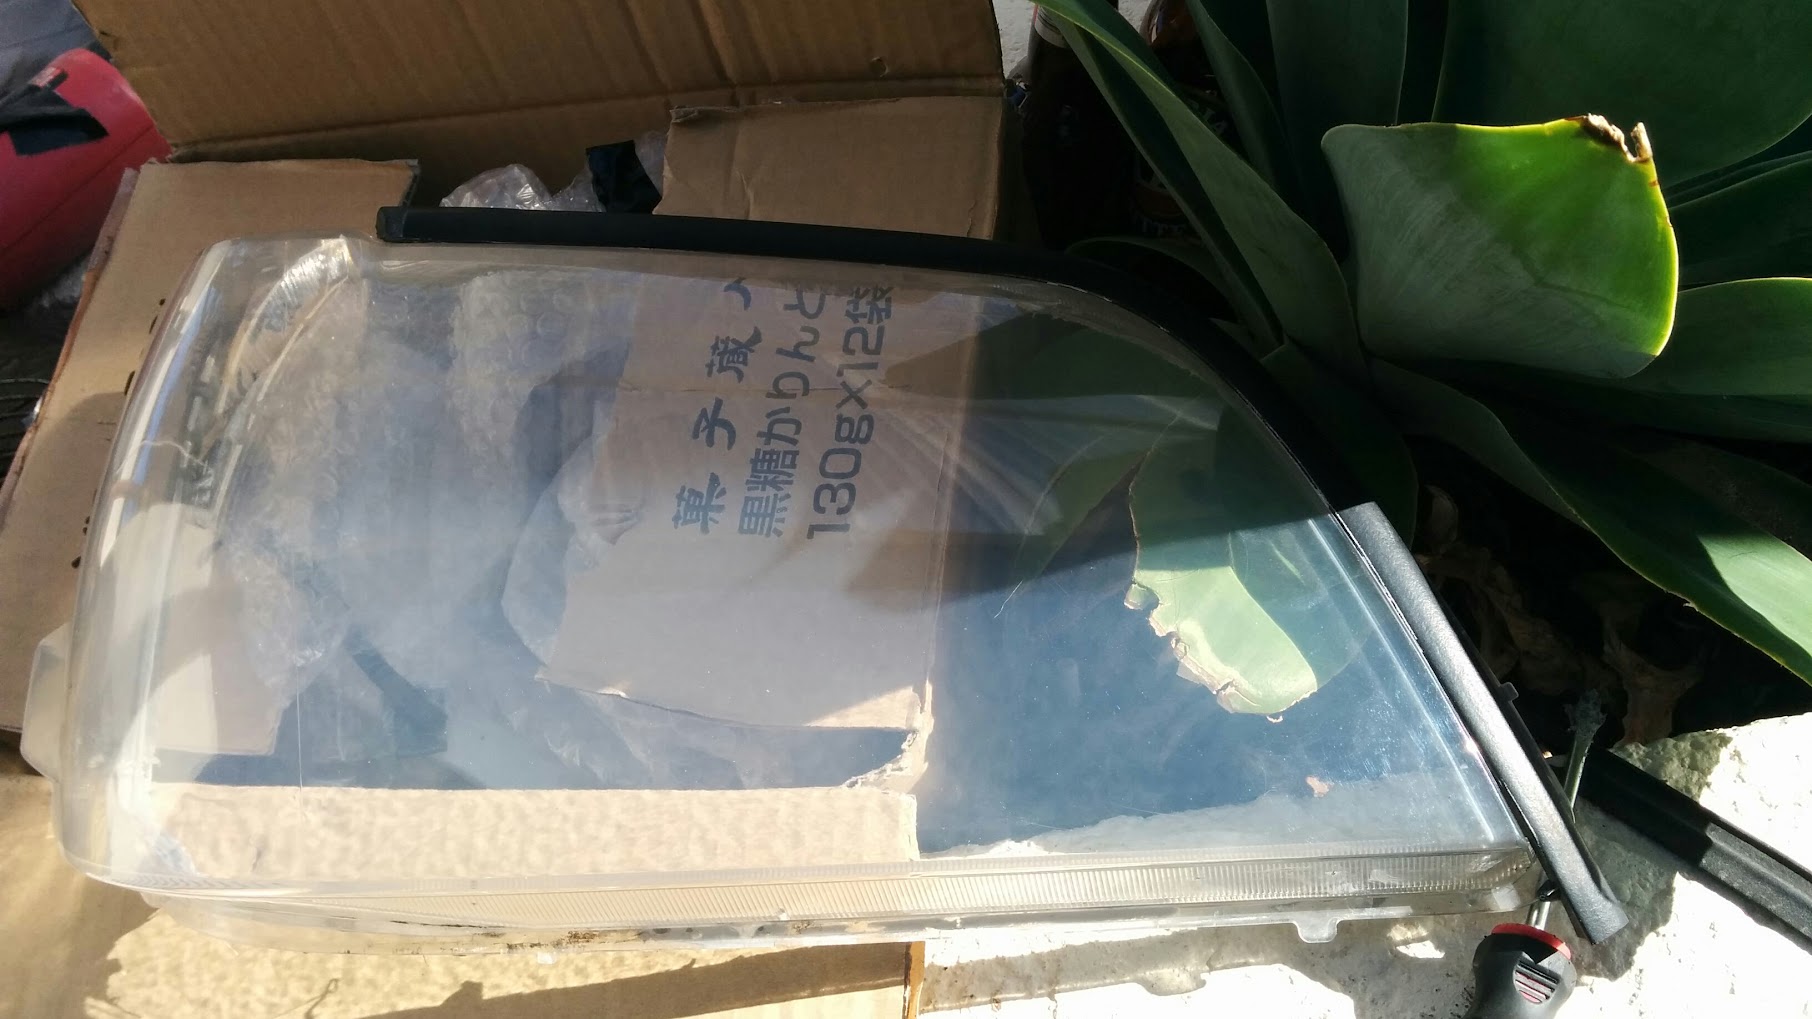
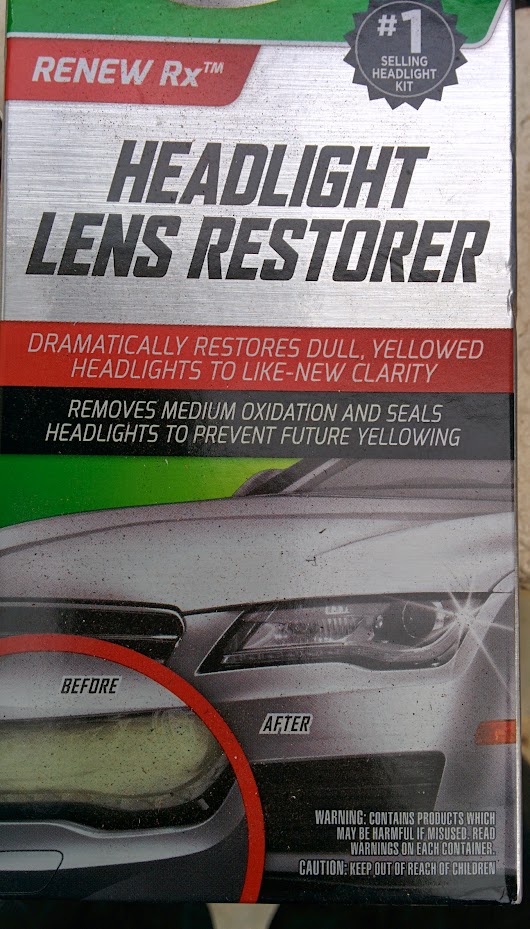
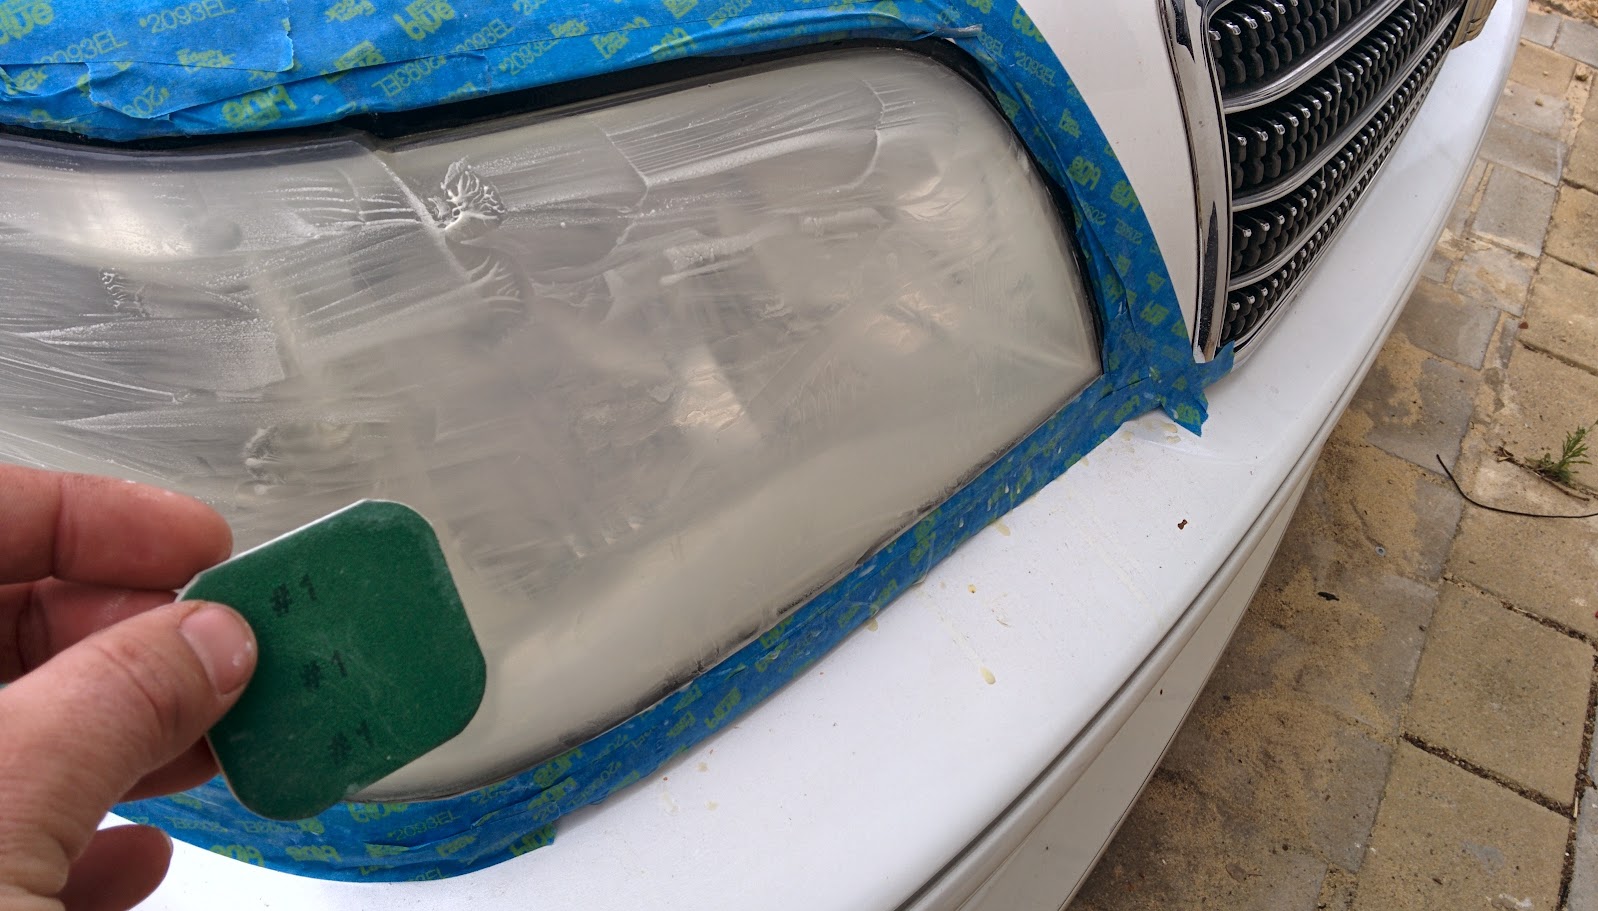
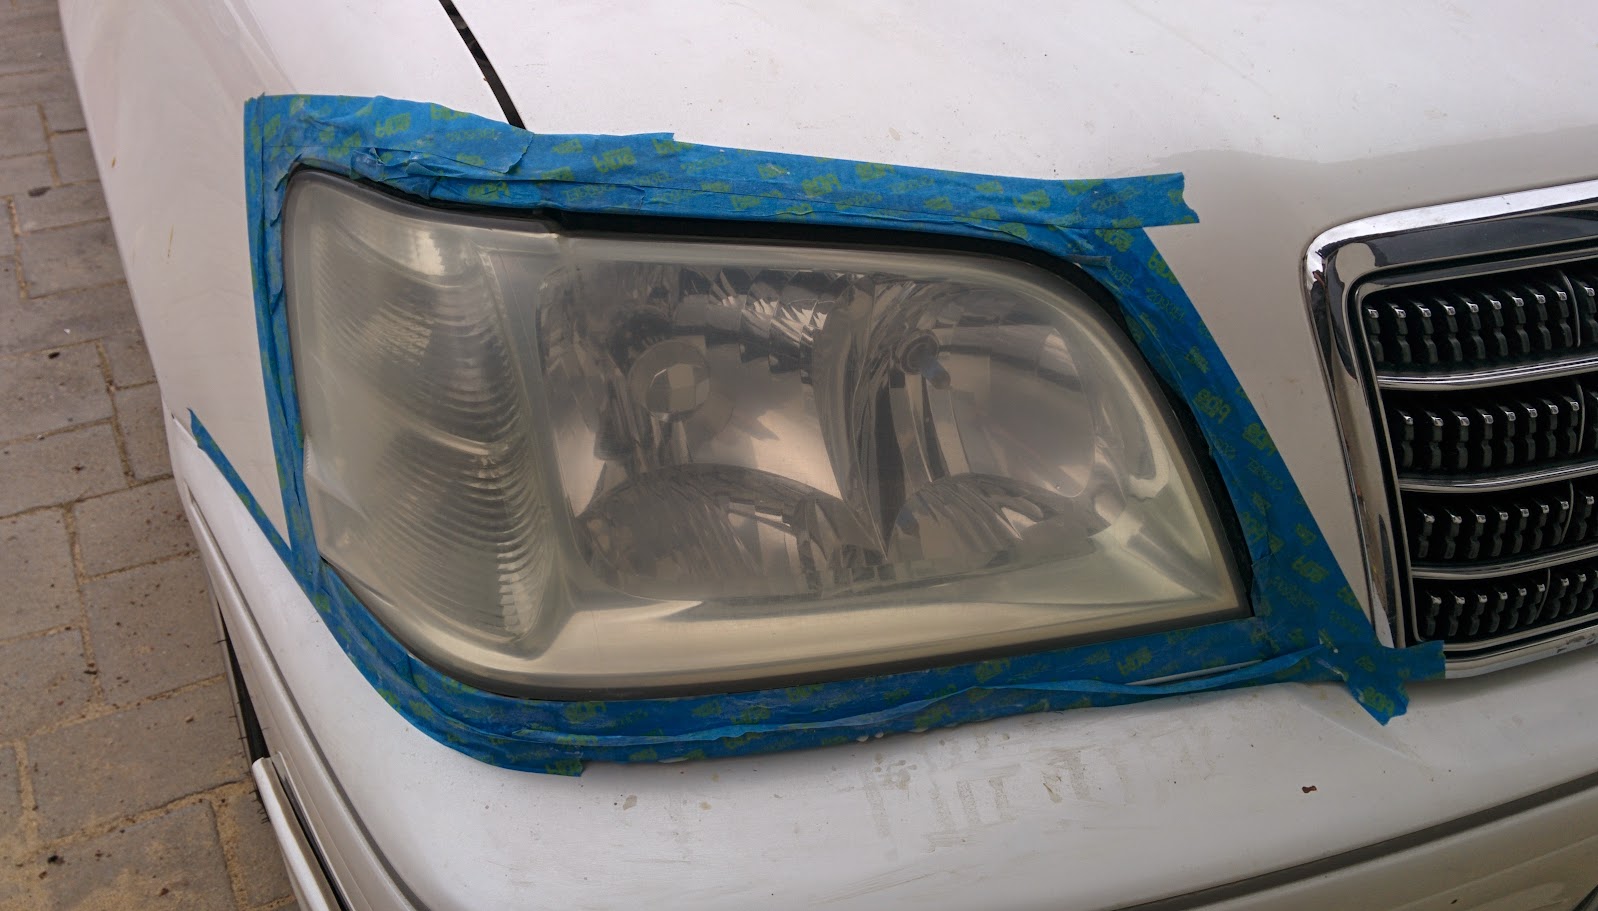
The headlights were SUPER clean, just as the seller described. I still gave them a rub-down with a bit of Pikal metal polish, just get the layer of smog off the top coat.

IMG_20160331_083156 IMG_20160331_083145

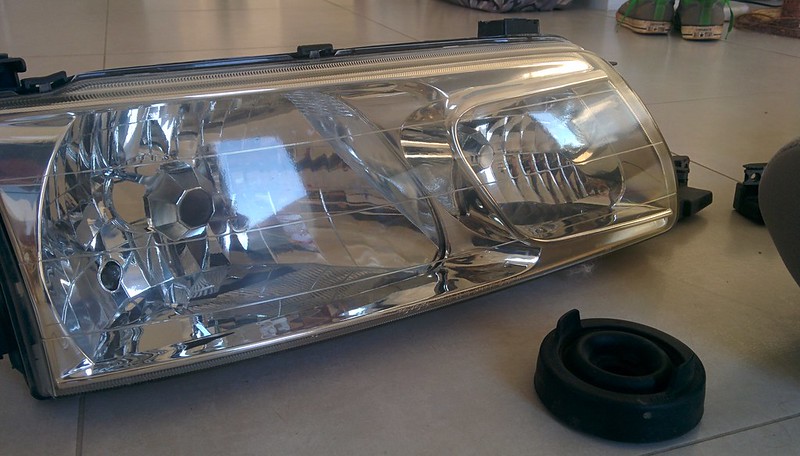
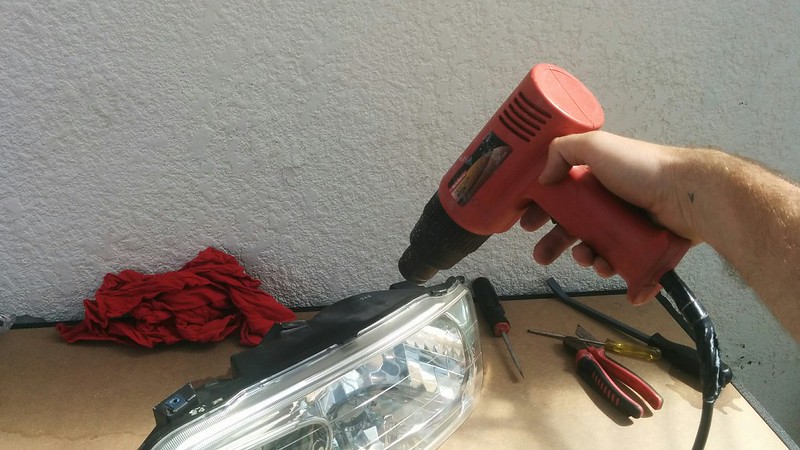
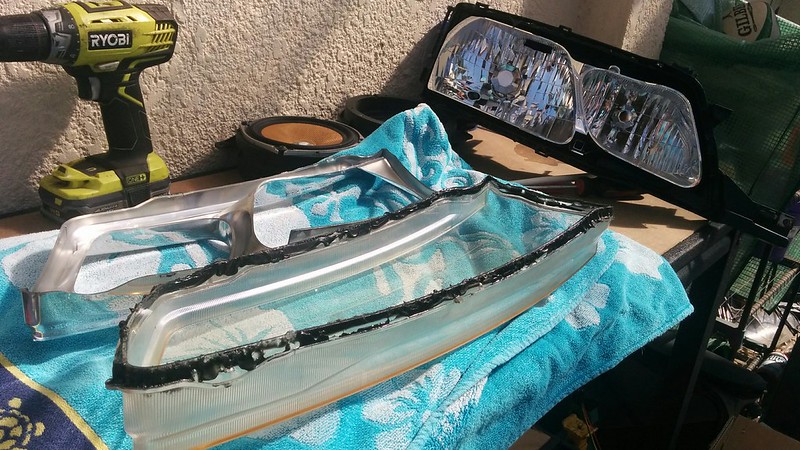
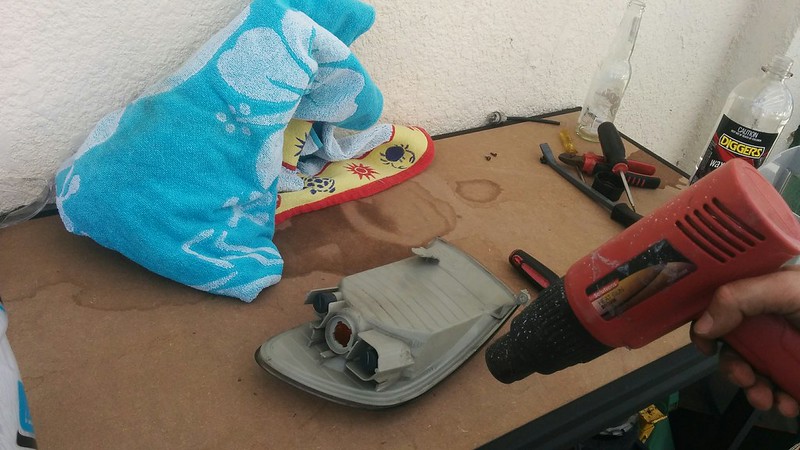
I planned on blacking out the internal Chrome and installing an LED strip similar to the AUDI Style switching White/Amber for indicators. First was to open the headlights. A long time ago , I put my old GZ20 Soarer plastic headlights into an oven at a low temp for 5-10 minutes which warmed the Toyota lens glue. This time i thought i would be a bit more careful and use a heat-gun to apply the heat only to the seal area and then attempt to pry them open.

A screw on the back of the headlight was to be removed first,

IMG_20160331_112952

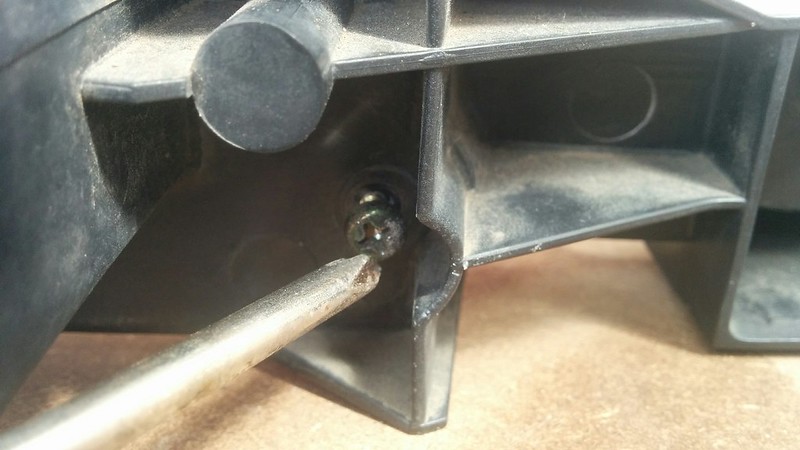
Then Apply heat to the seal areas

IMG_20160331_113025
IMG_20160331_113031

A very slight / careful pry with a flat blade screw driver, along with lifting the small plastic lock tabs.

IMG_20160331_113429

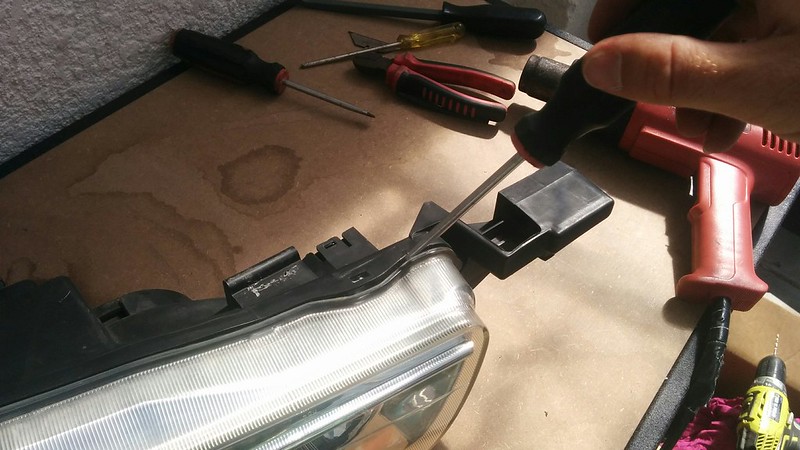
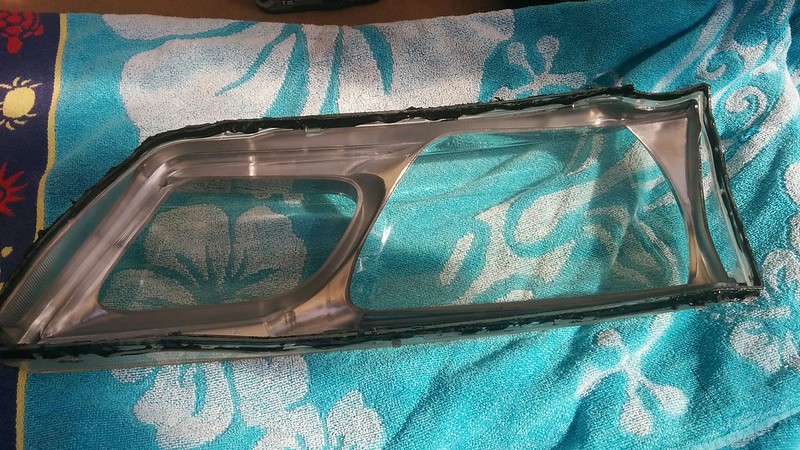
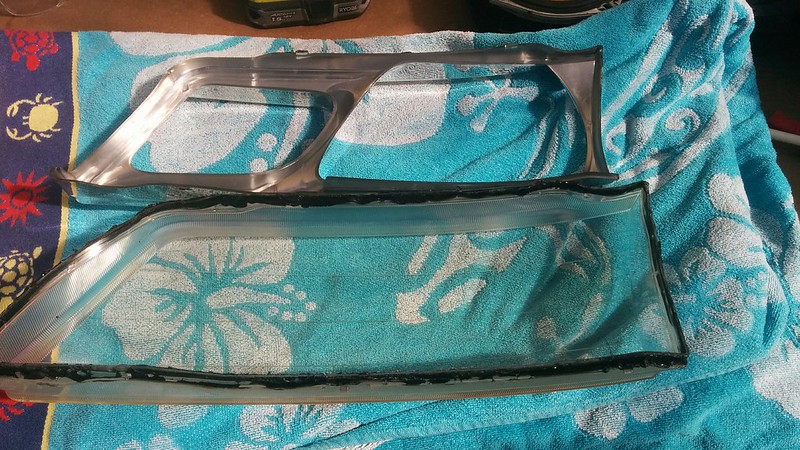
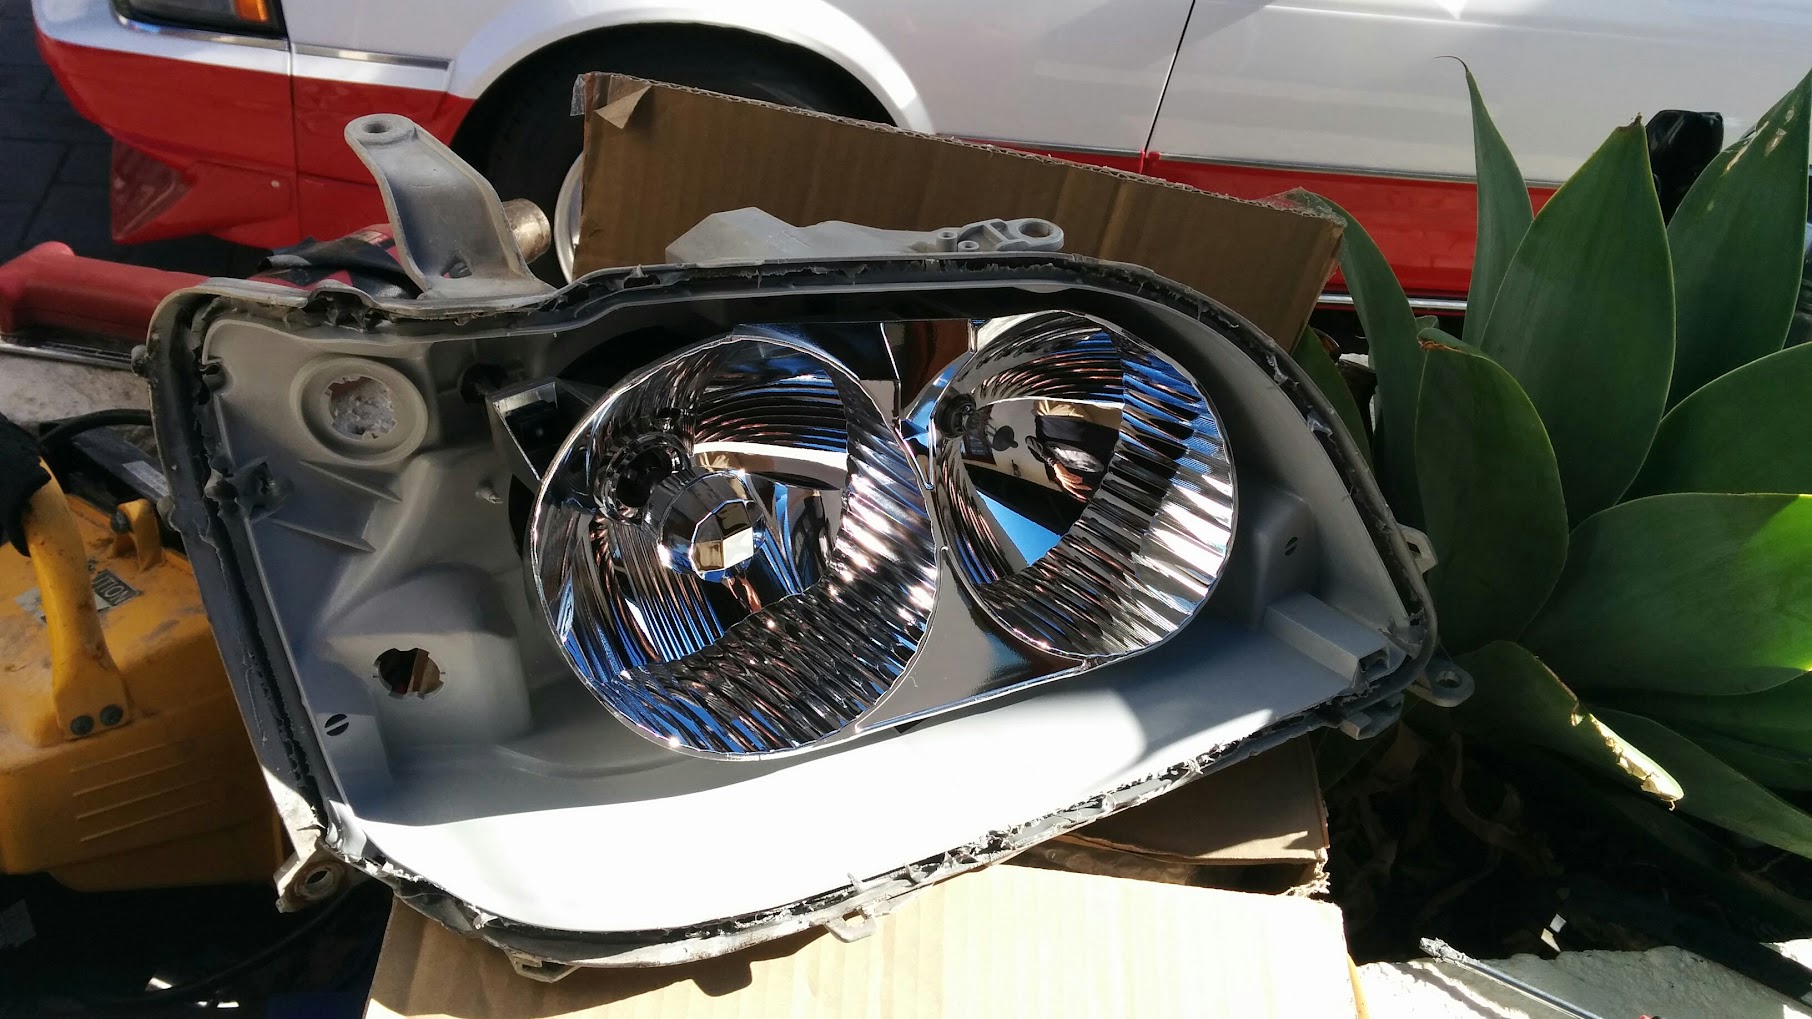
Followed by some careful pulling the front lens away from the rear housing, and hey PRESTO!

IMG_20160331_100155
IMG_20160331_100207

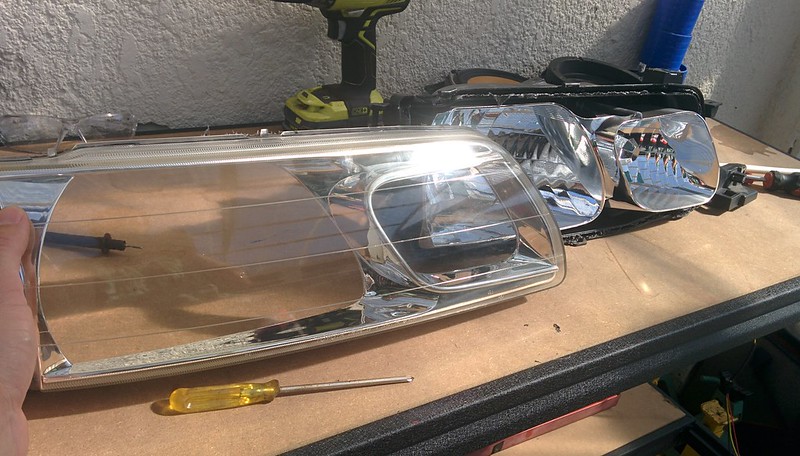
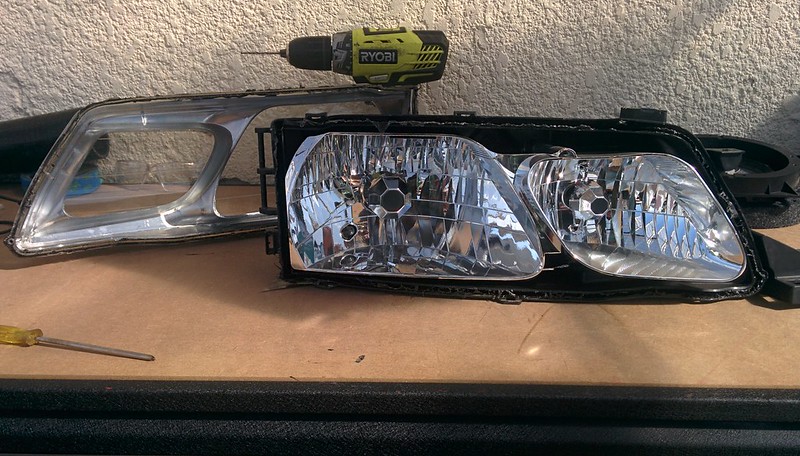
Then to remove the chrome inner surround from the lens, again just lifting a few plastic locking tabs and lifting it out.

IMG_20160331_100415
IMG_20160331_100702

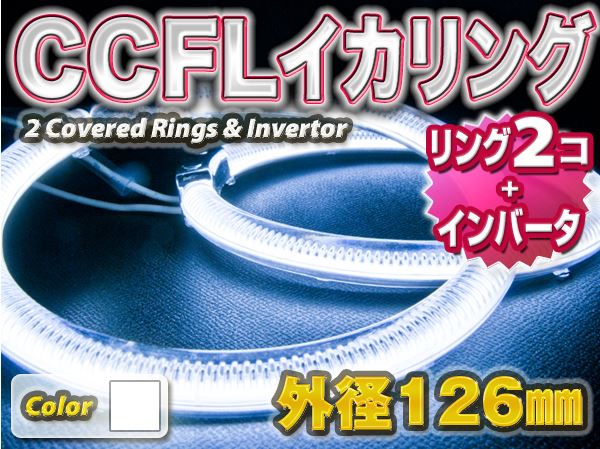
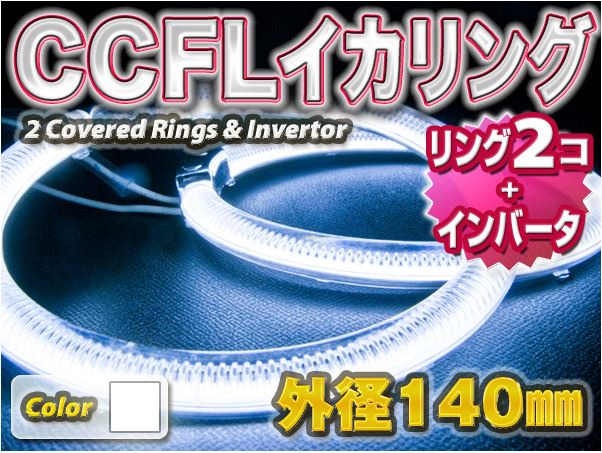
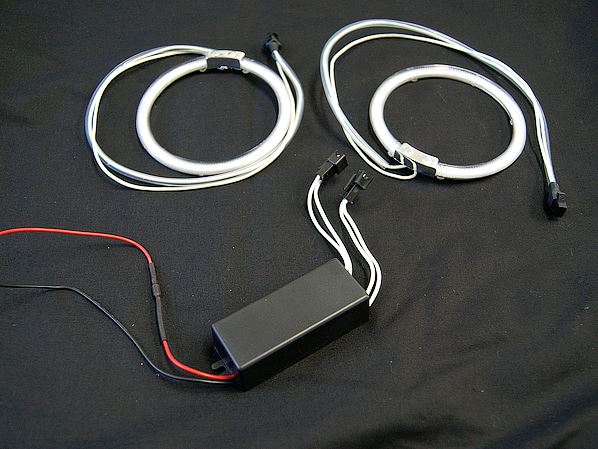
These are the two LED tubes I purchased in 2015, I was going to install them into the JZS171 Crown headlights, but never did.

IMG_20160331_102622

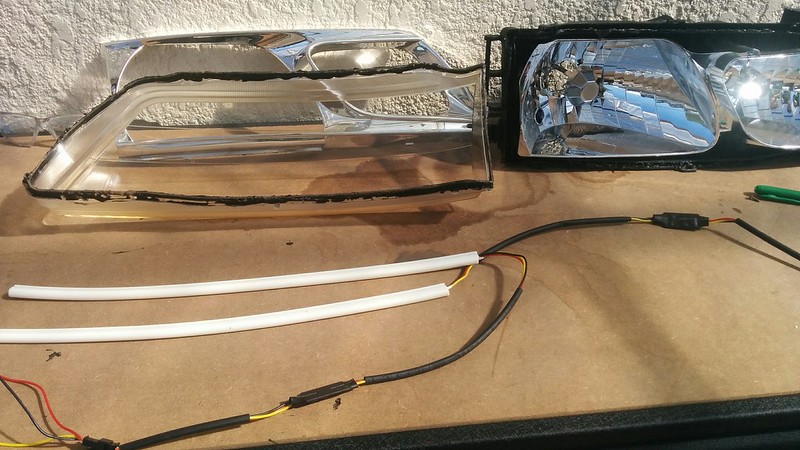
So i trimmed a section of around 10mm off the end of each one and test fitted them into the headlights. Using the original “parker” light T10 plug on the rear of the headlight to route the wiring for the LED tubes.

IMG_20160331_102639

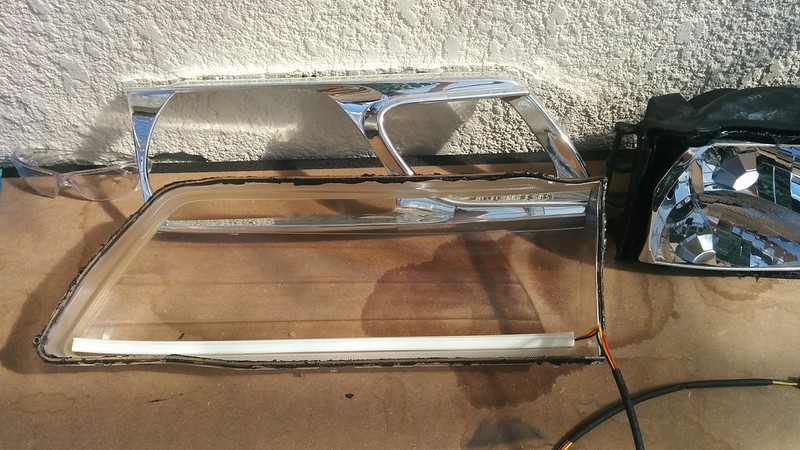
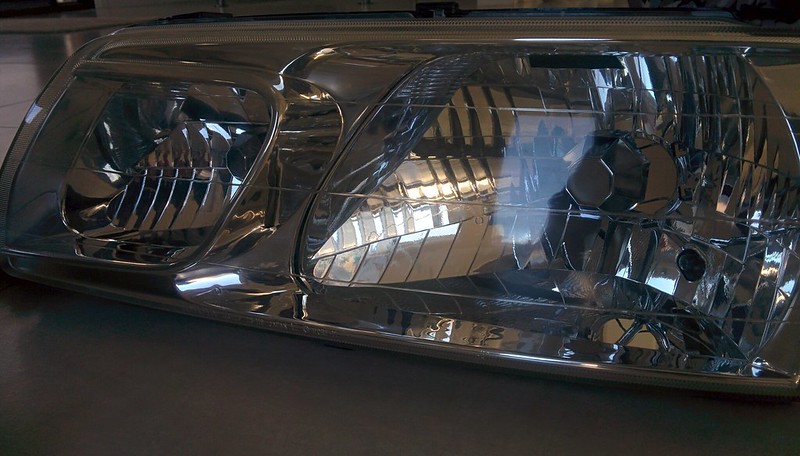
Just to make sure the inside of the lens was clean, i gave it a rub down with anti-fog wipes.

IMG_20160331_104522

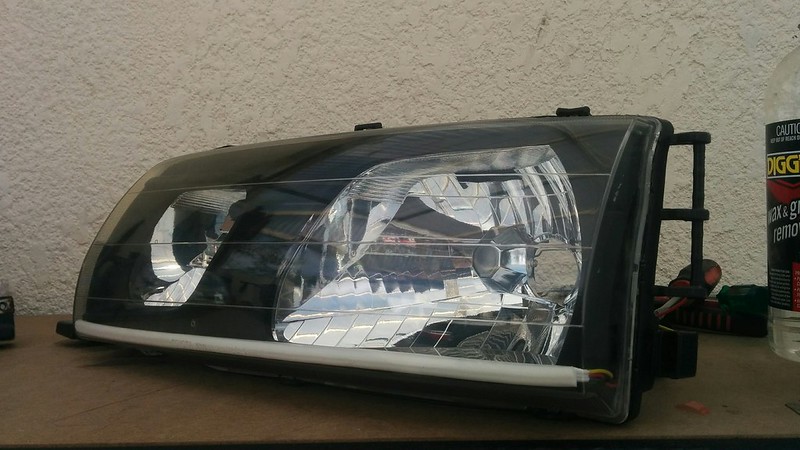
Starting to look good !

IMG_20160331_104217
IMG_20160331_104212

Time for the black coat, I decided i didnt want to use gloss black, as it might have reflected the light, so my most hated colour was used, Matte Black. Although for this application, it will not mirror any light.

Off with the lens again :

IMG_20160331_100709

Cleaned the chrome up with some wax and grease remover, then laid down a few coats and let them dry in the sun.

IMG_20160331_124413
IMG_20160331_124420

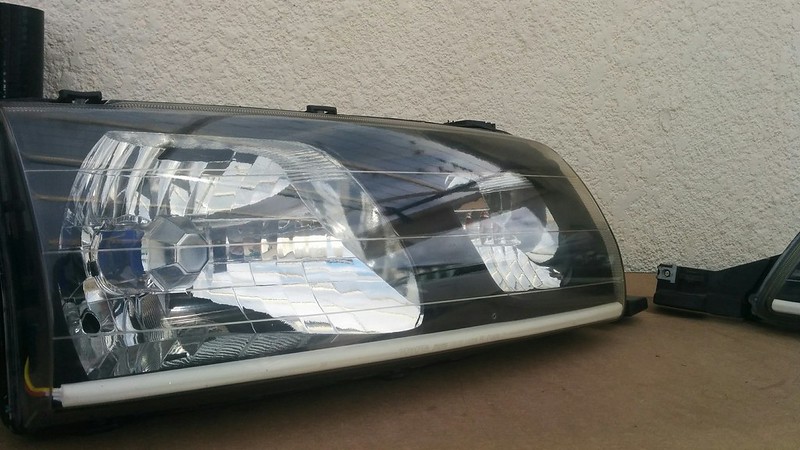
The re-seal was just the reverse of the opening, using the heatgun again to re-heat the glue around the housing so it became “tacky” and then pressed the lens back into the headlight.

I was pleased with how they came out.

IMG_20160331_135527
IMG_20160331_135537
IMG_20160331_135541

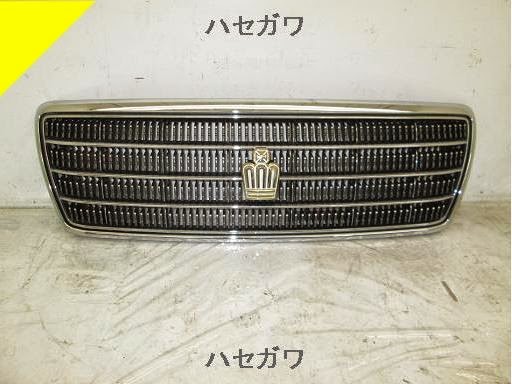
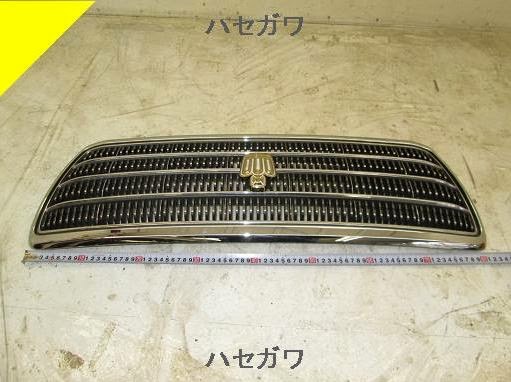
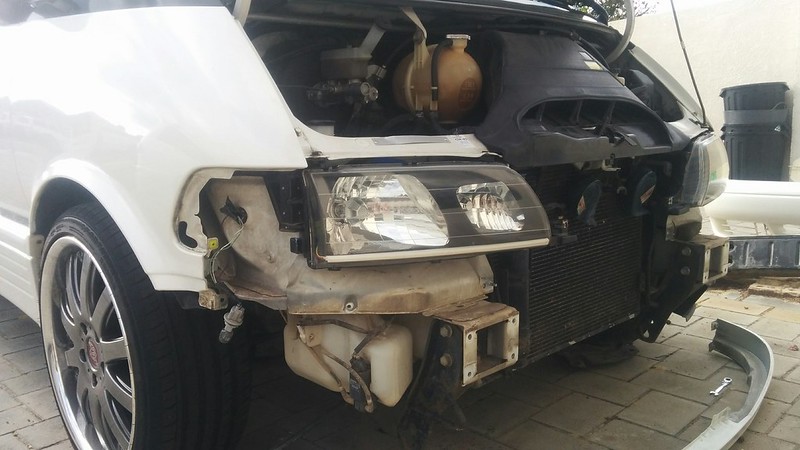
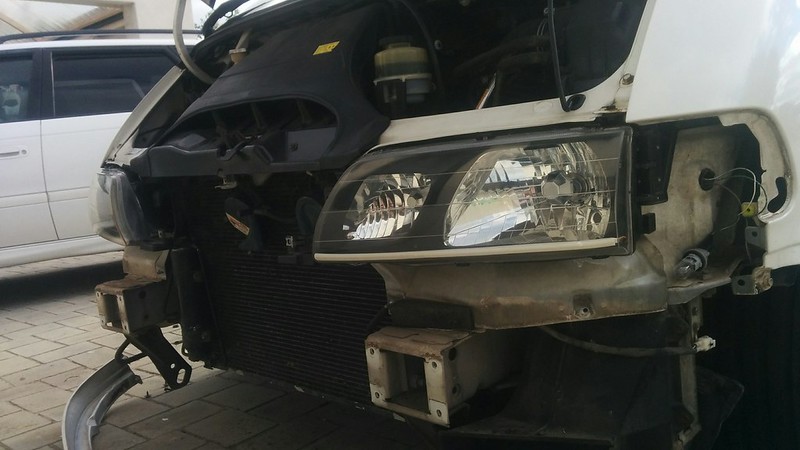
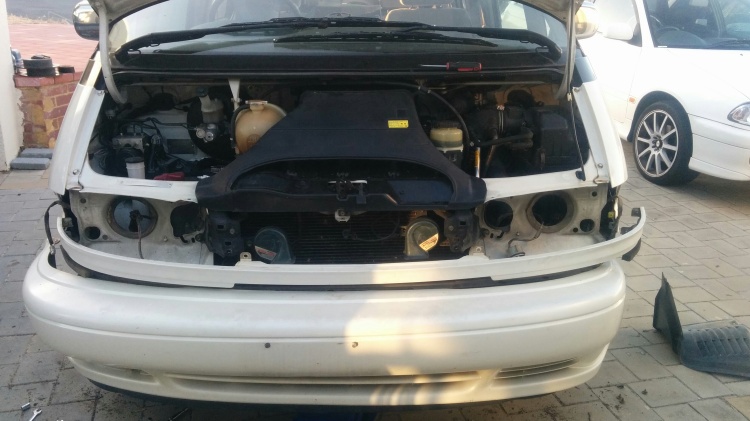
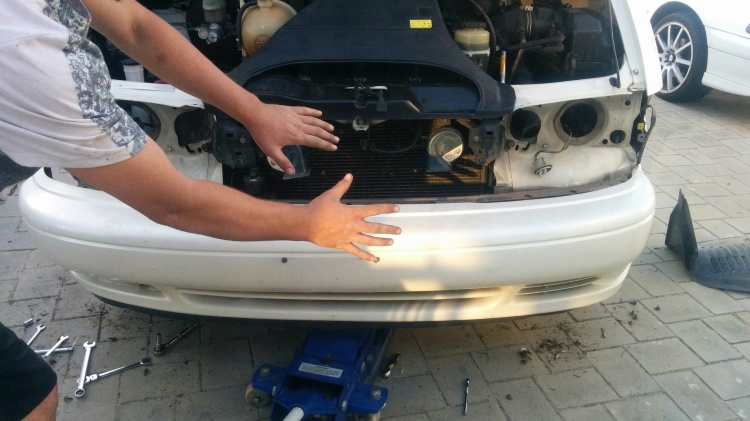
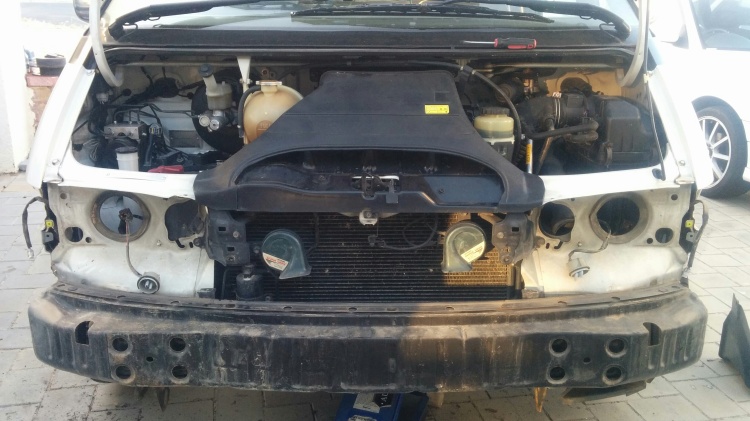
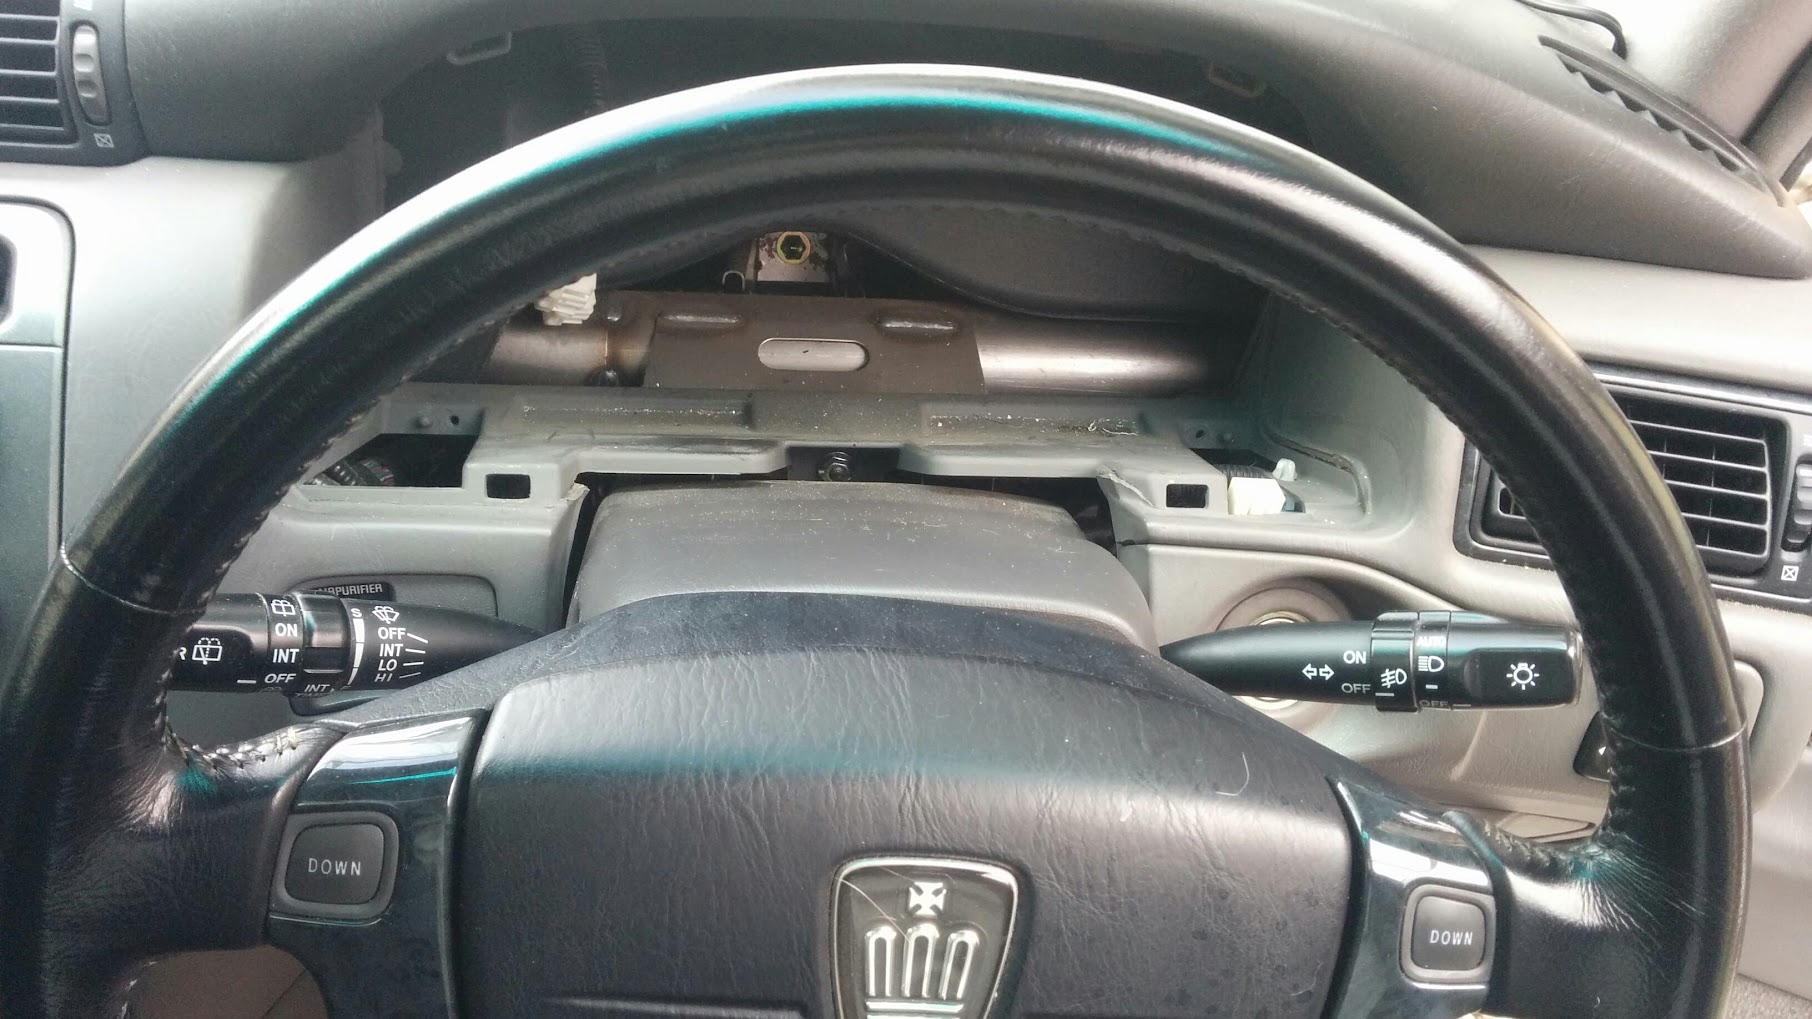
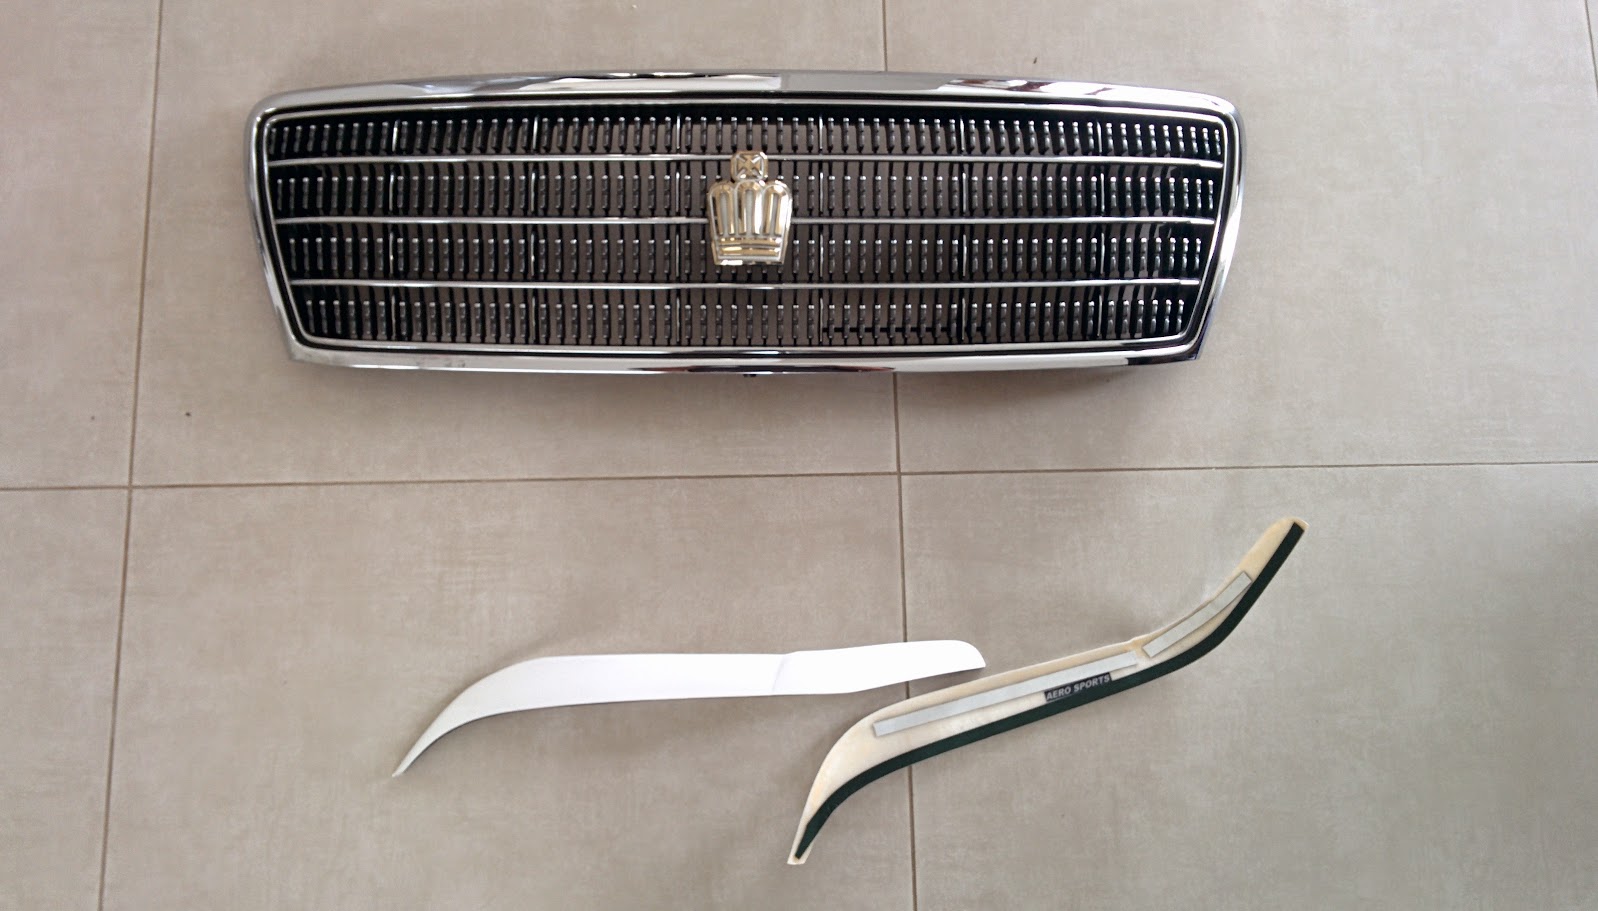
The next step was to fit them. Again with the TCR Series you must remove most of the front face of the van just to remove the headlights. This means, grill, bumper, bumper re-enforcement , mask panel.
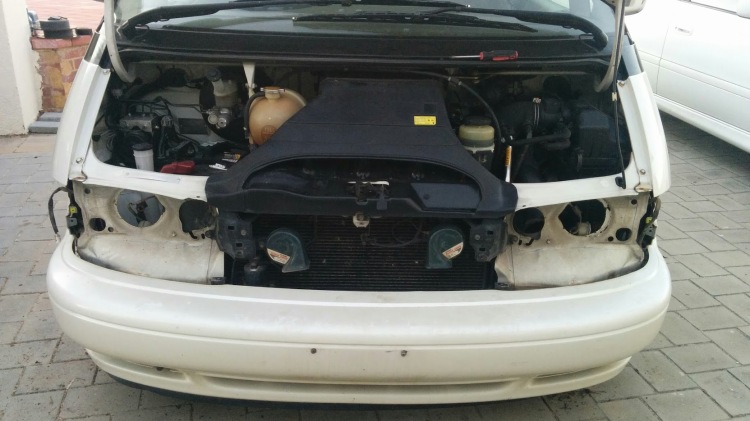
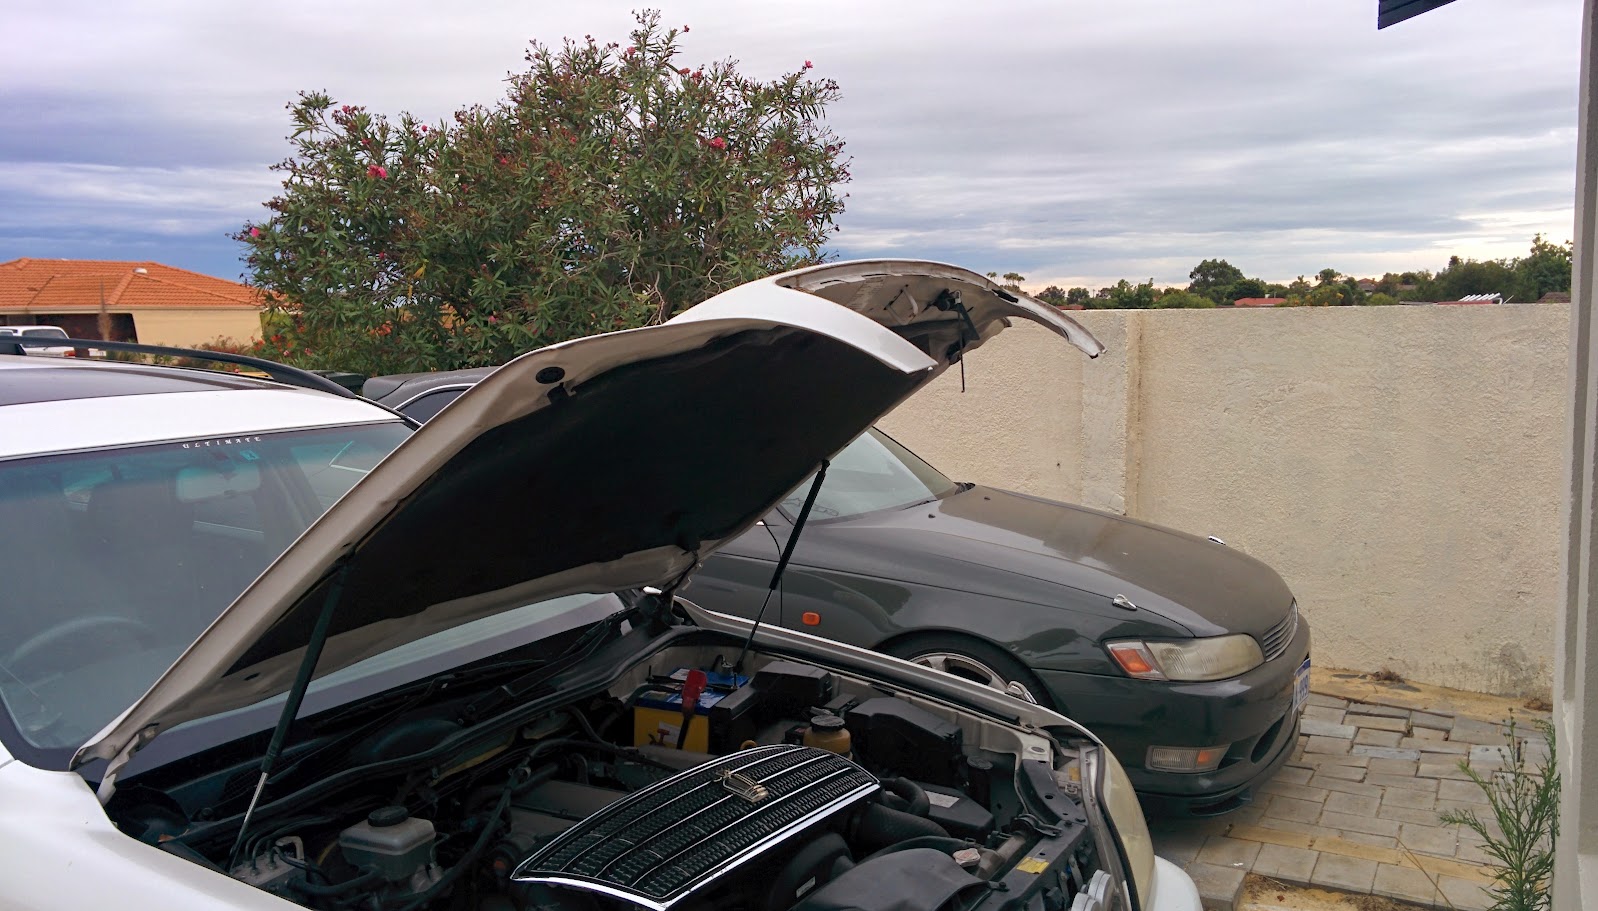
Once they are all removed its only a few screws to remove the headlights….

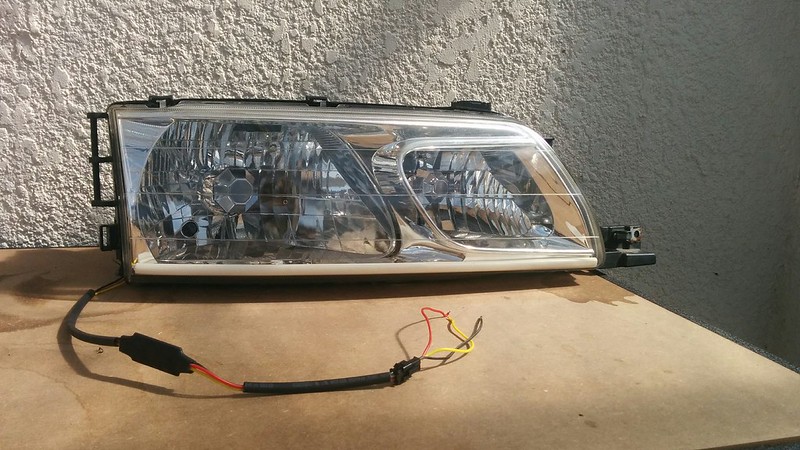
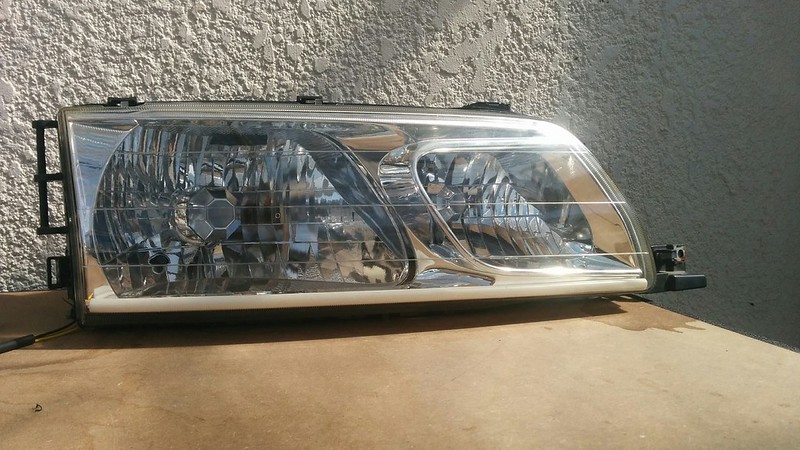
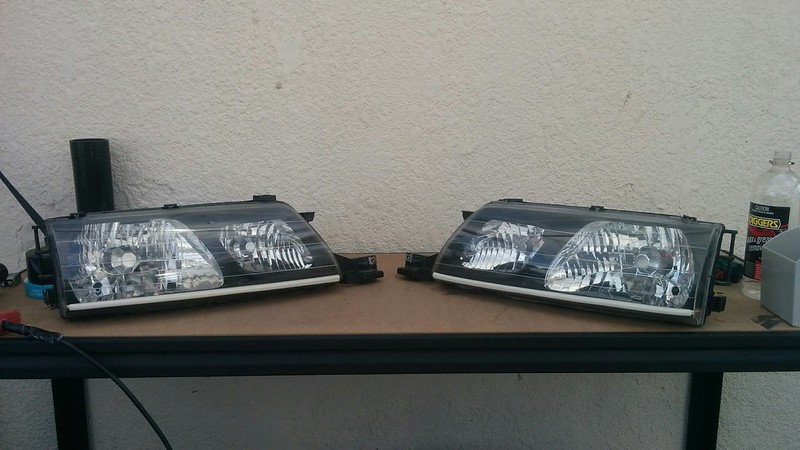
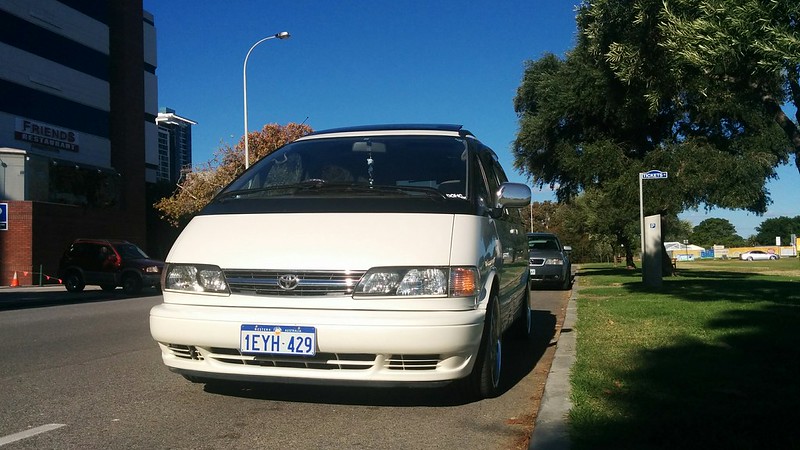
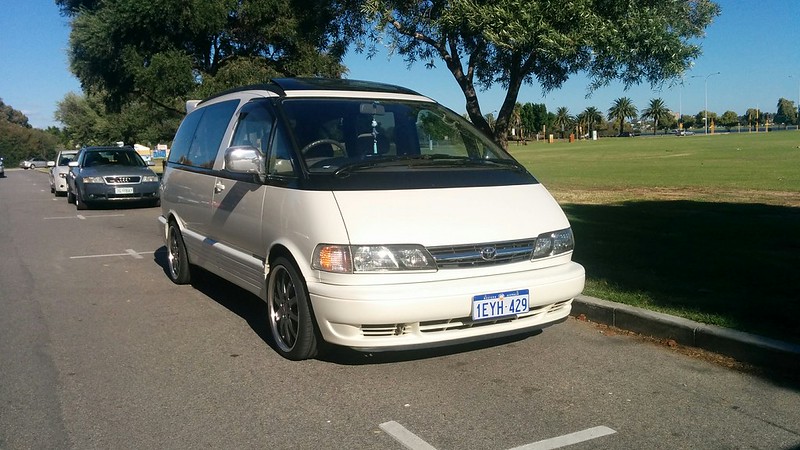
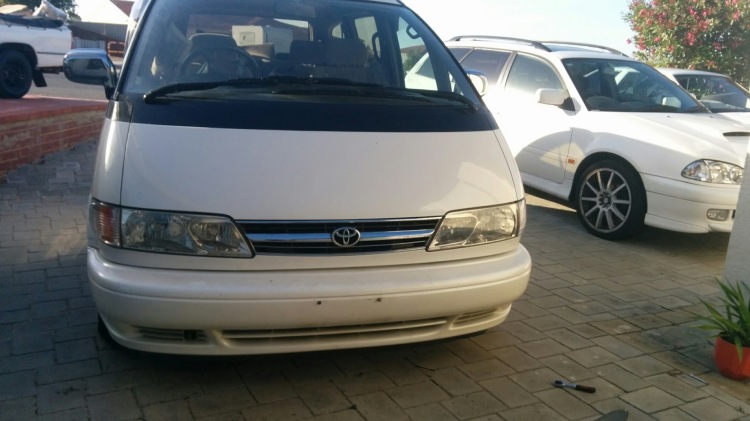
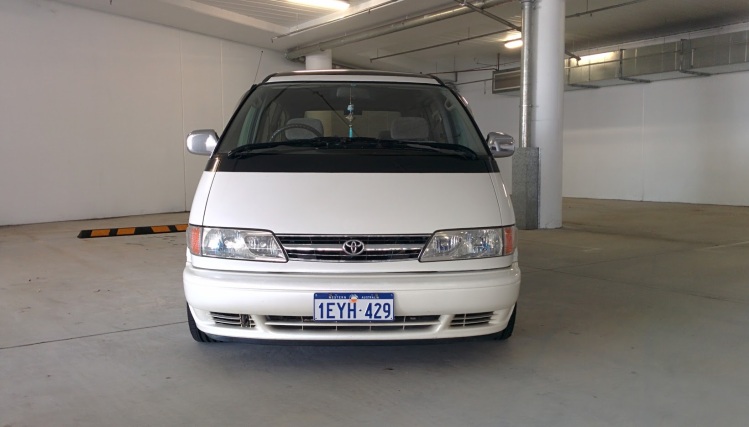
Original vs Blacked-out:

IMG_20160331_160524

On with the new…..

IMG_20160331_162048
IMG_20160331_162100

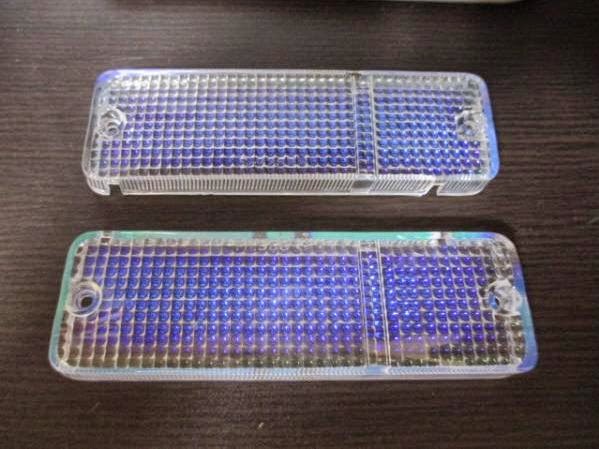
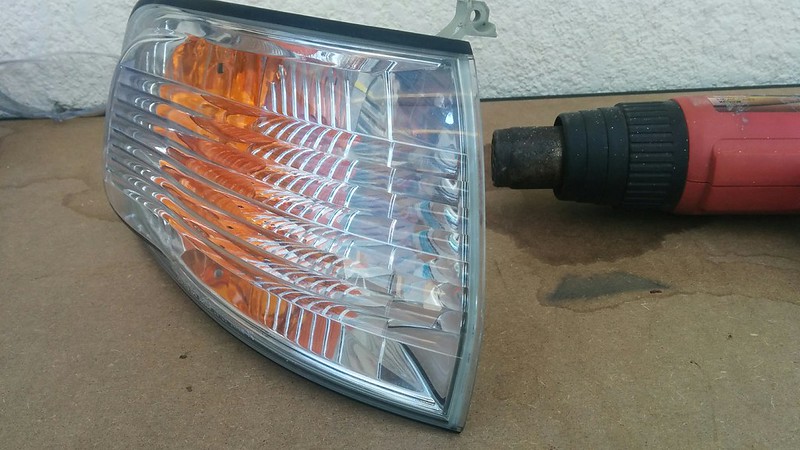
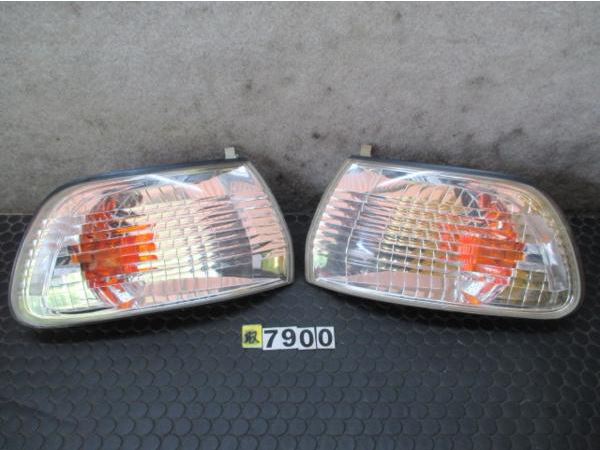
While i had the front indicators out, I thought i would try and complete the same task and remove the clear lens, paint some of the inside chrome black too, just to match the headlights… again, using the heat-gun.

IMG_20160331_145511
IMG_20160331_145752

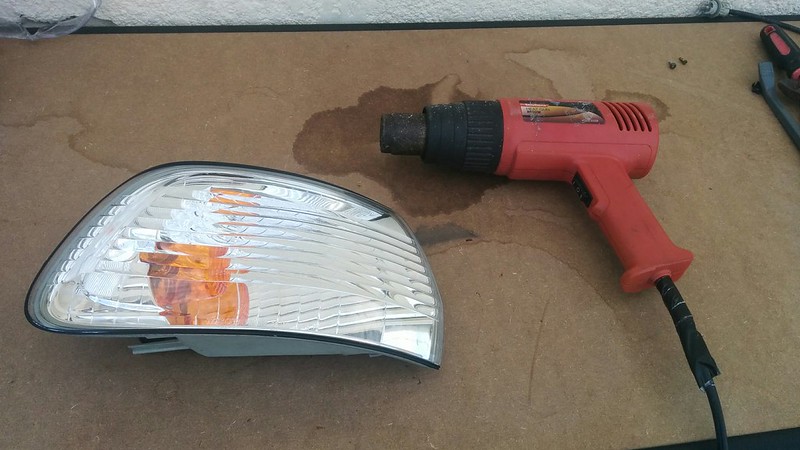
However, after prying a few times the glue seal was REALLY not happy. It was not getting hot enough to get “tacky” and each pry with the flat-blade screwdriver was making “cracking” sounds… so I decided i wont continue with prying to avoid cracking the plastic backing or the lens.

Next week I thought i would try the classic oven trick of slow warming them up to 80degrees and then attempt to pry.

IMG_20160331_145519

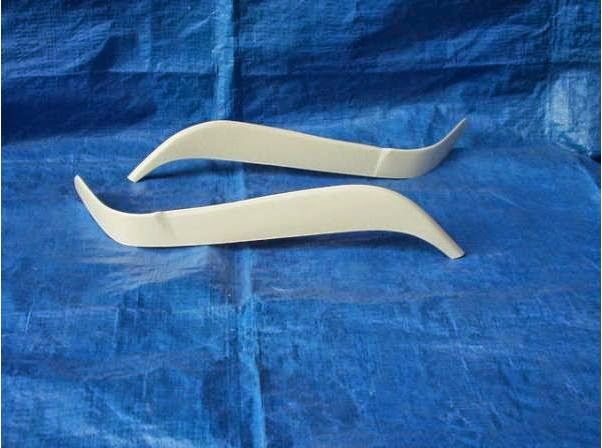
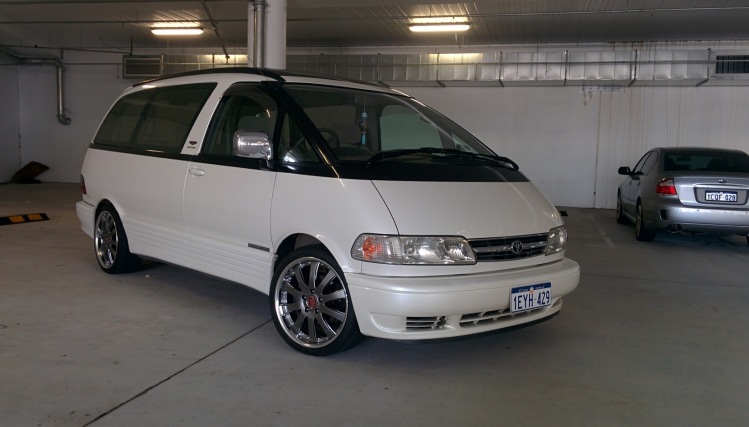
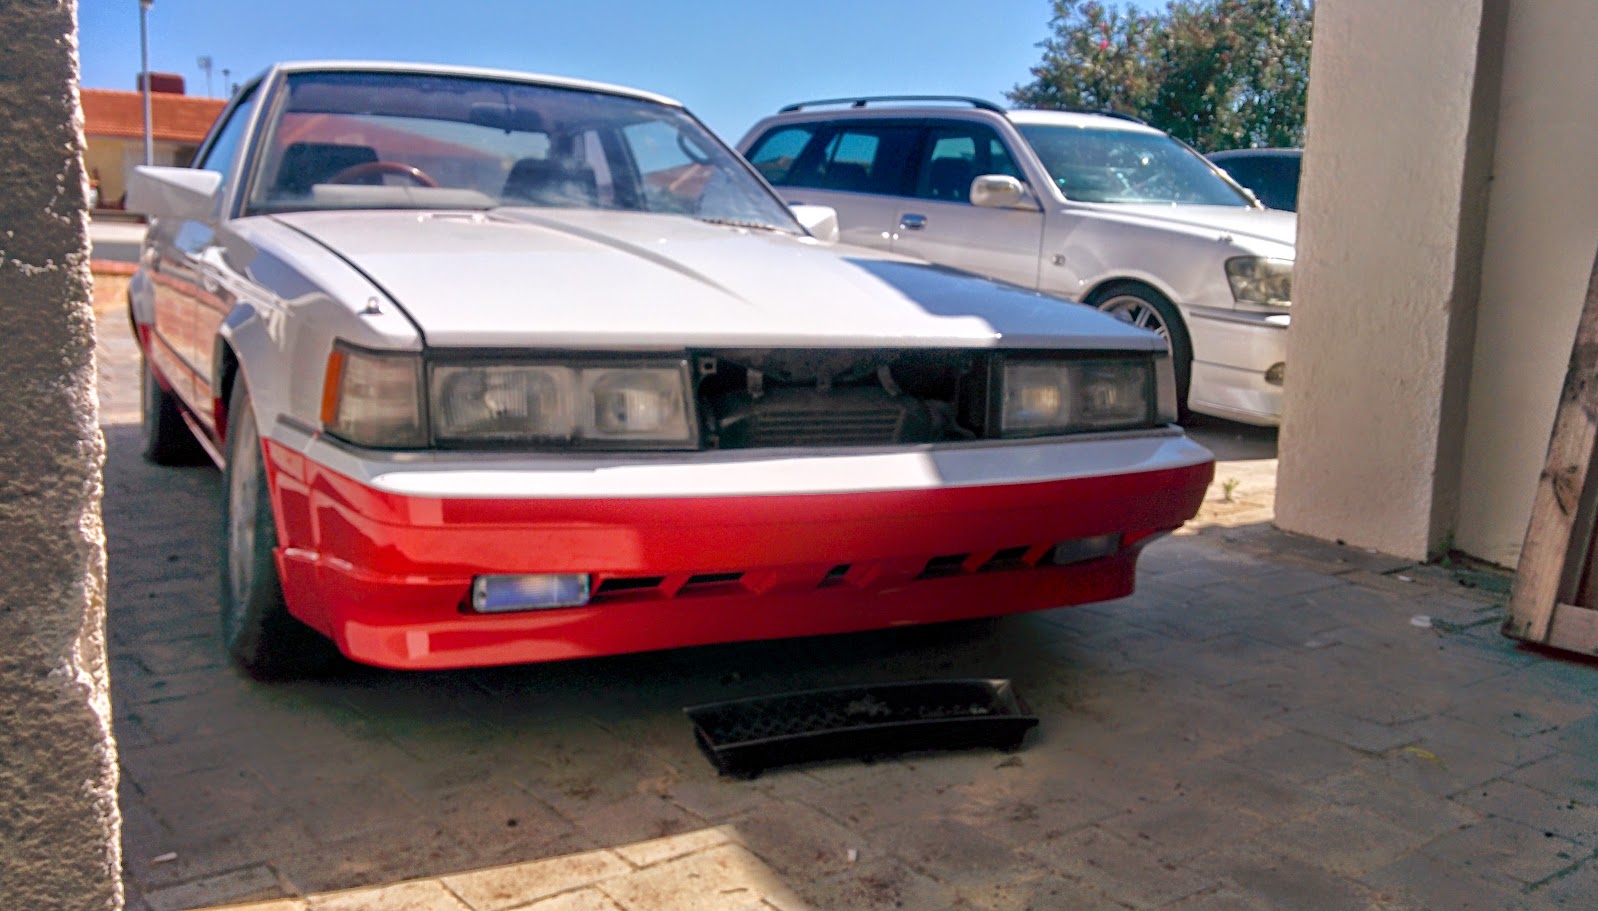
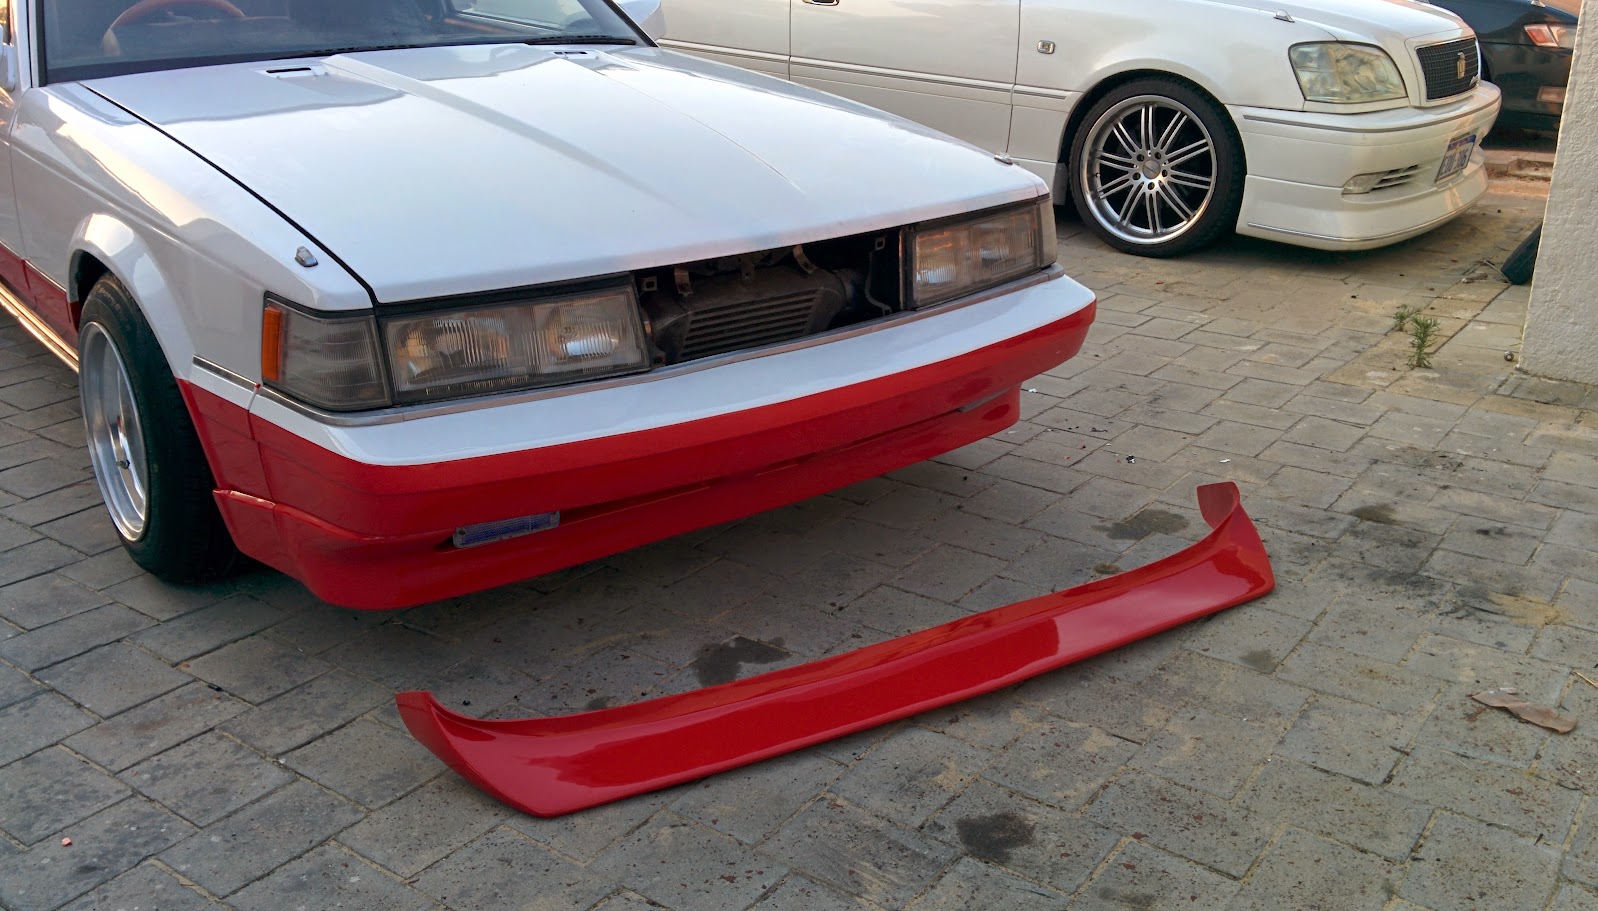
Pretty happy with the work so far on the front end, it will only look better once the body kit arrives in May, and of course, once i black out the insides of the side indicators.

IMG_20160401_154903
IMG_20160401_154854
IMG_20160331_180152

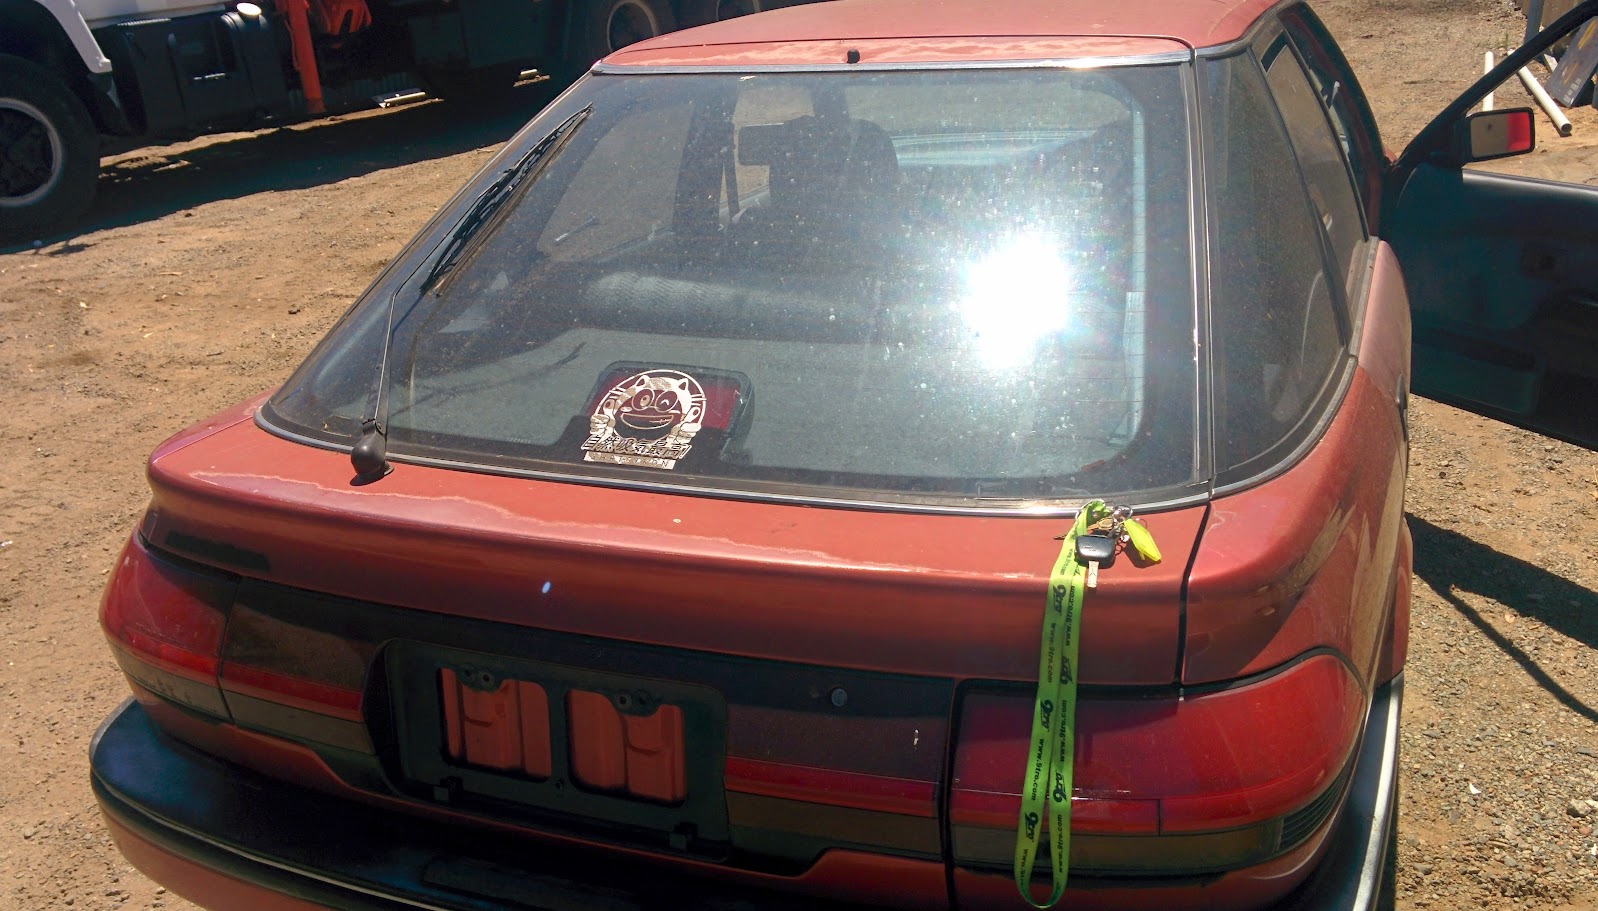
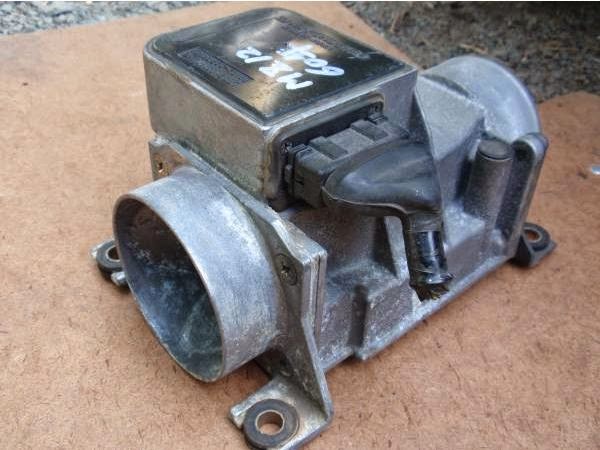
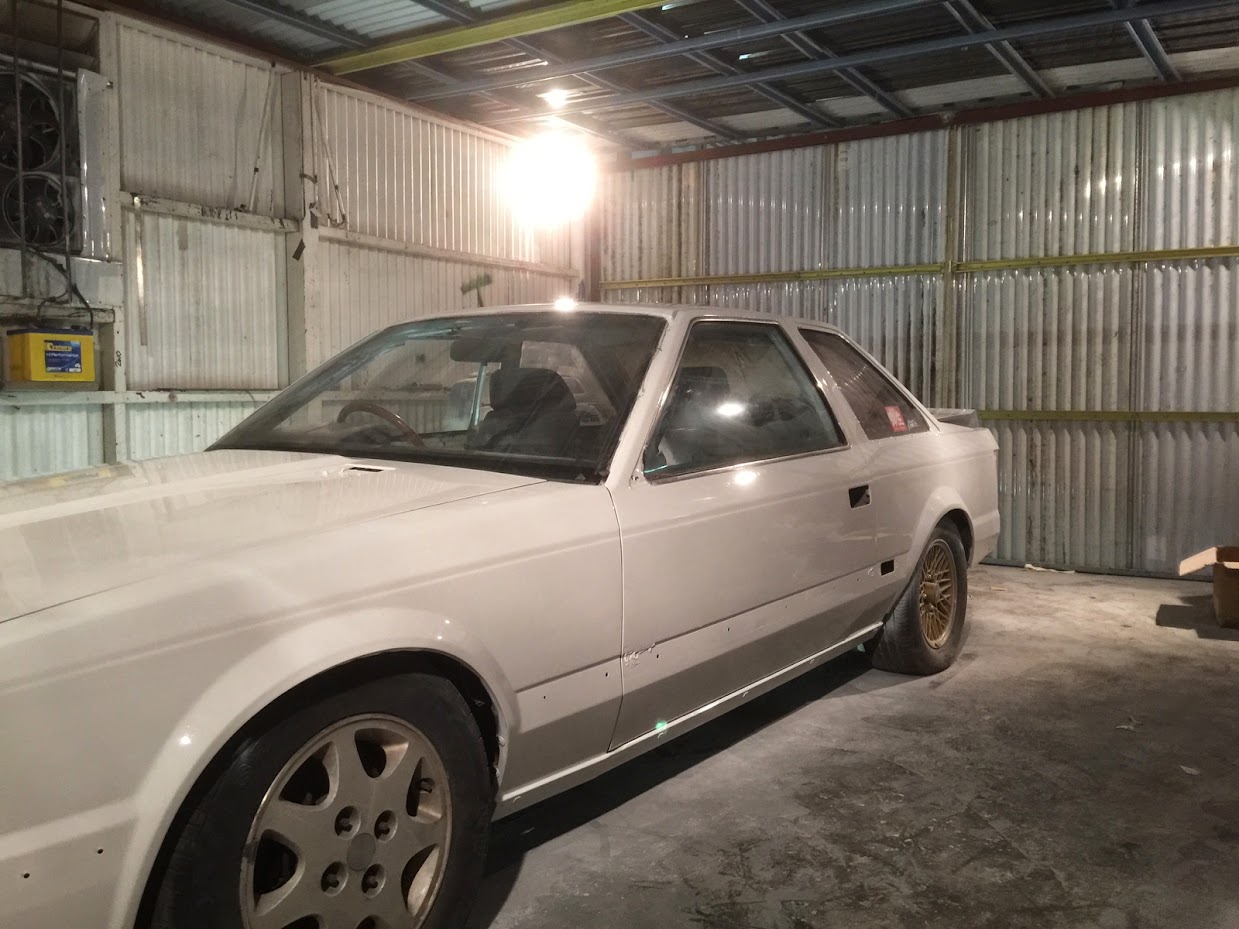
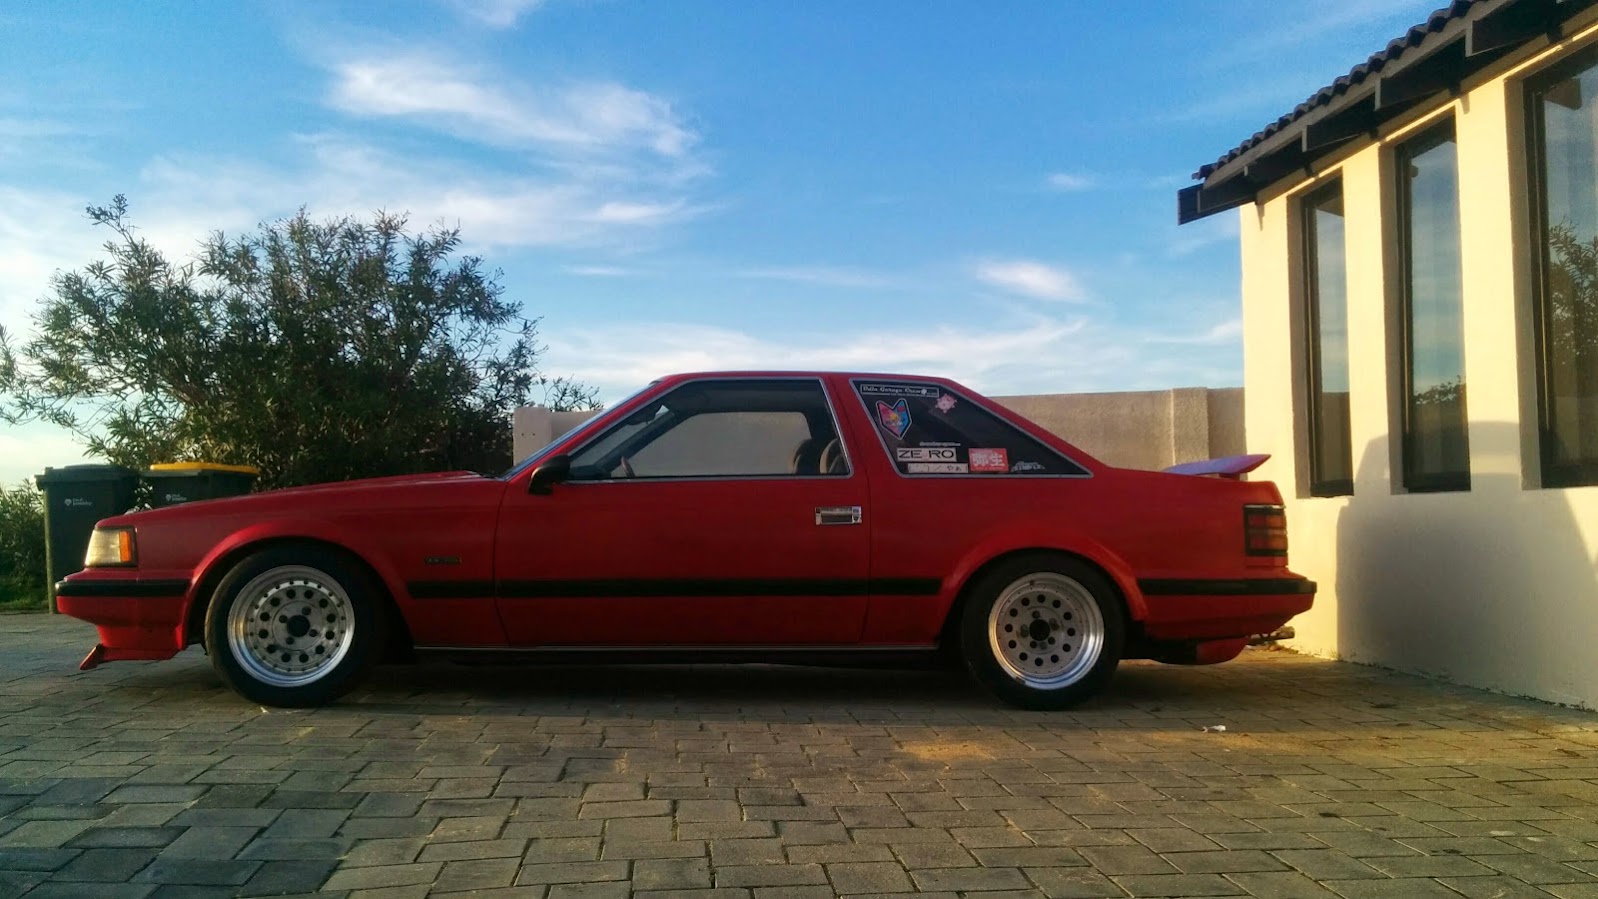
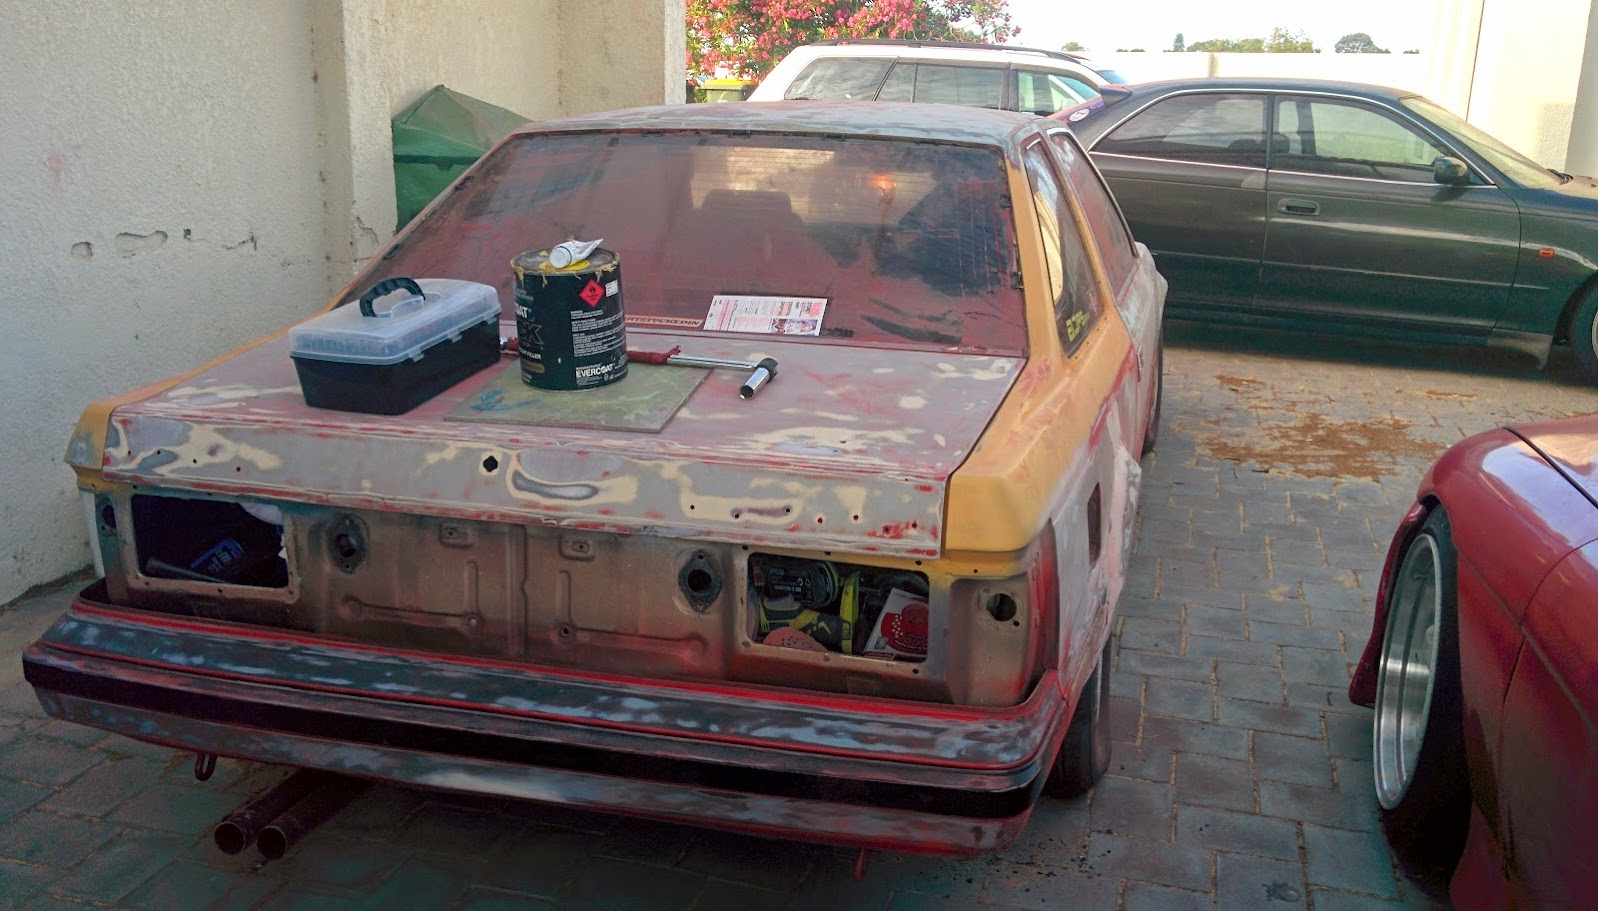
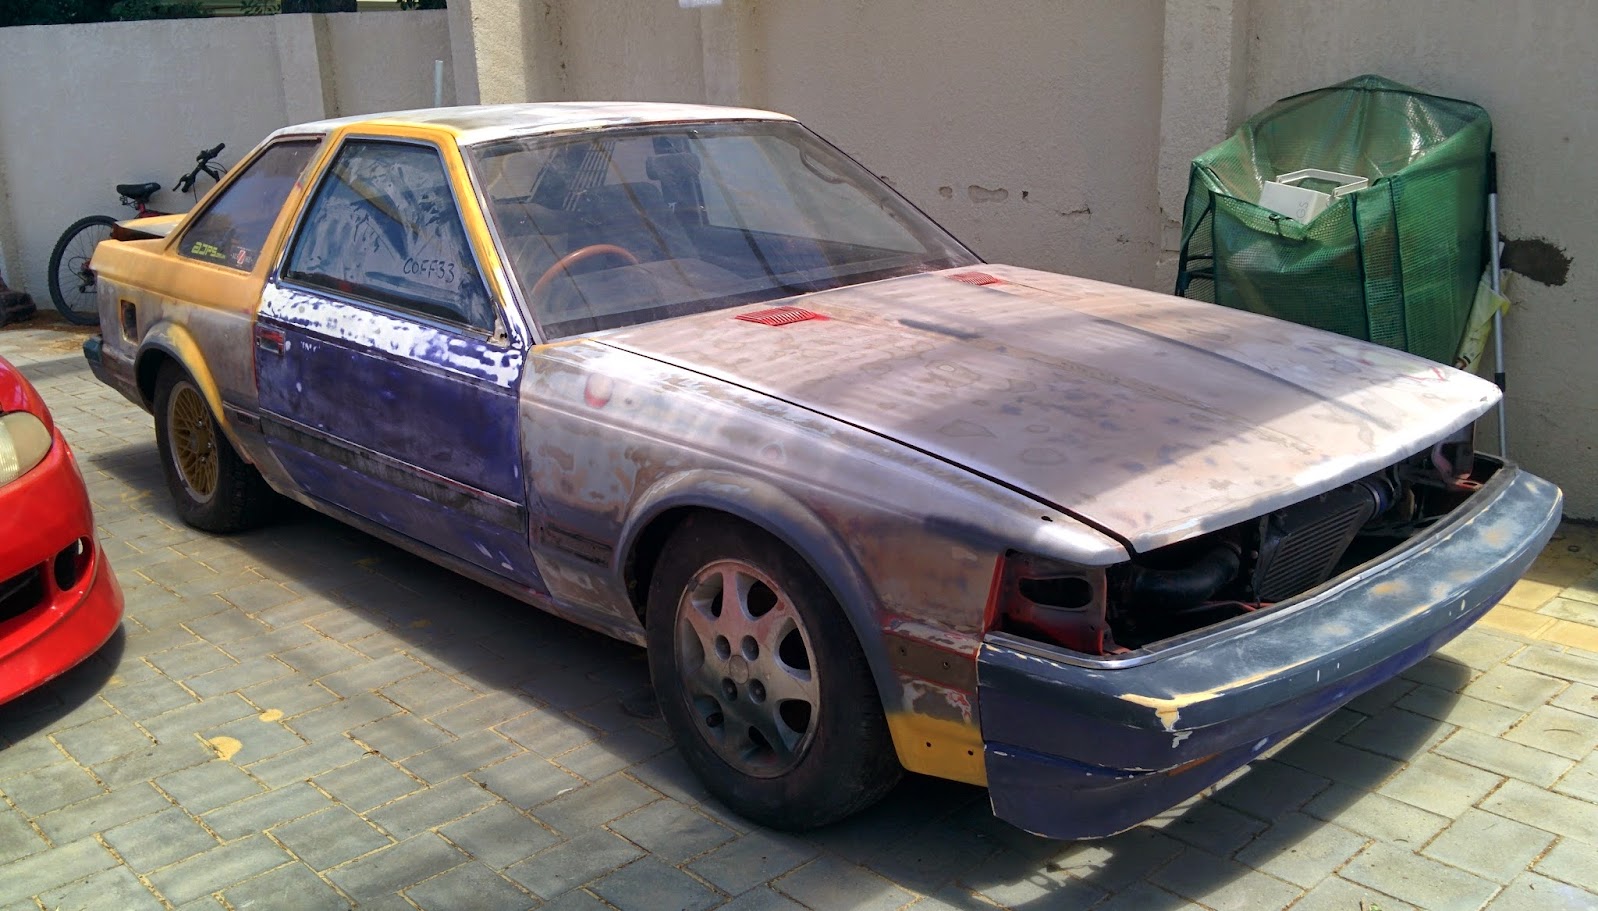
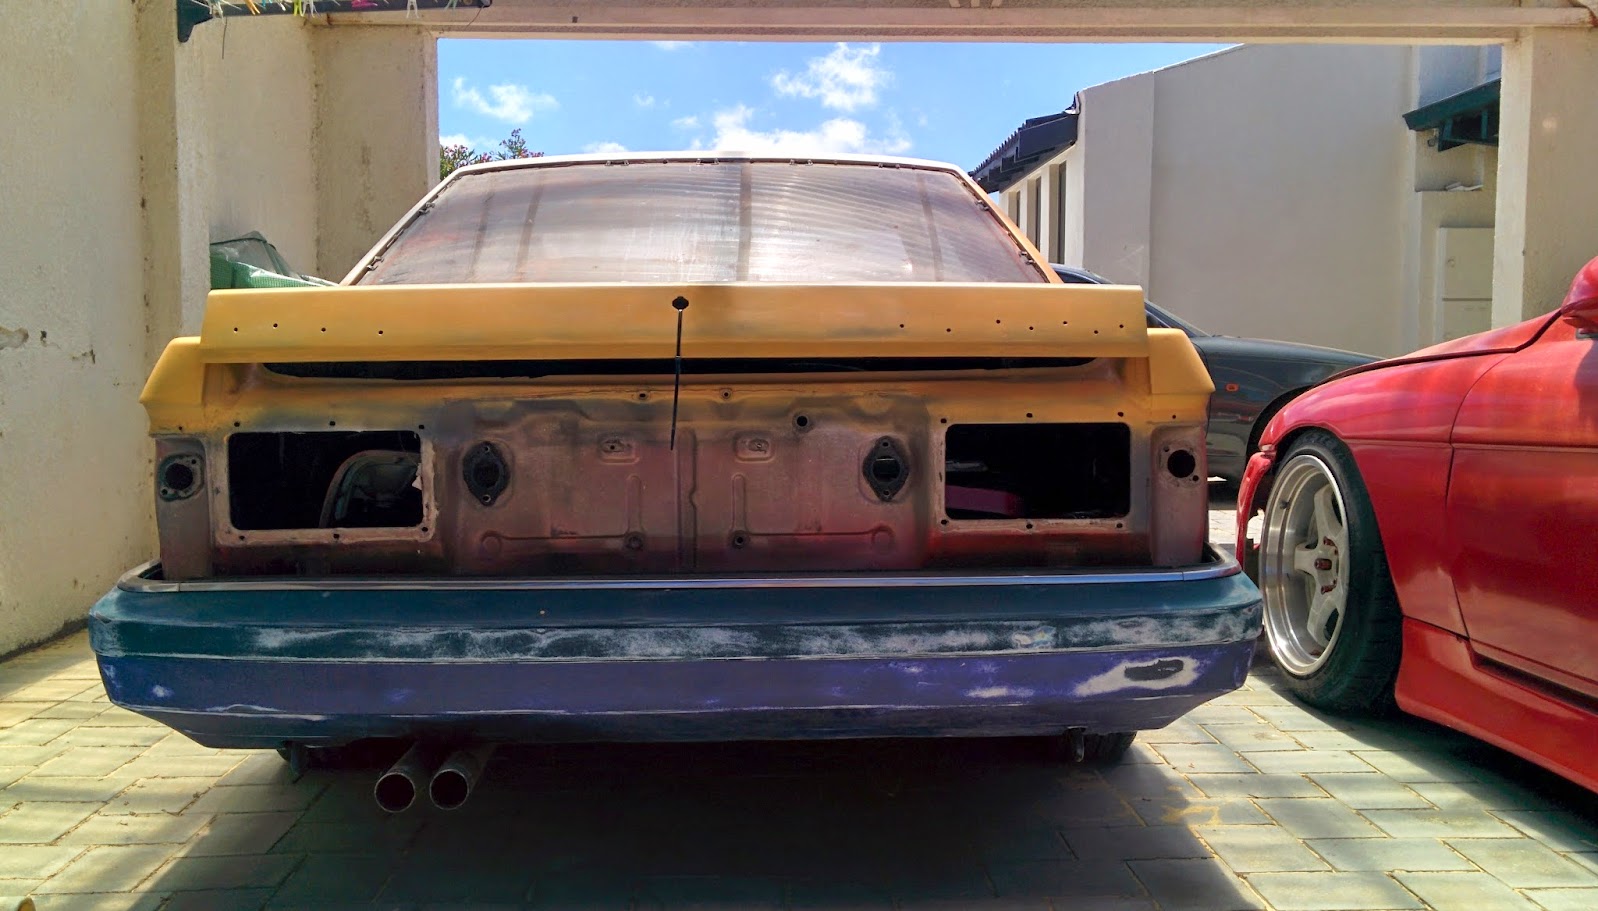
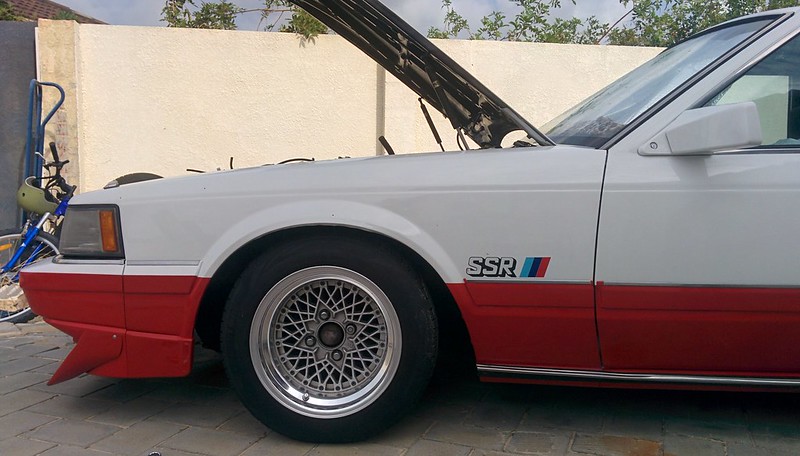
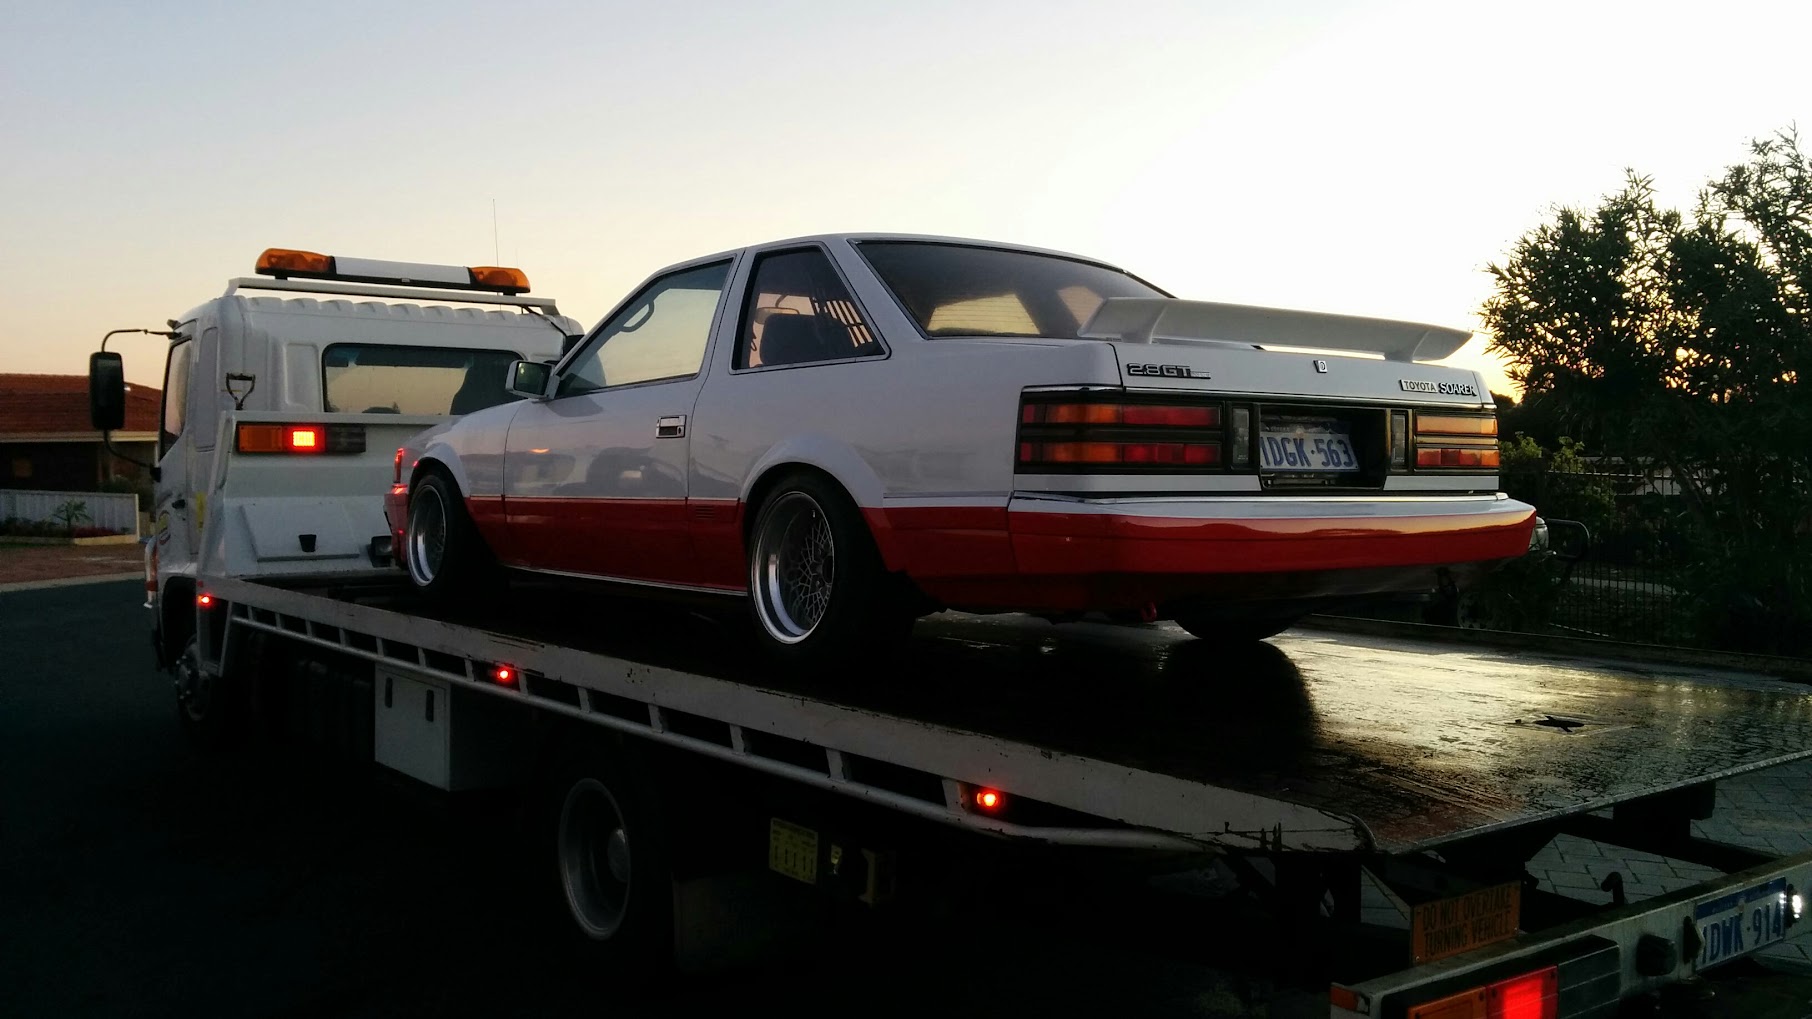
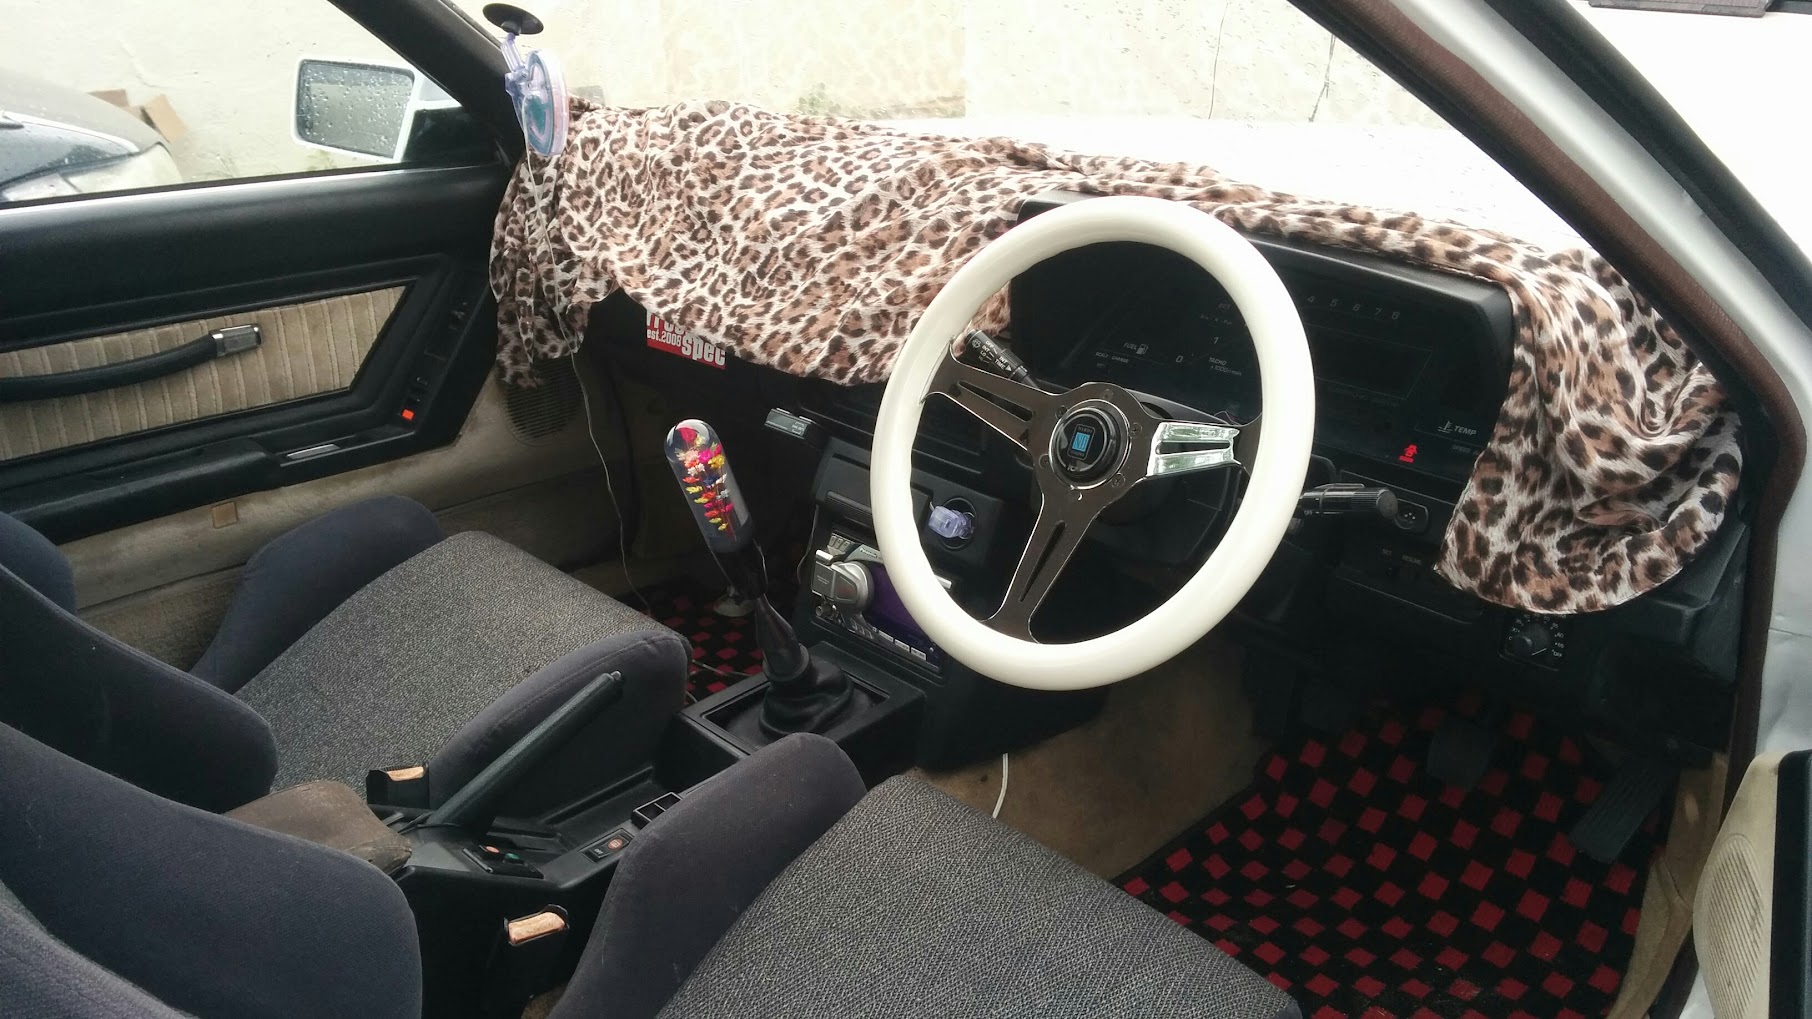
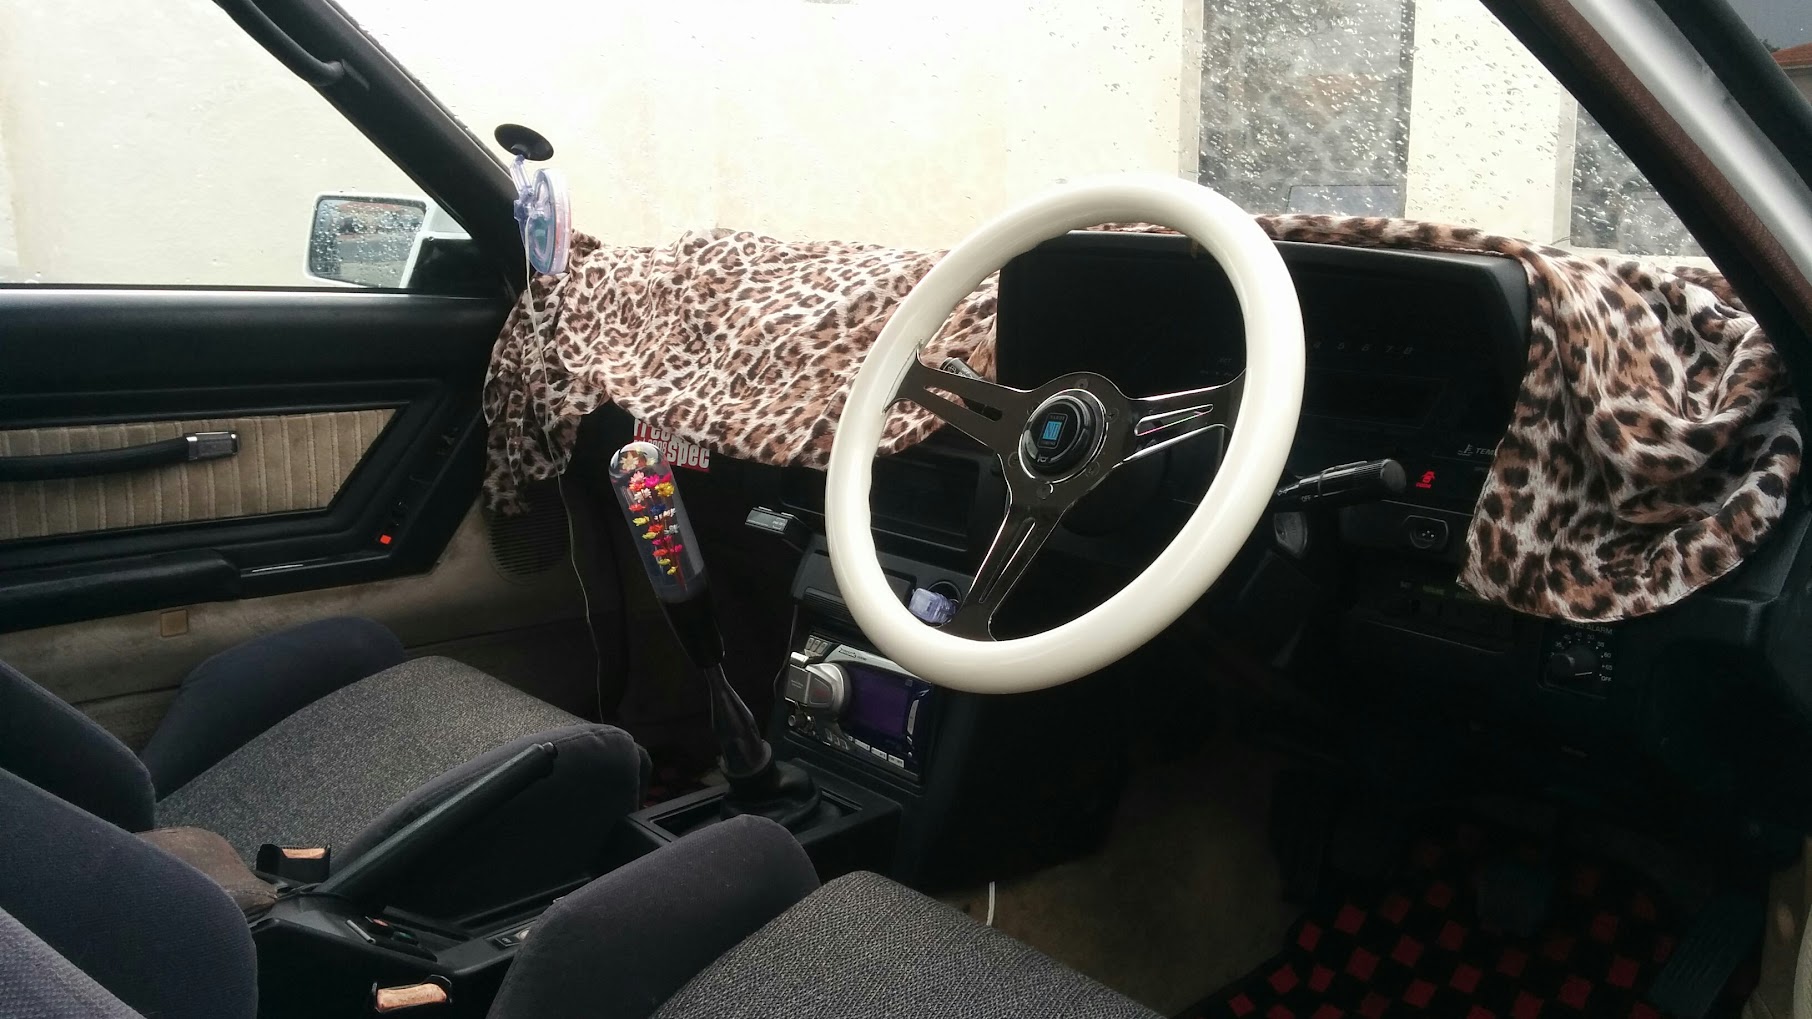
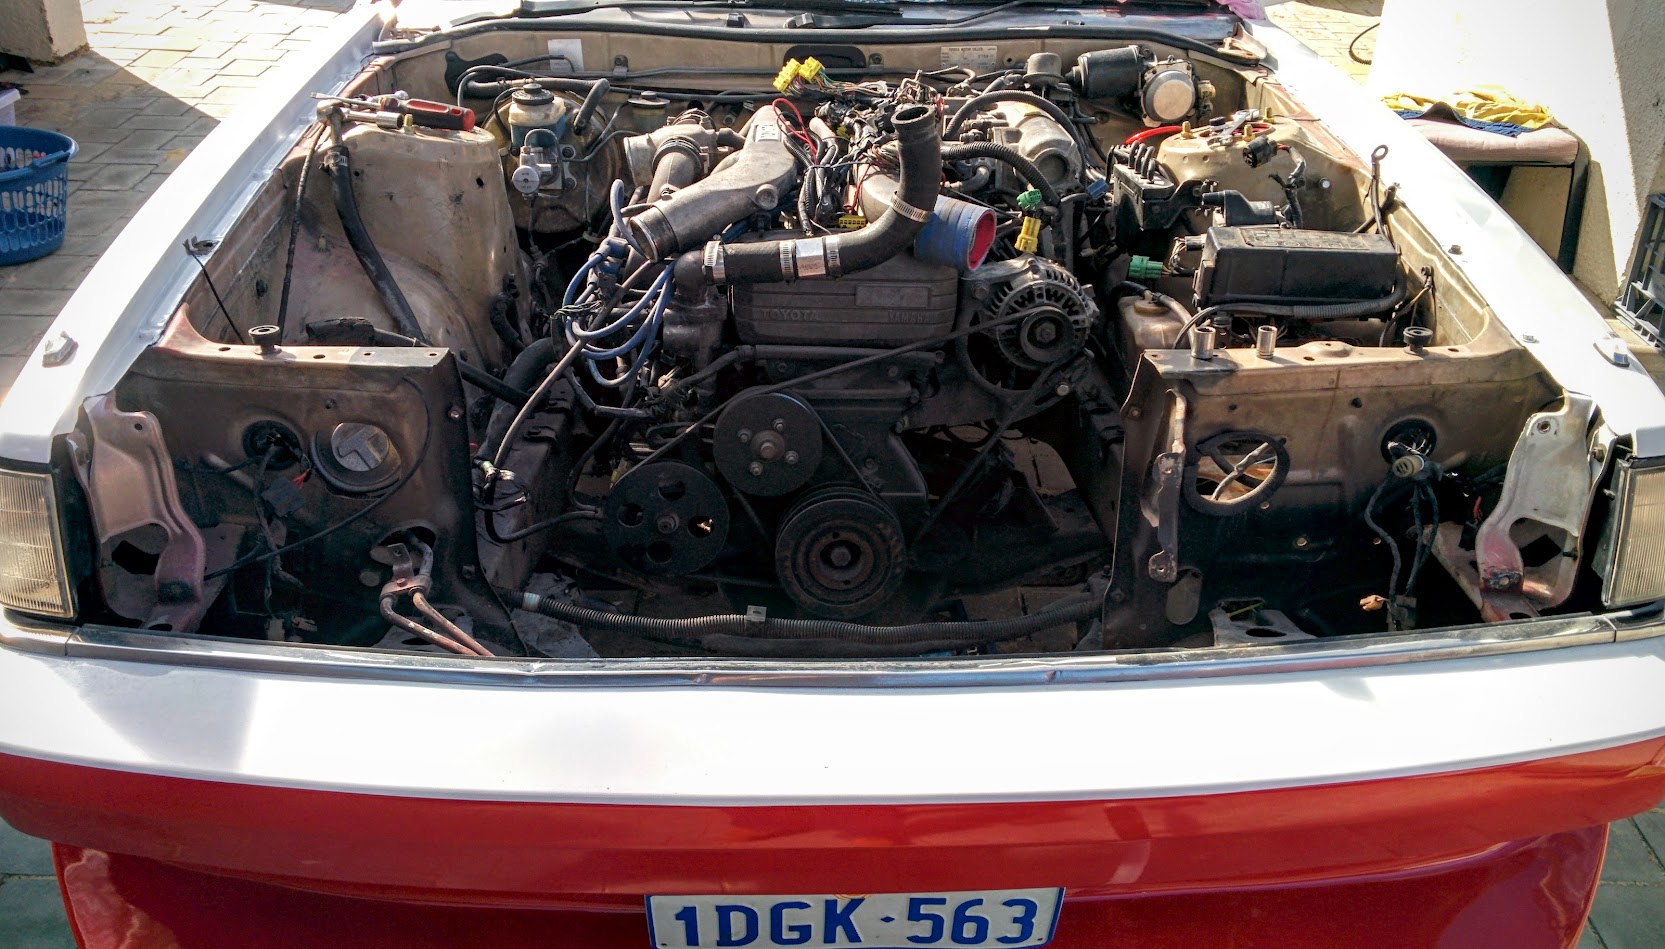
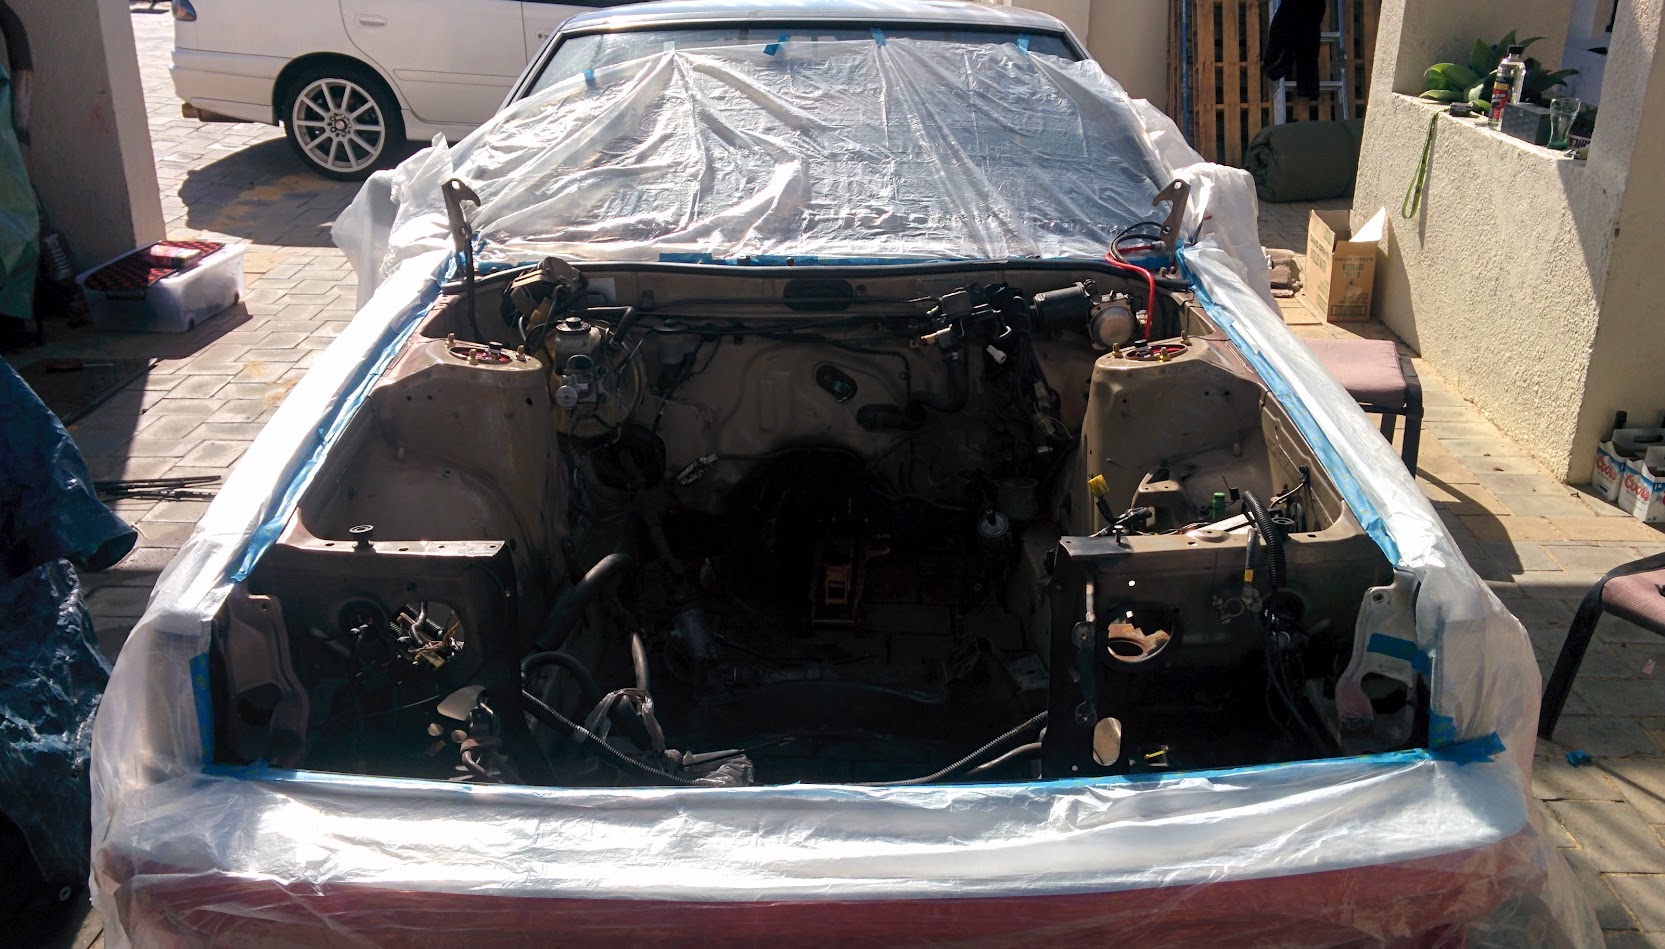
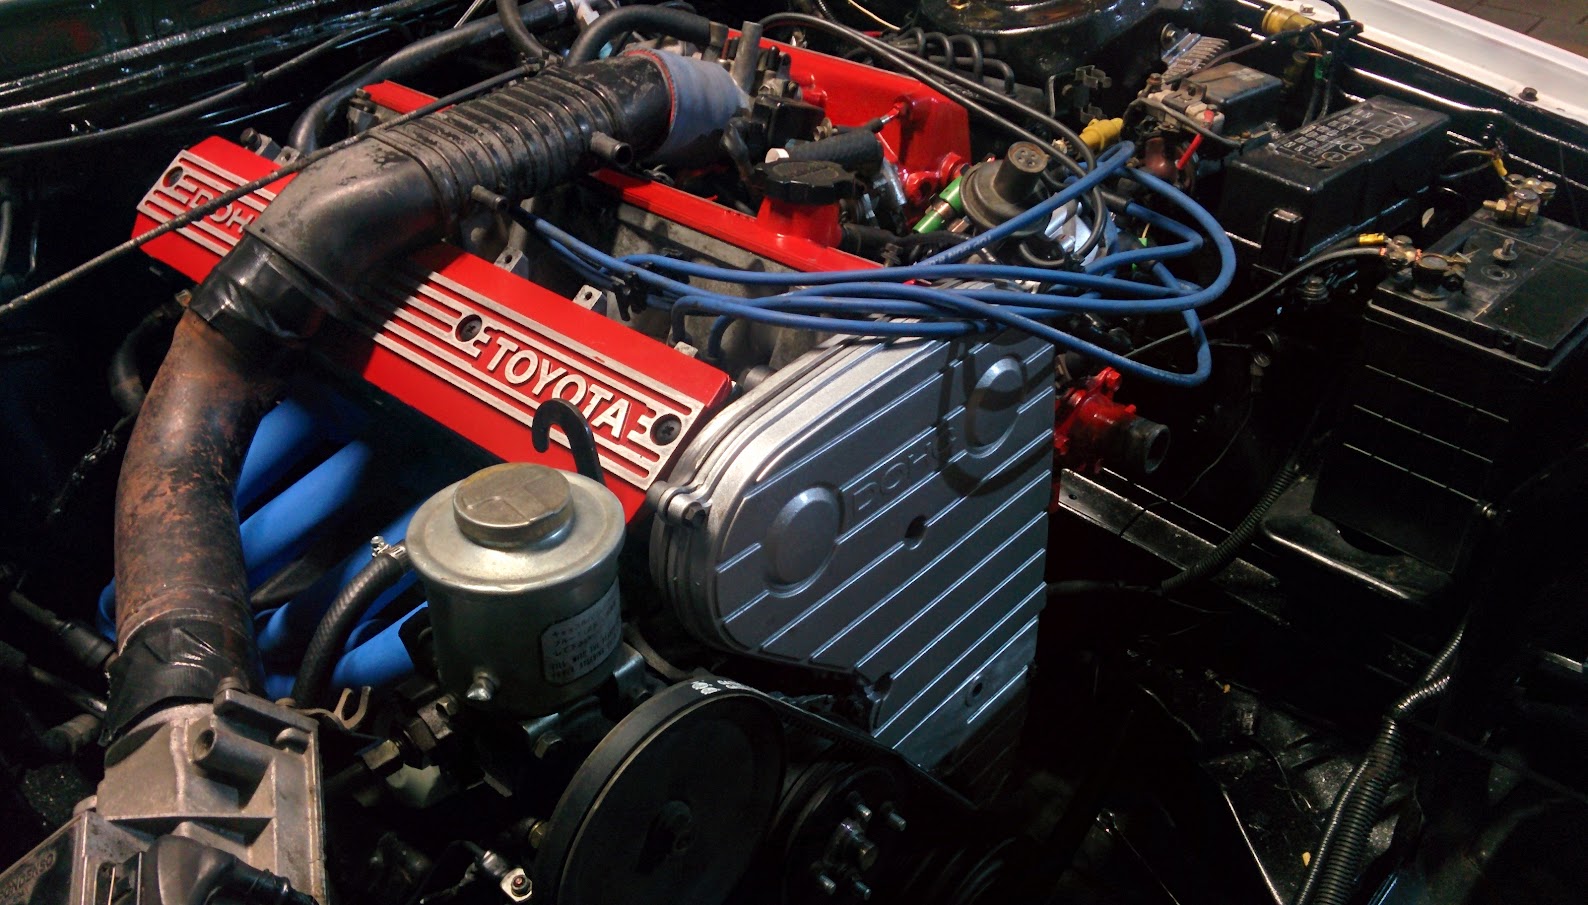
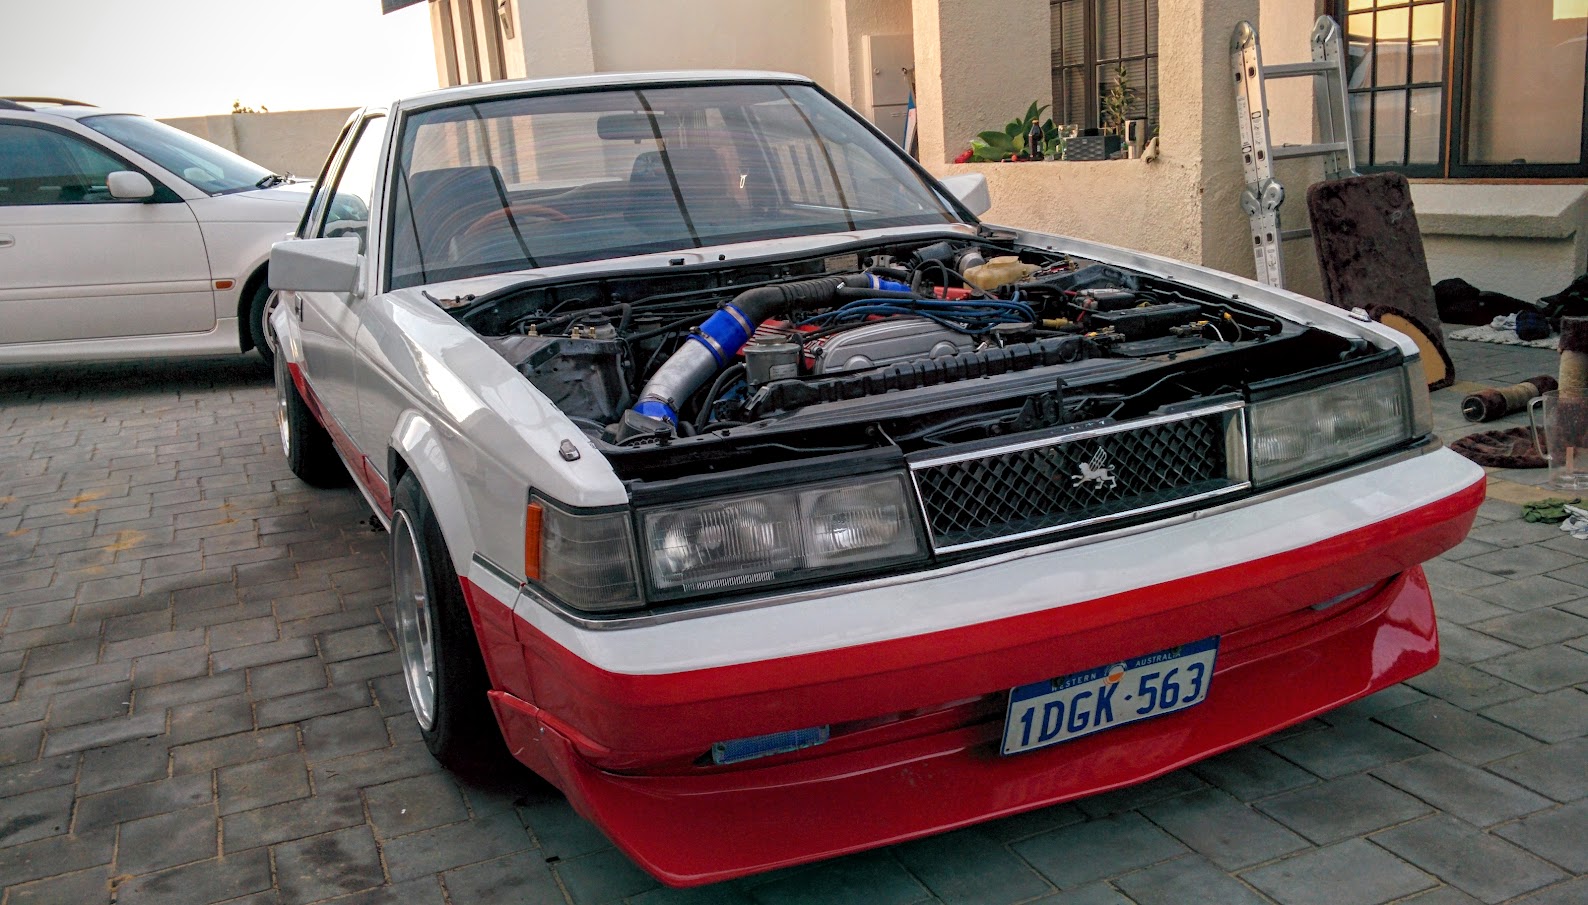
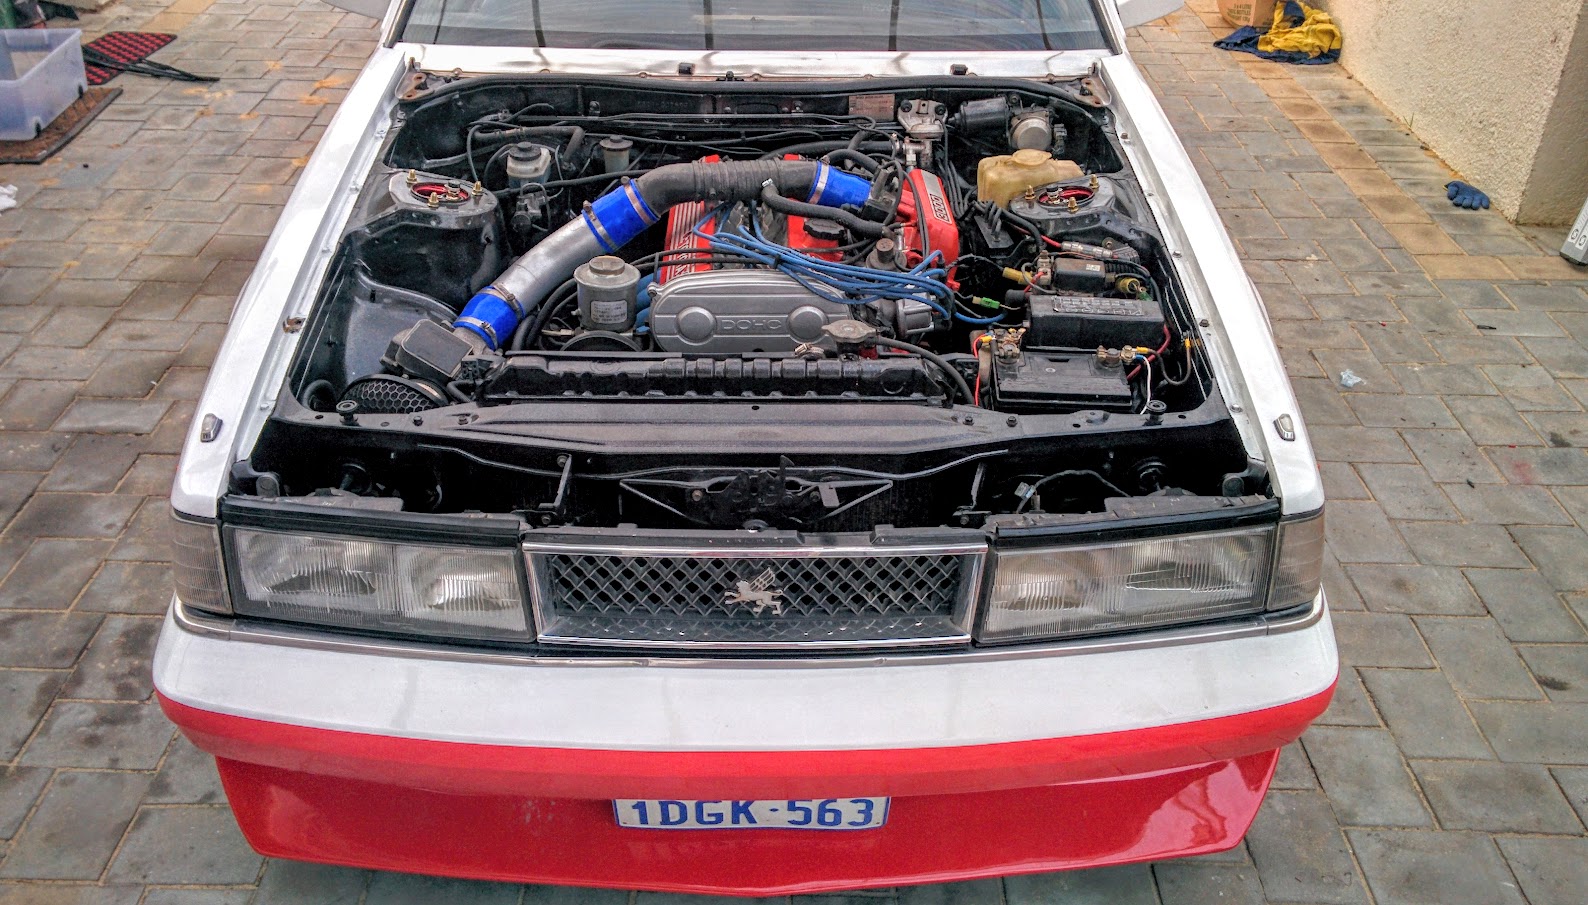
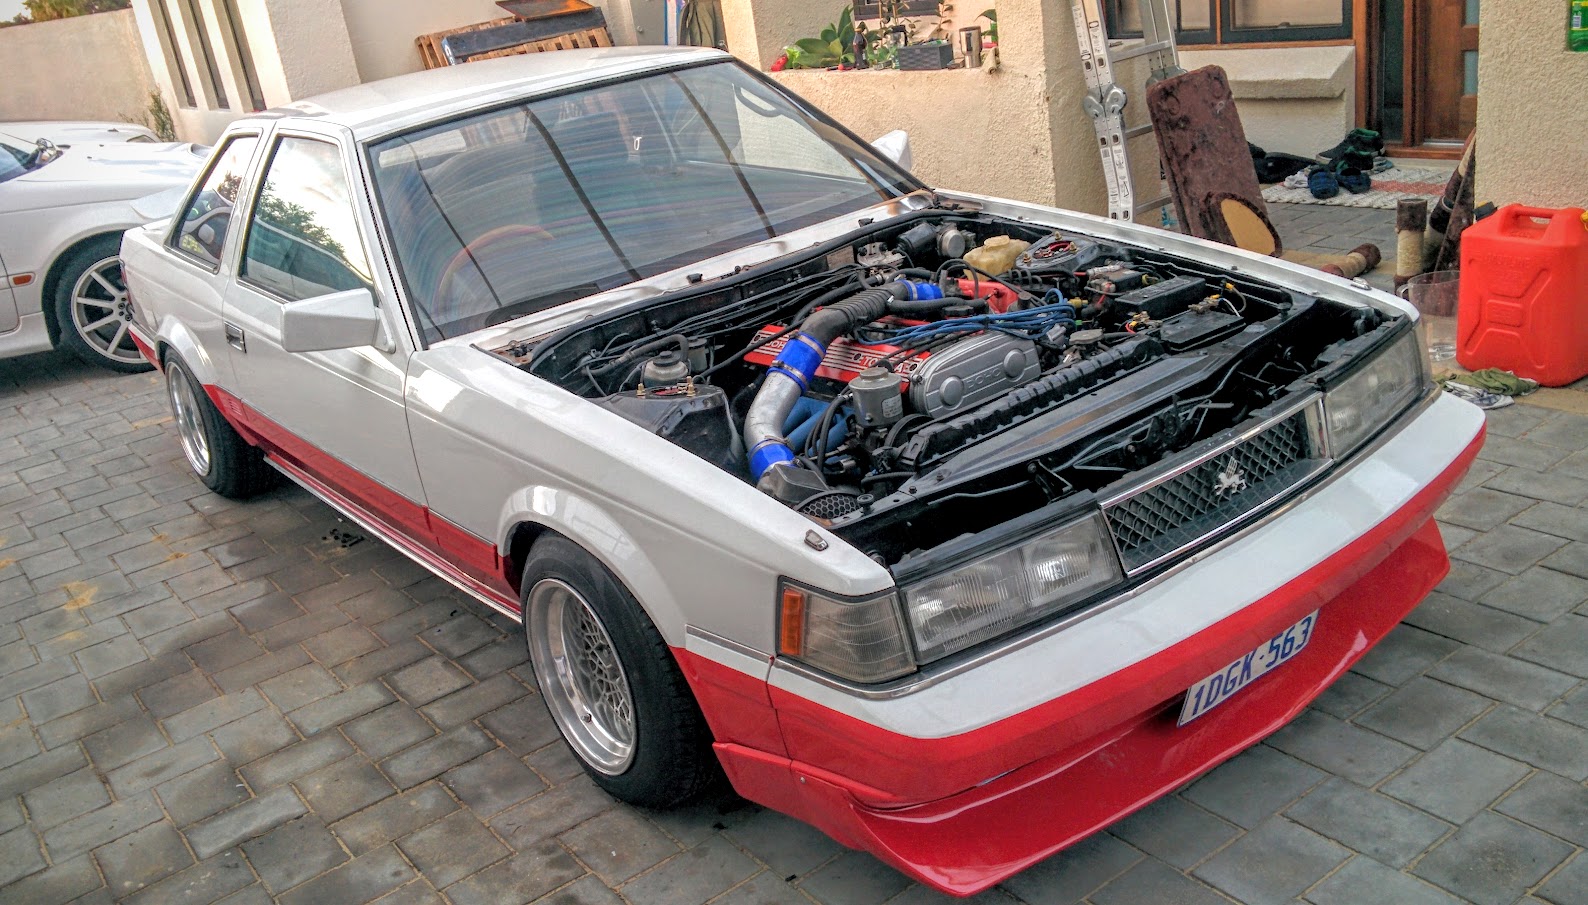
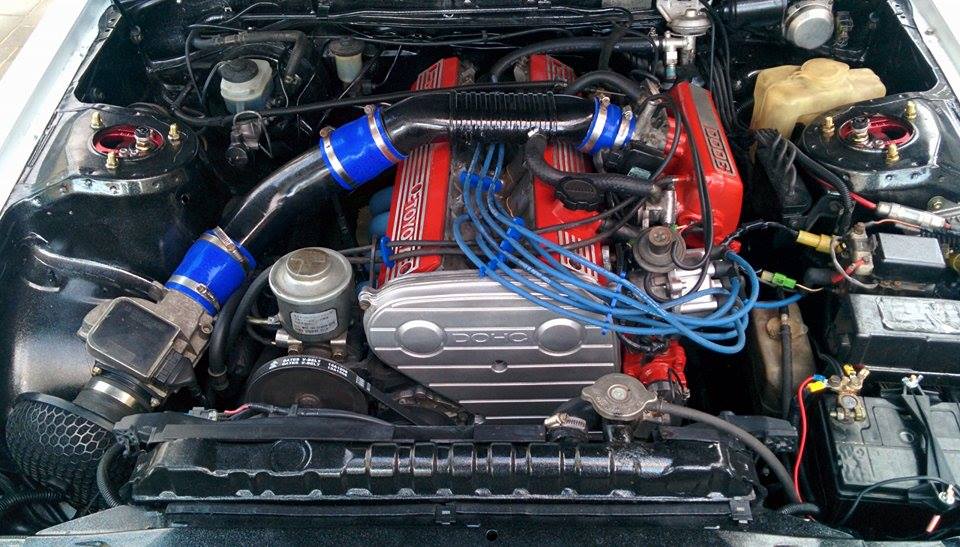
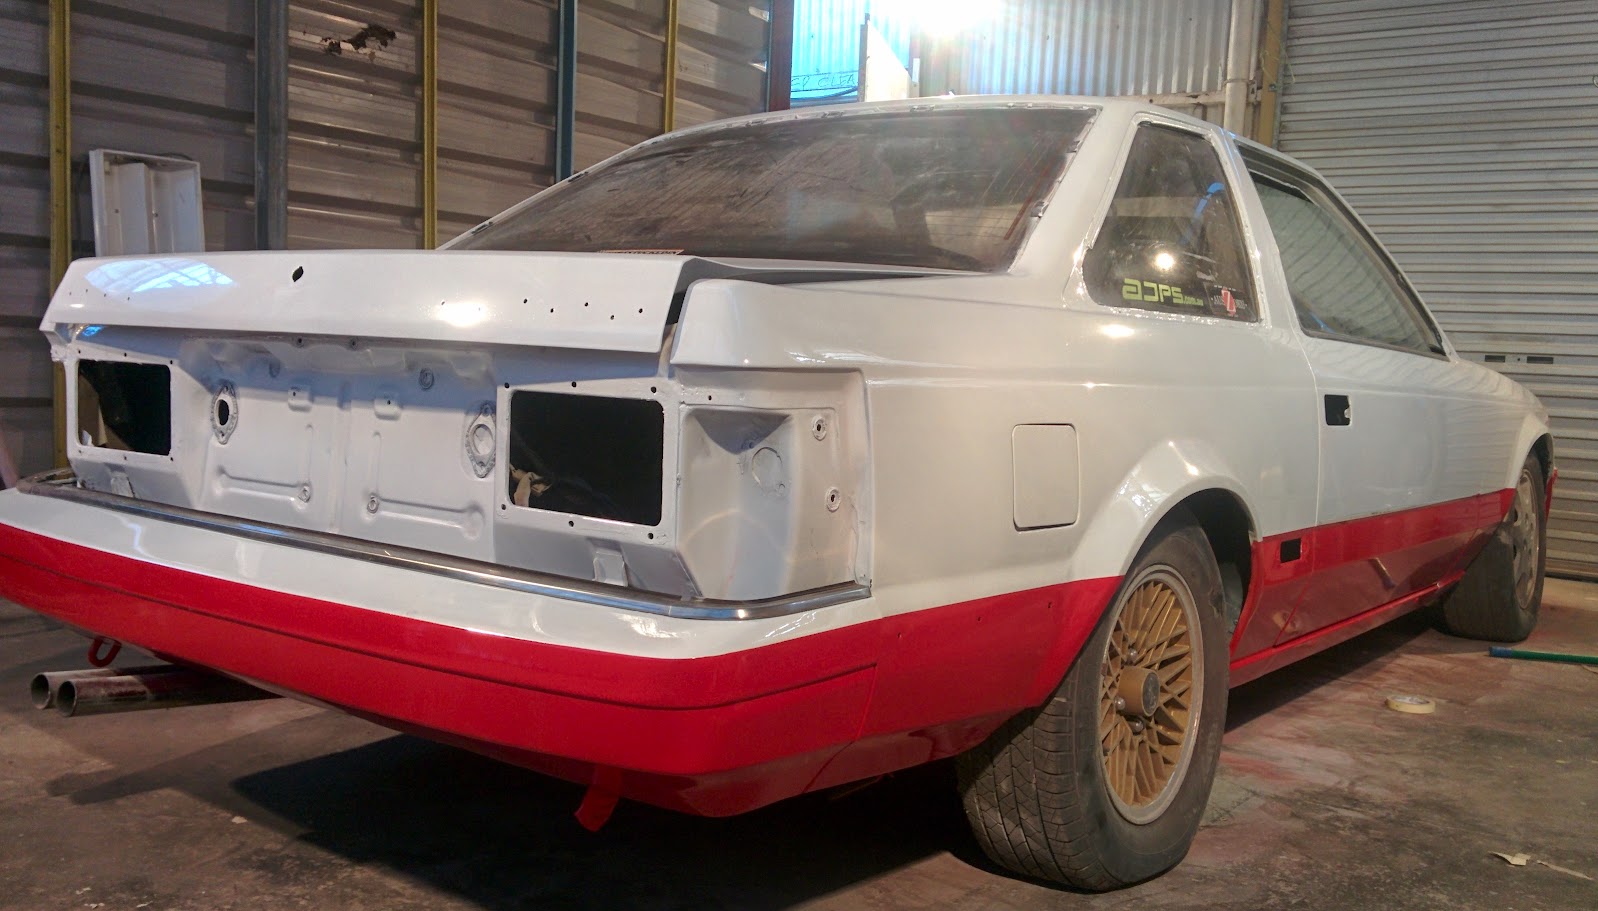
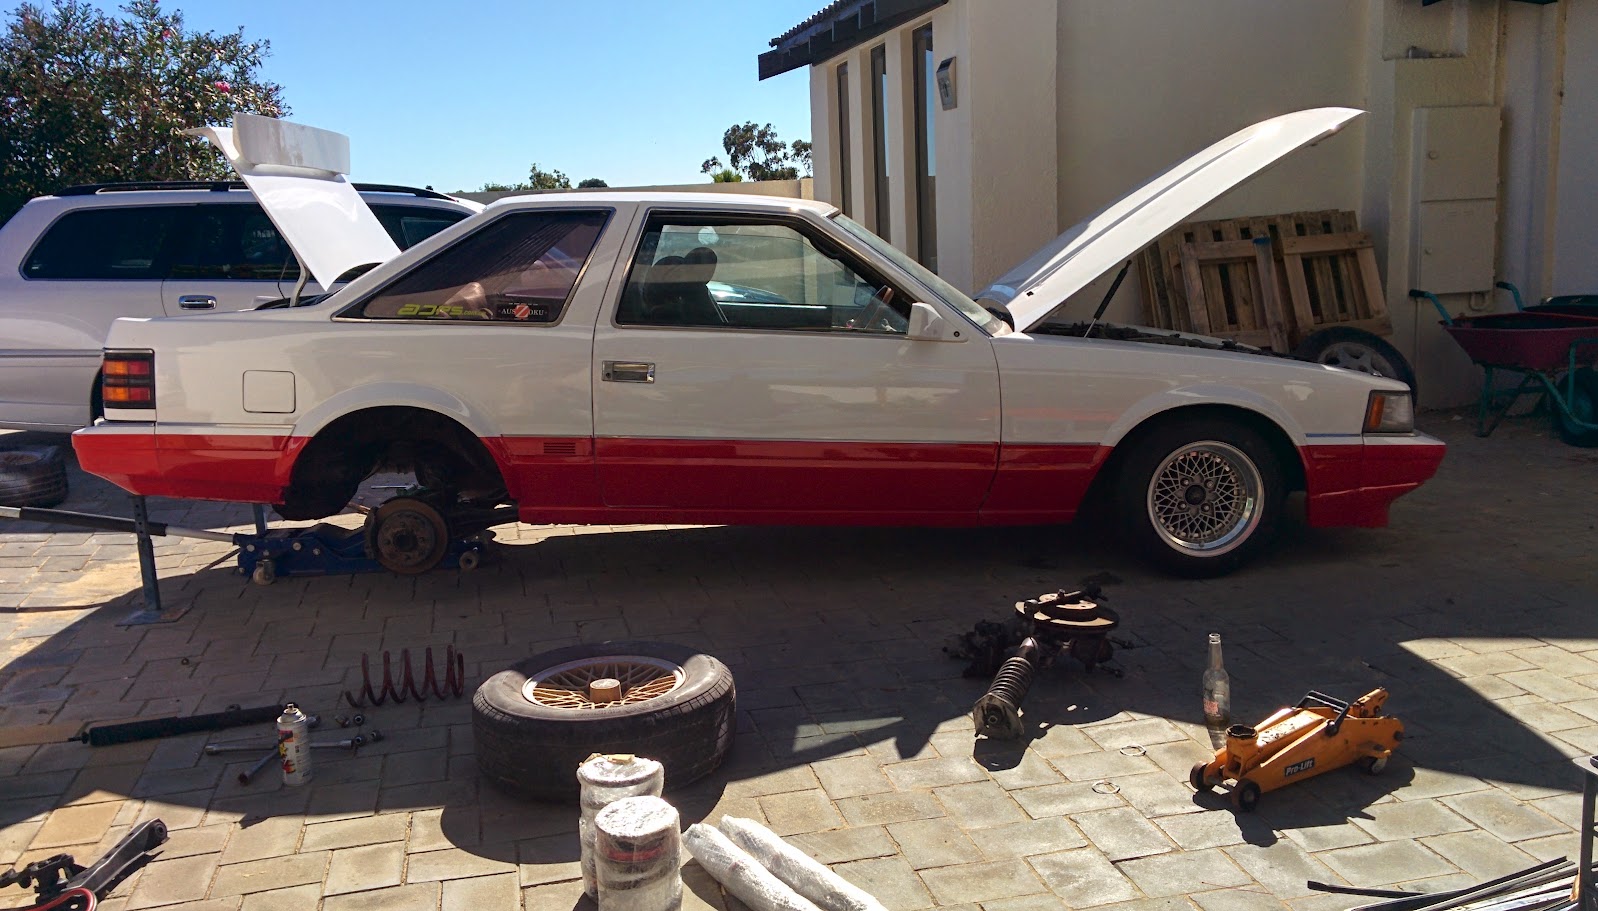
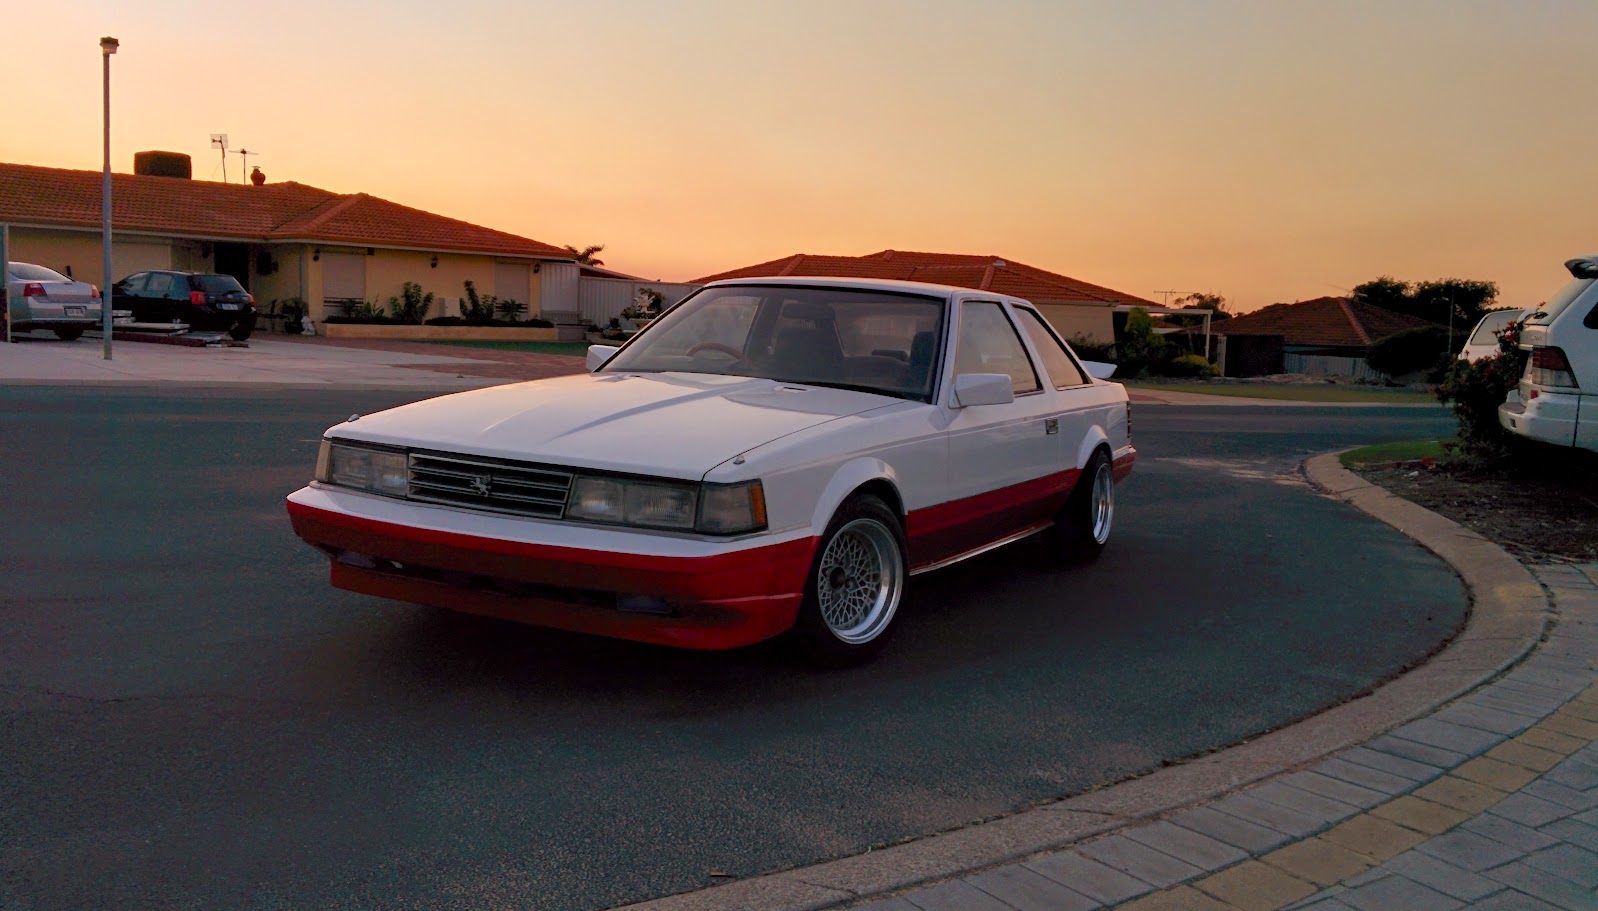
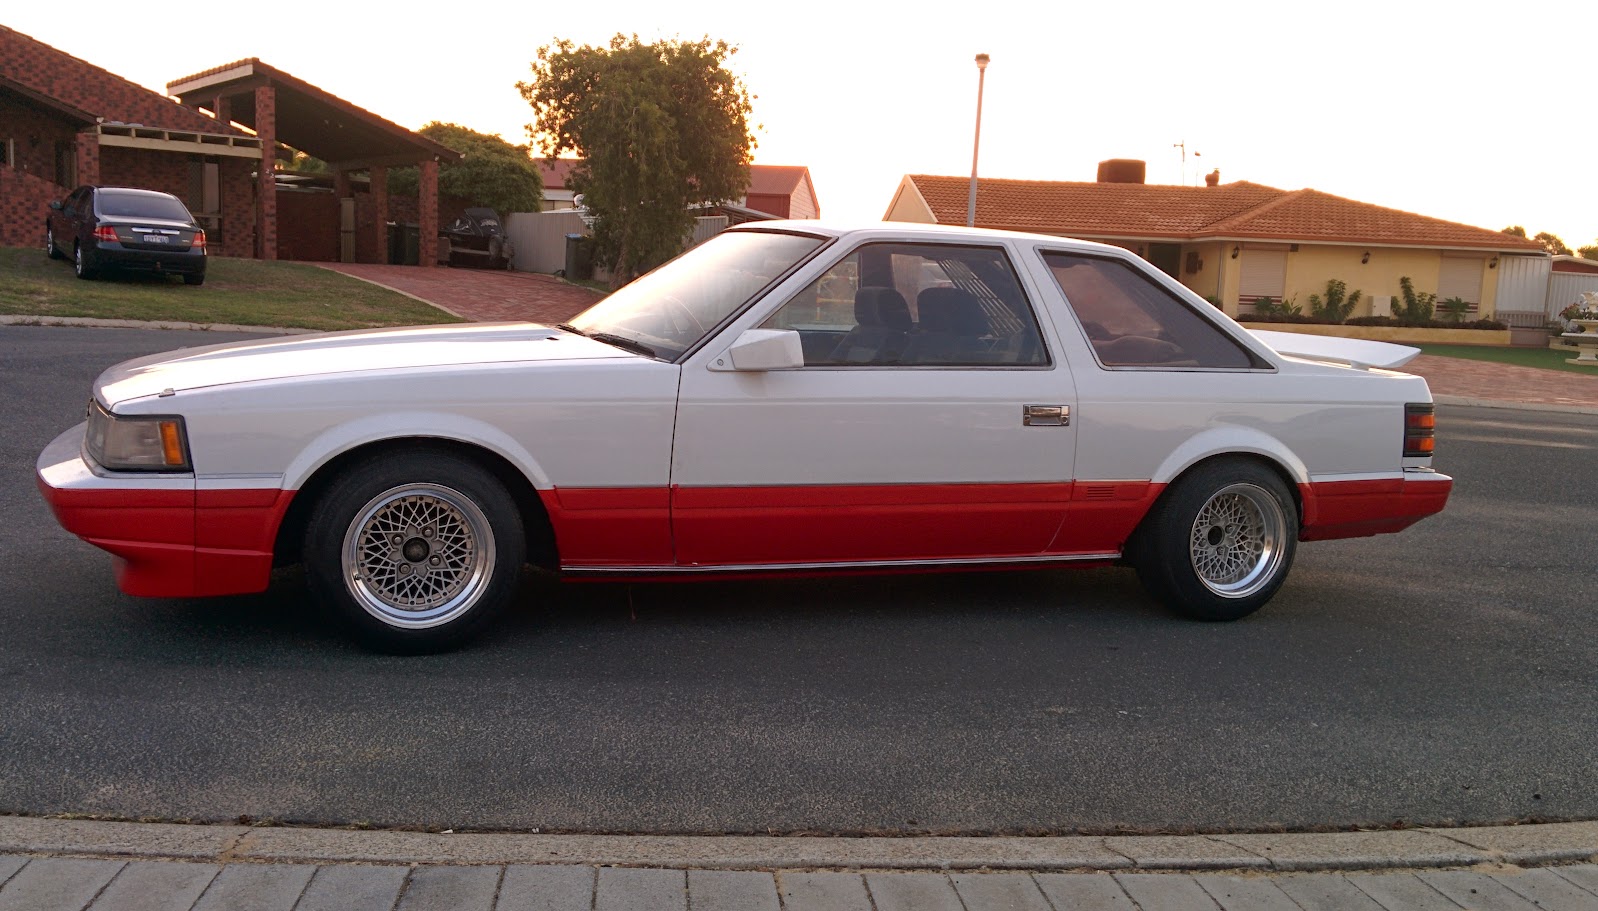
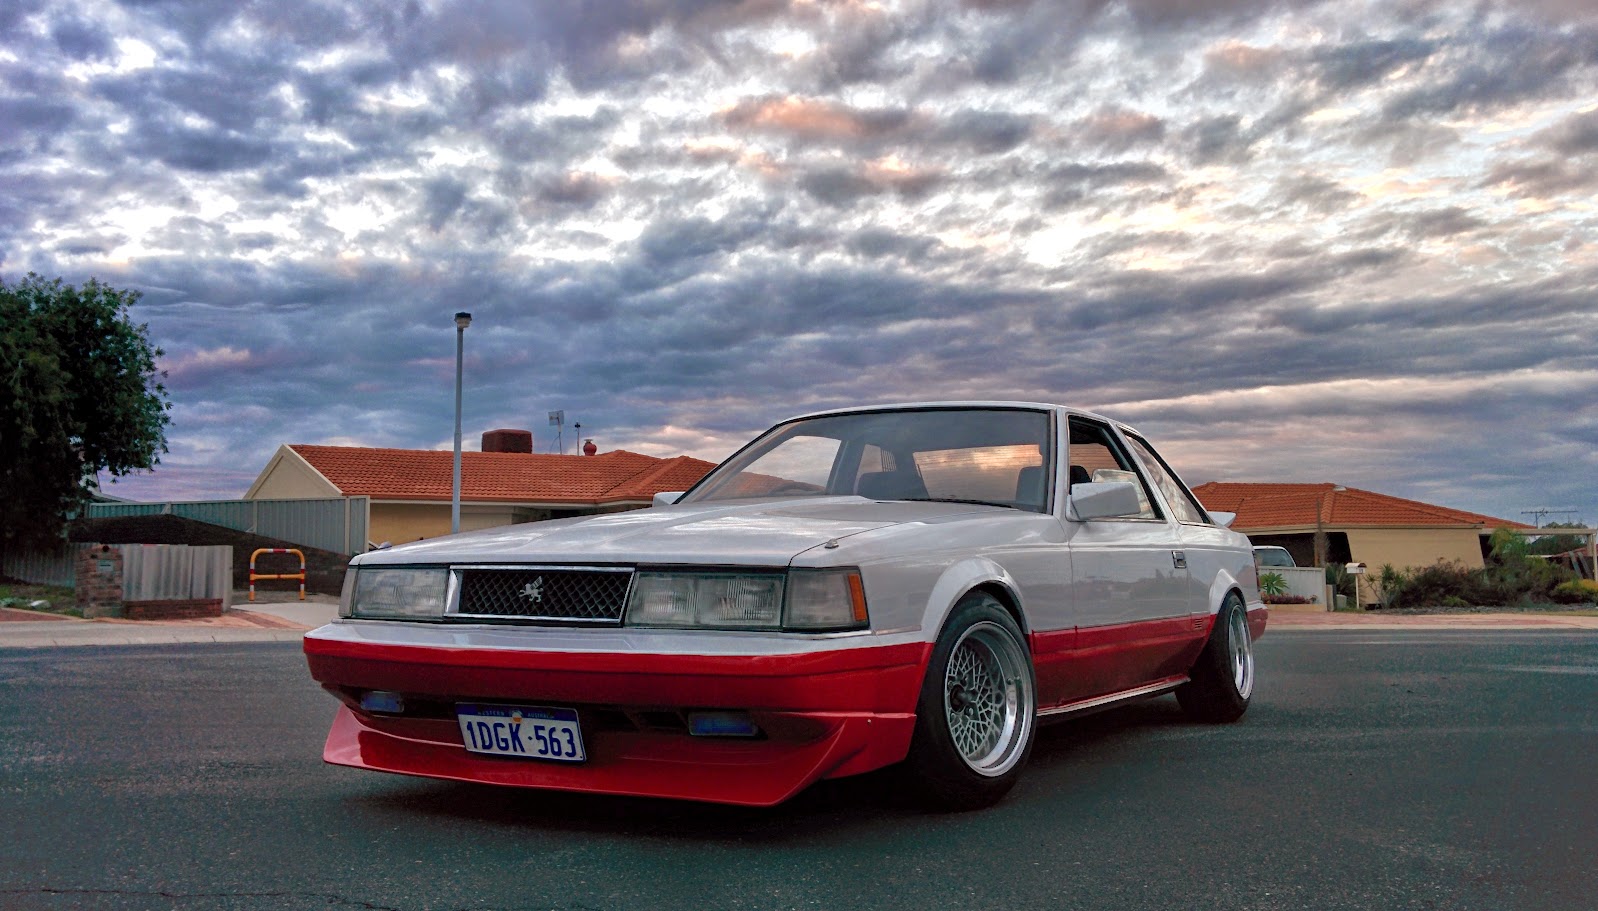
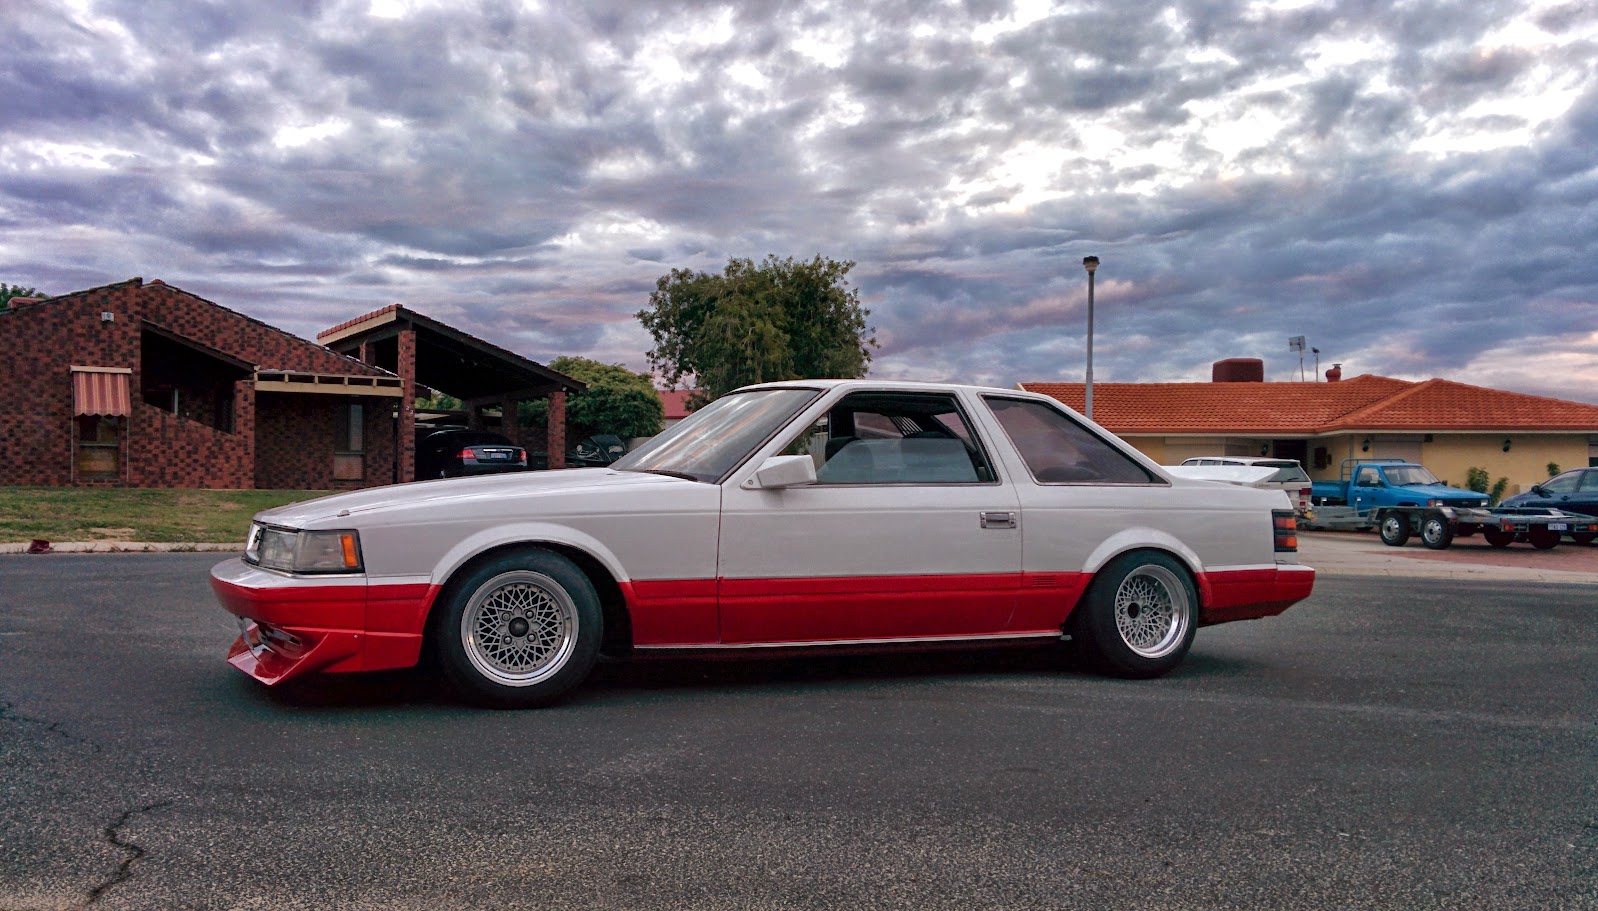
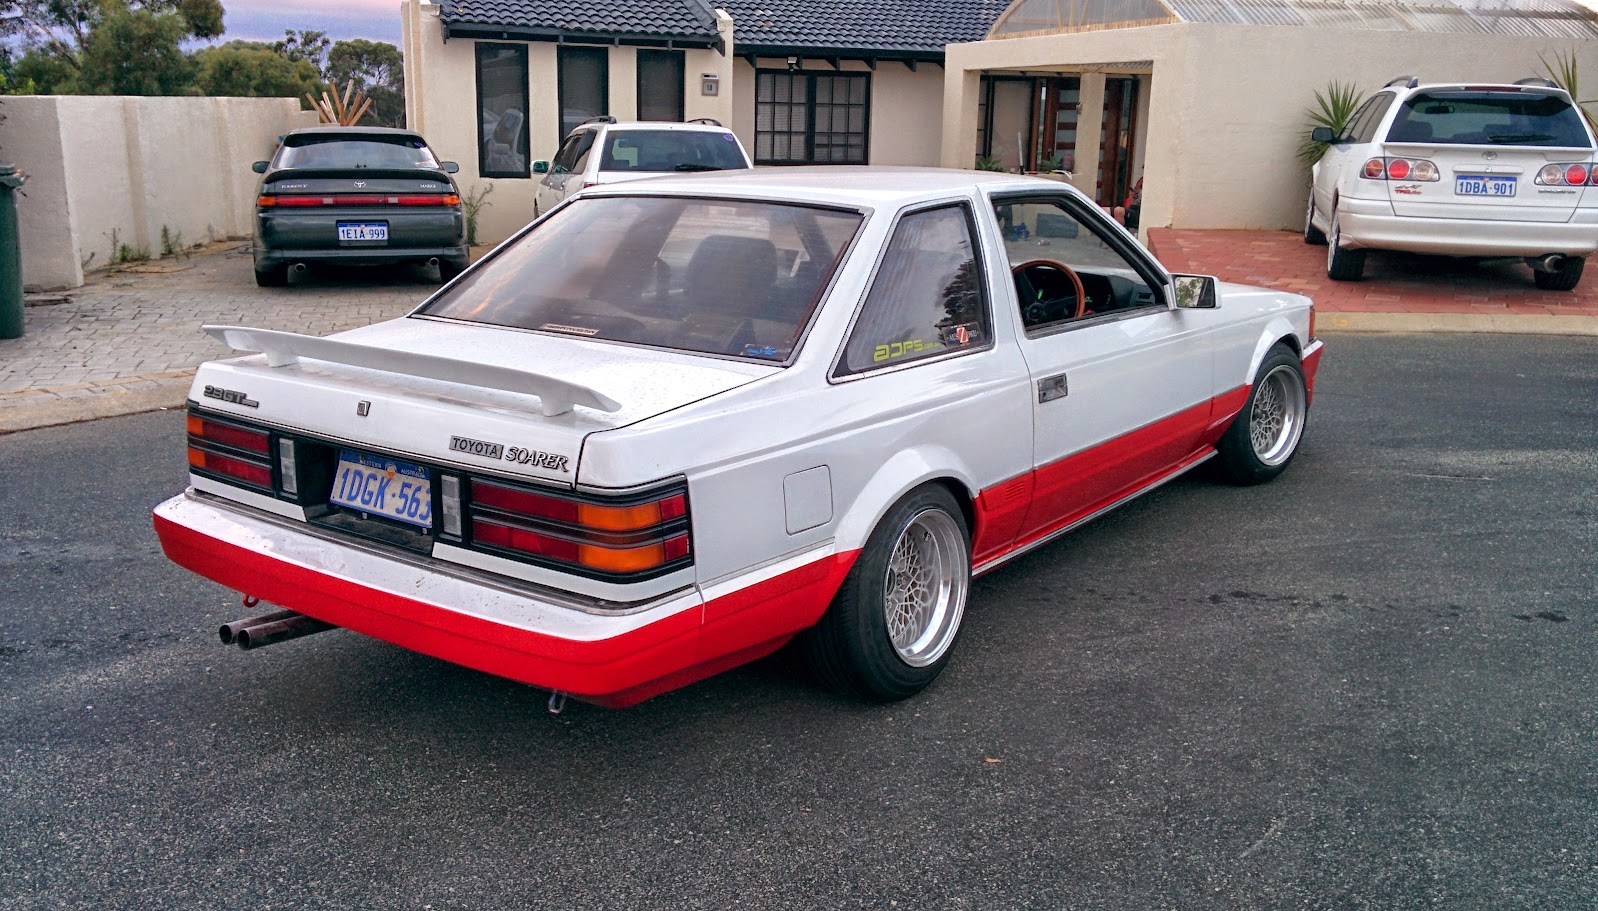
Later in the week, I wanted to get the MZ11 running again. Not that it wasn’t able to run, I wanted to go for a drive in it.

IMG_20160404_091016

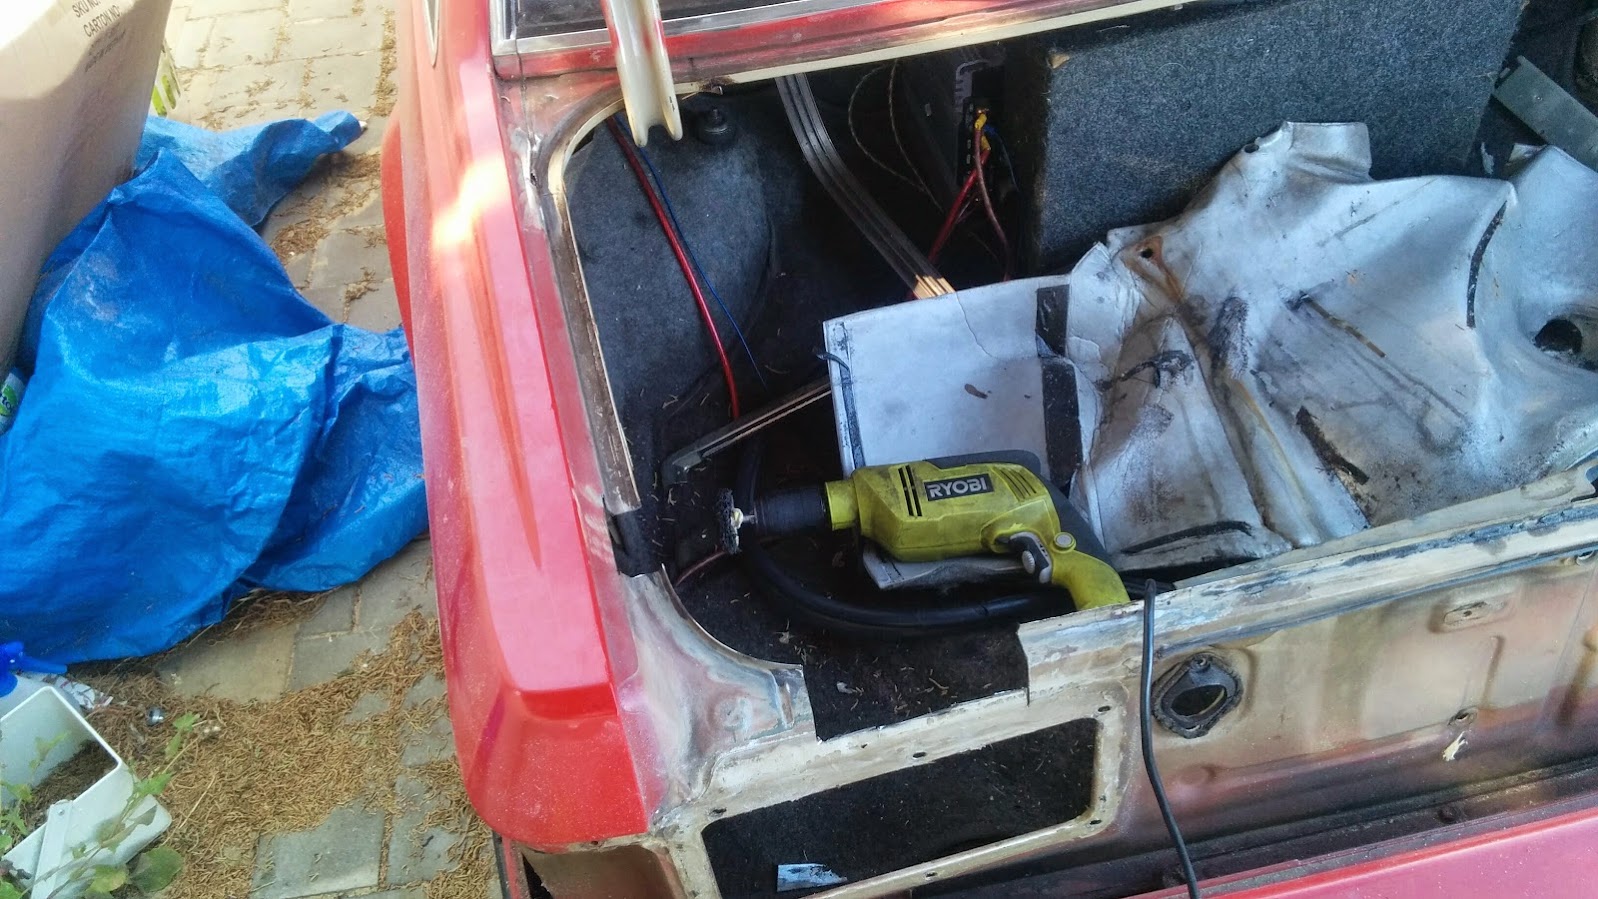
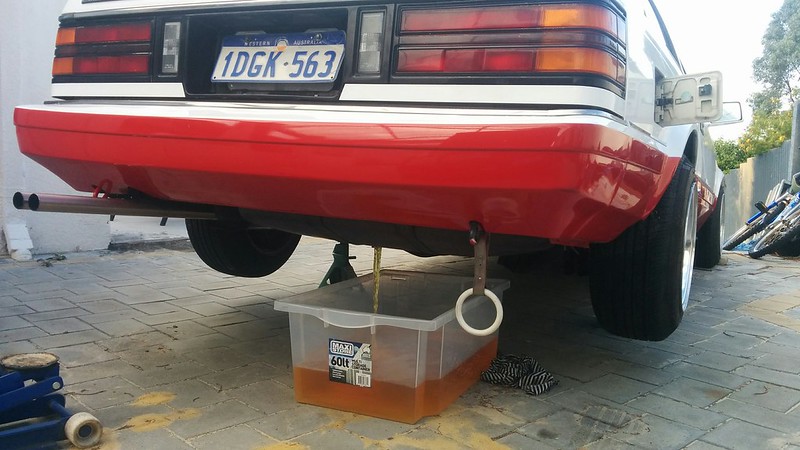
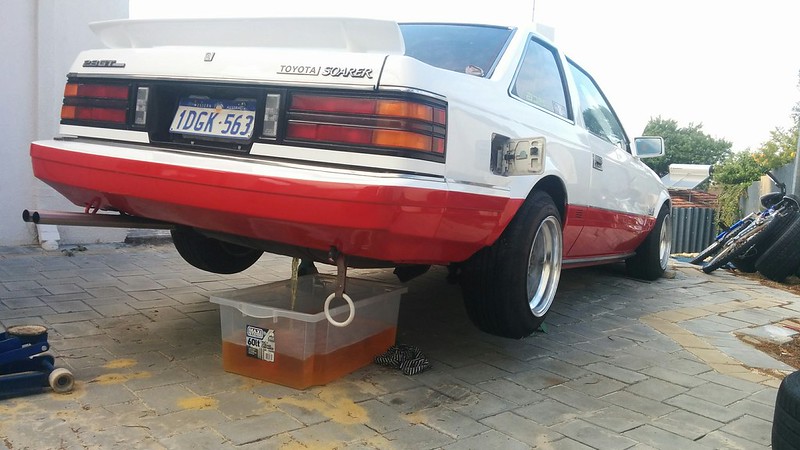
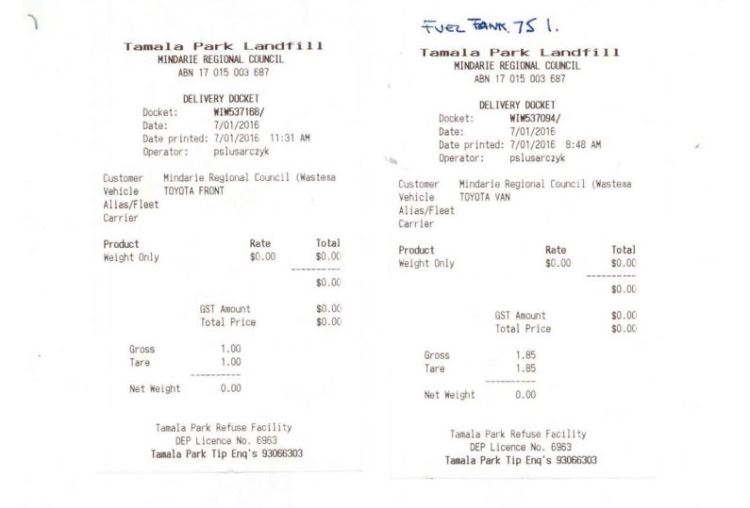
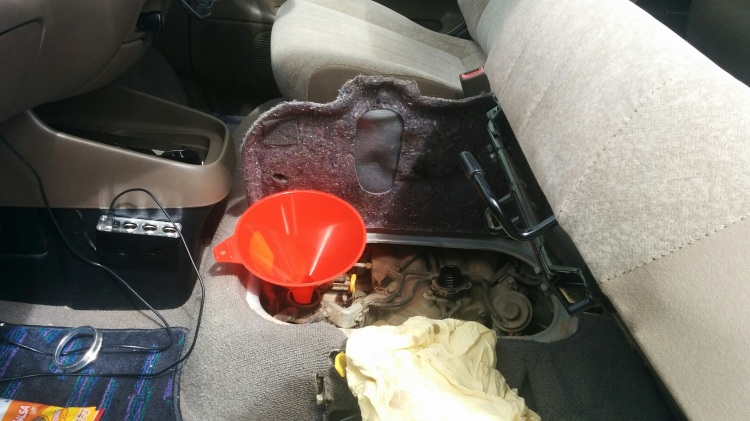
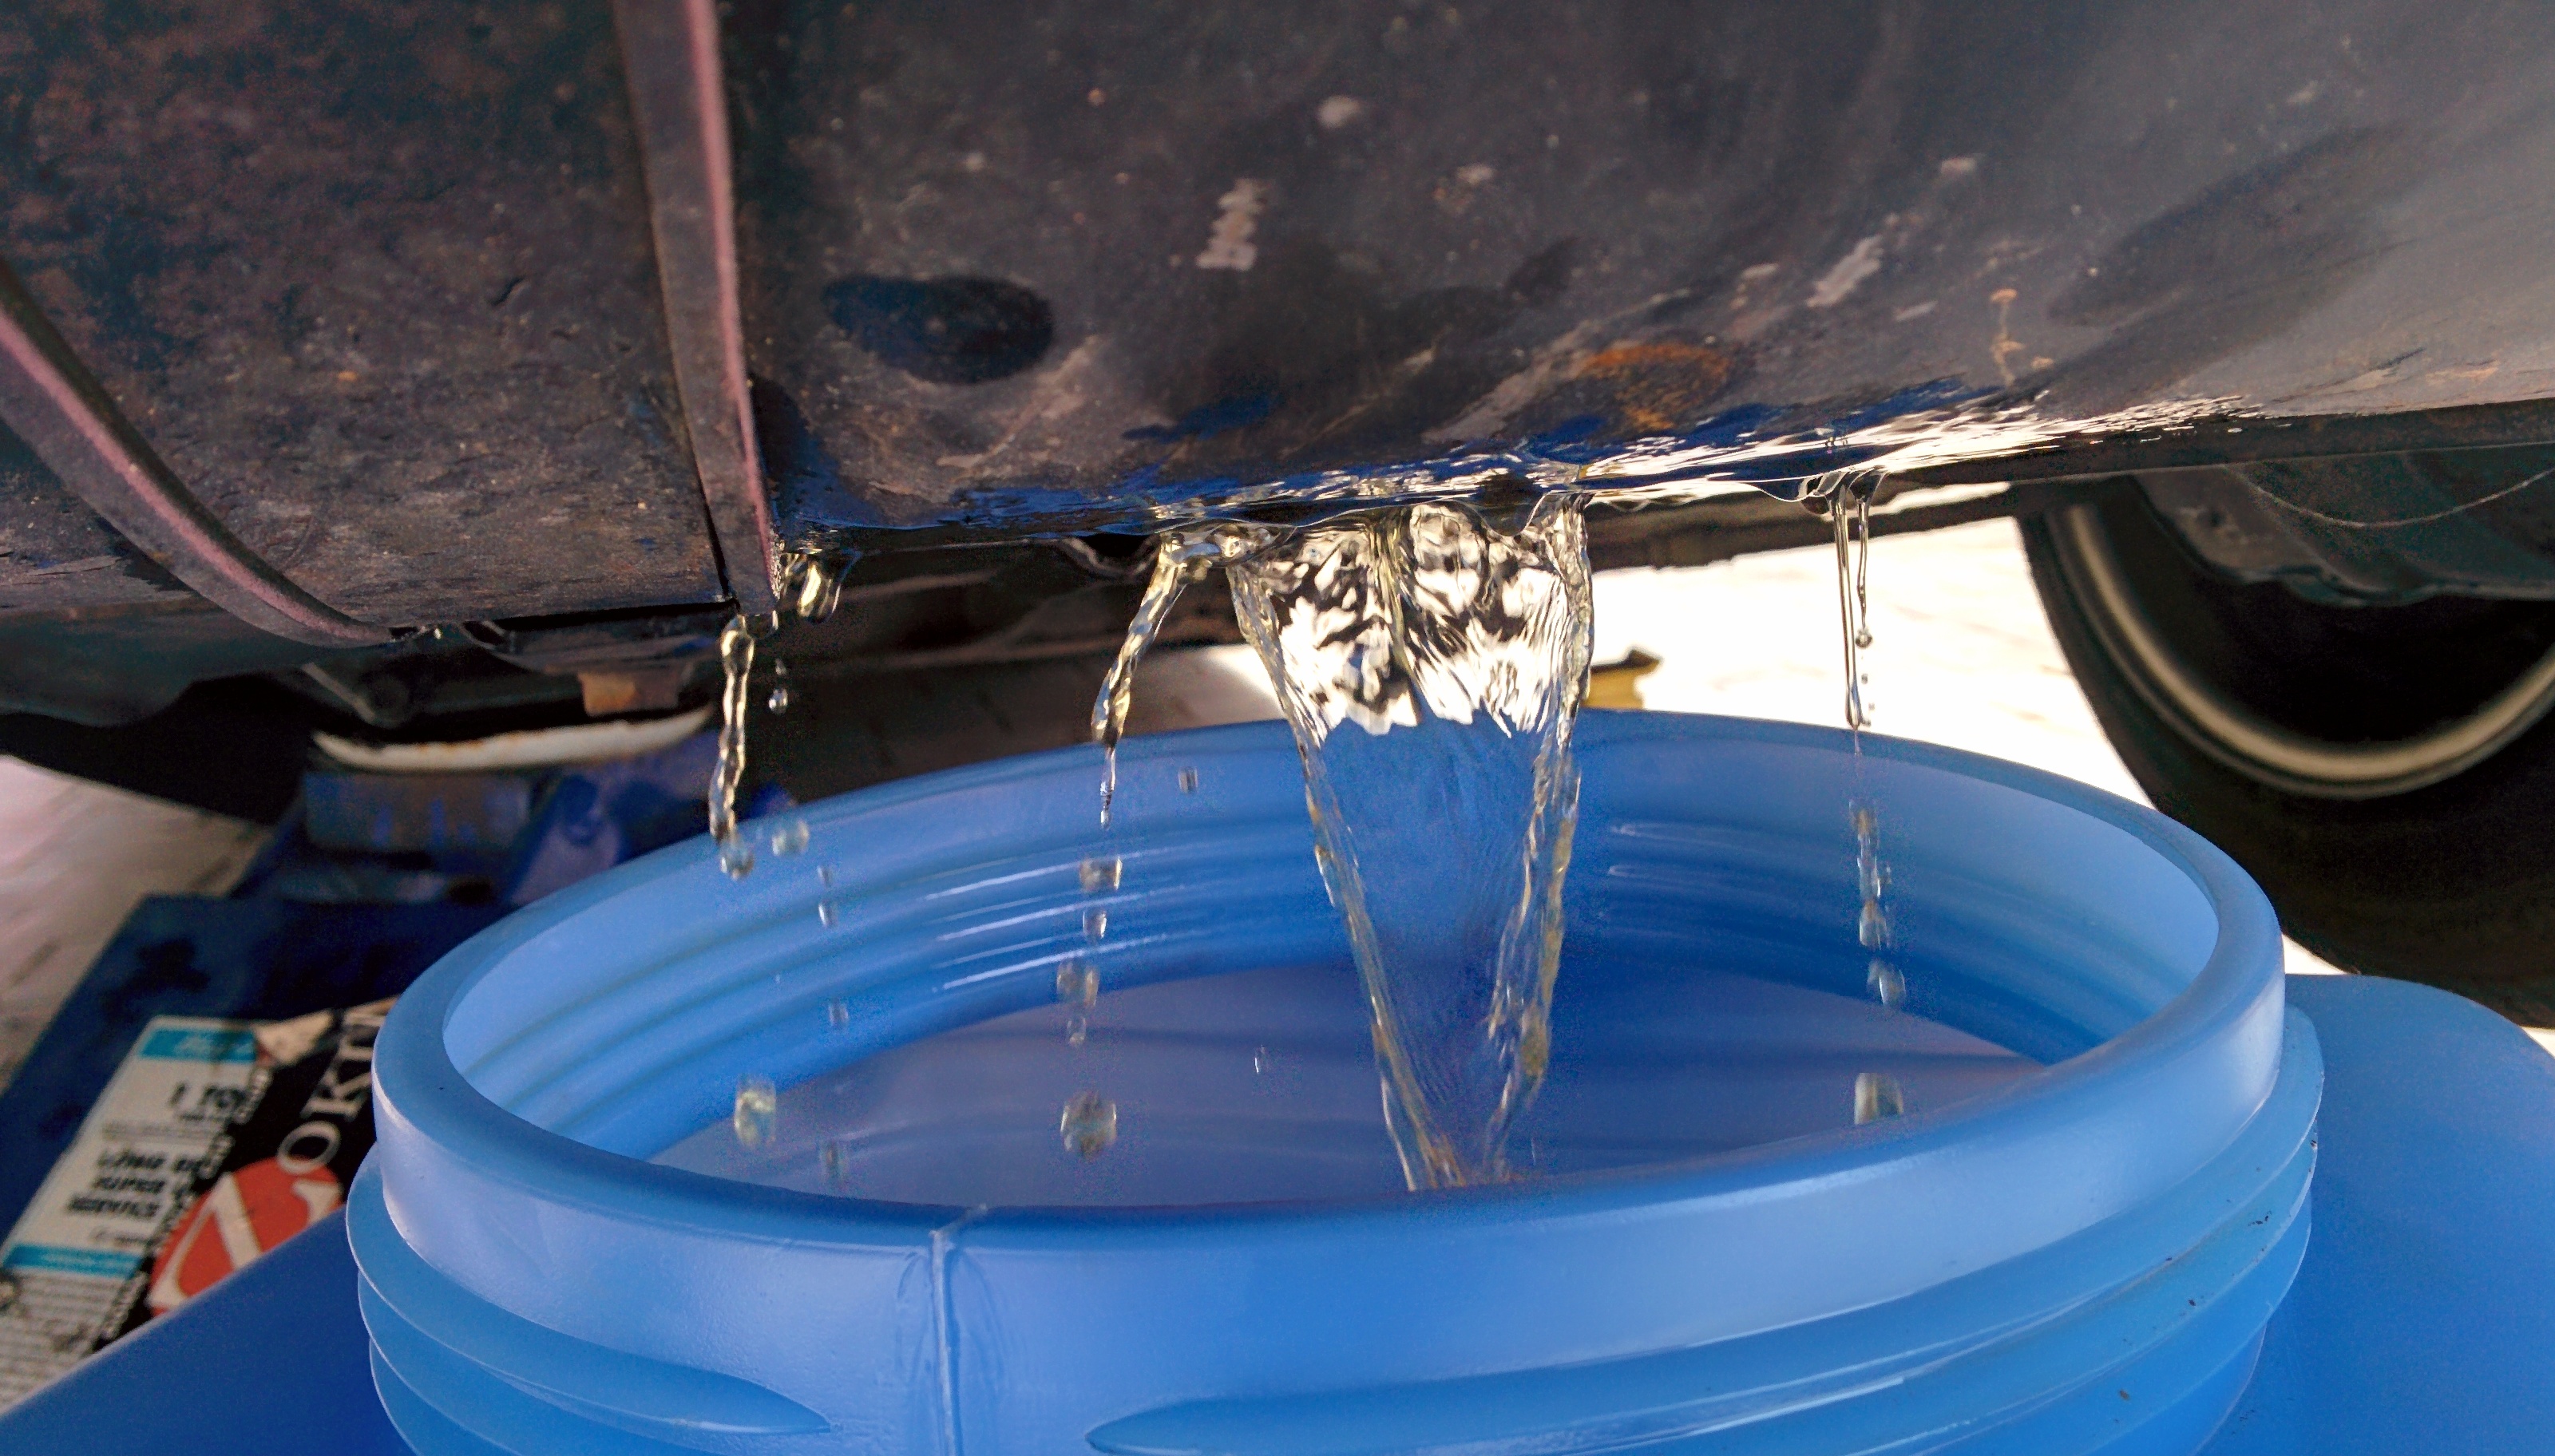
But first, the fuel in the tank was from ~October 2015…. 5 months ago. So once again, time to dump that expired junk out of the tank and into a container…

IMG_20160401_085553
IMG_20160401_085611

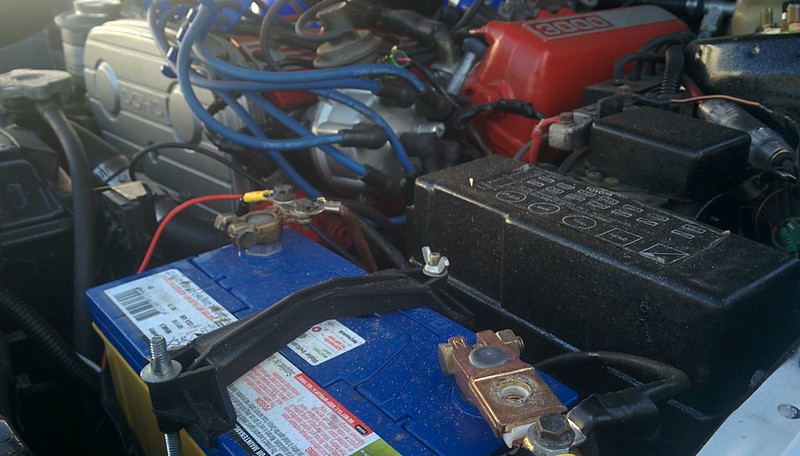
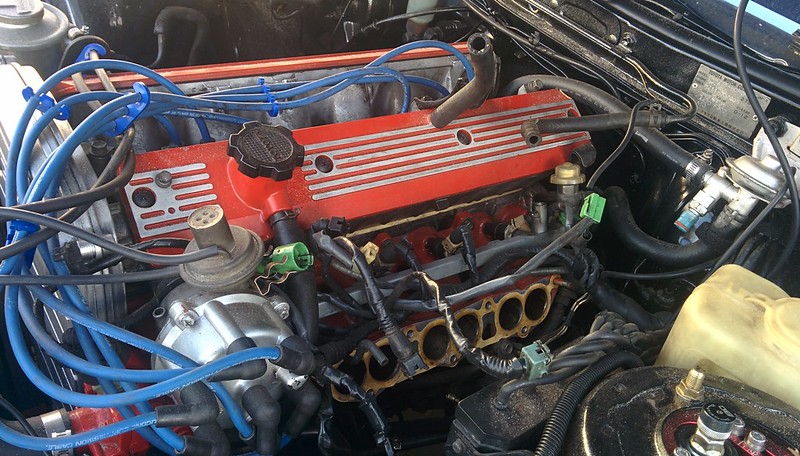
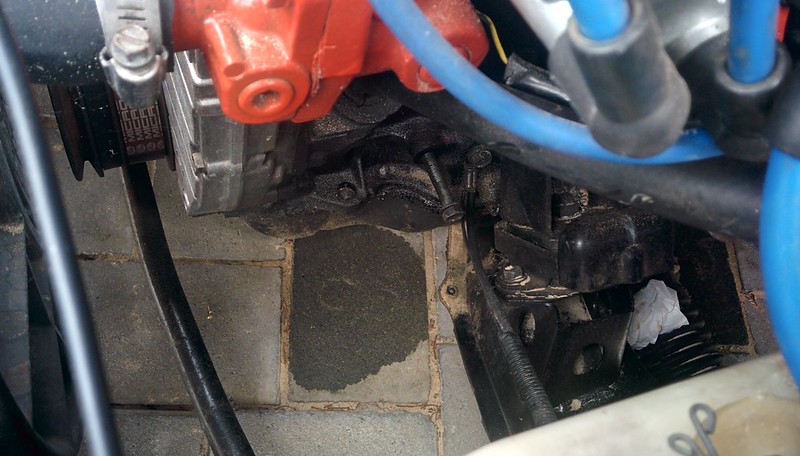
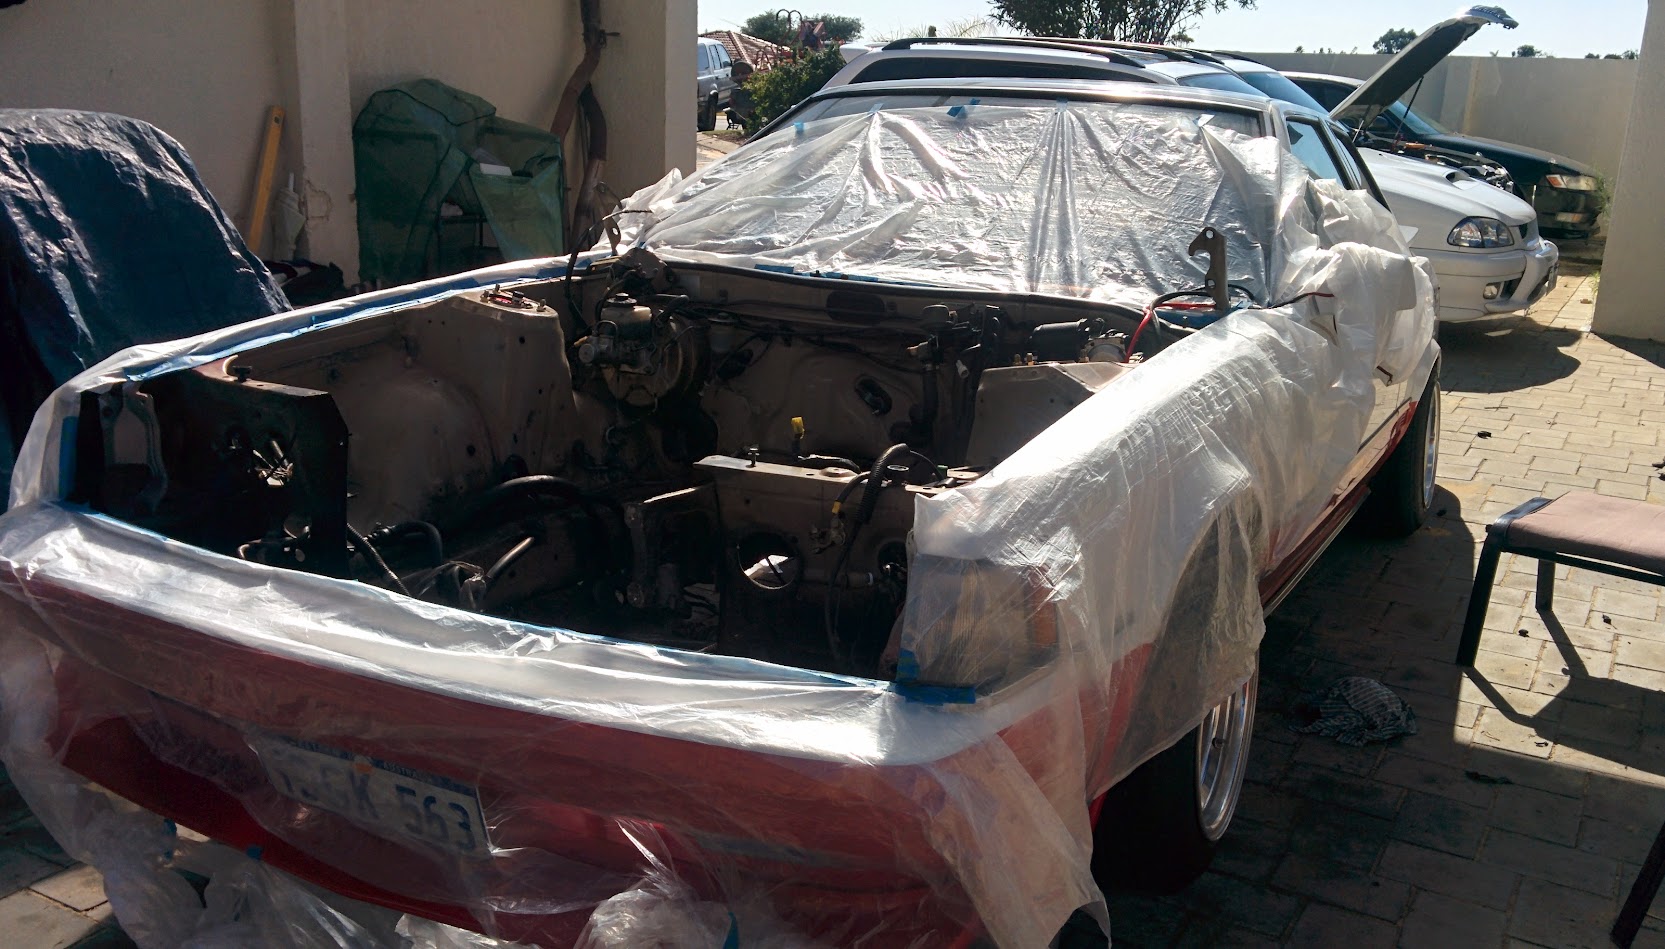
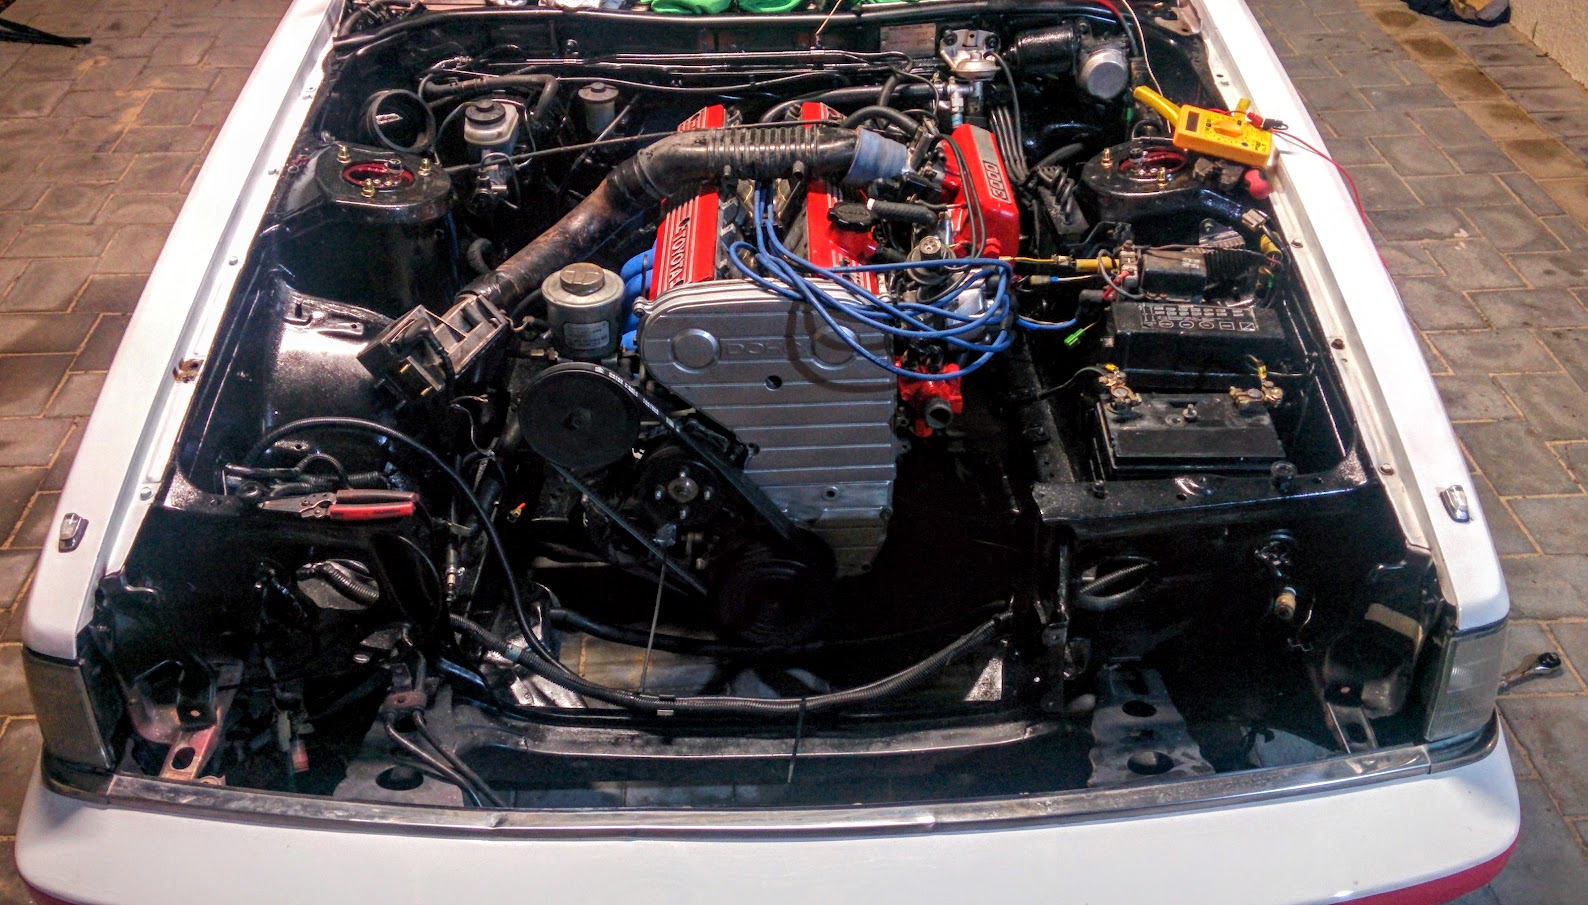
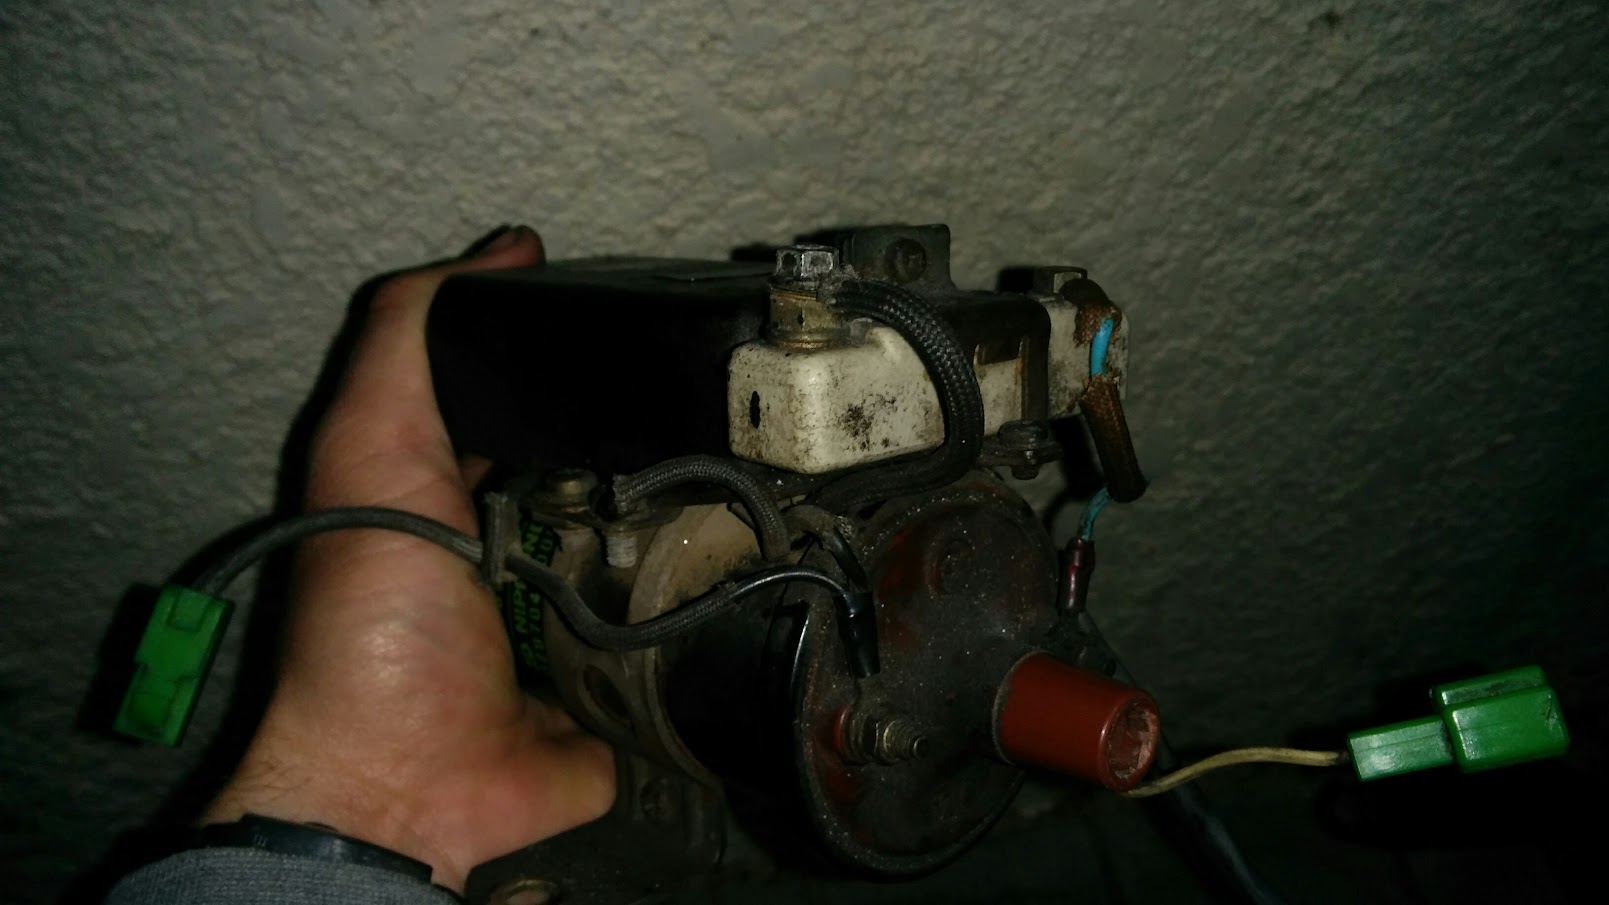
After a re-fill with my local BP’s finest 98ron, I powered the MZ11 up which switched on the fuel pump relay, only to find a strong fuel smell coming from the engine bay.

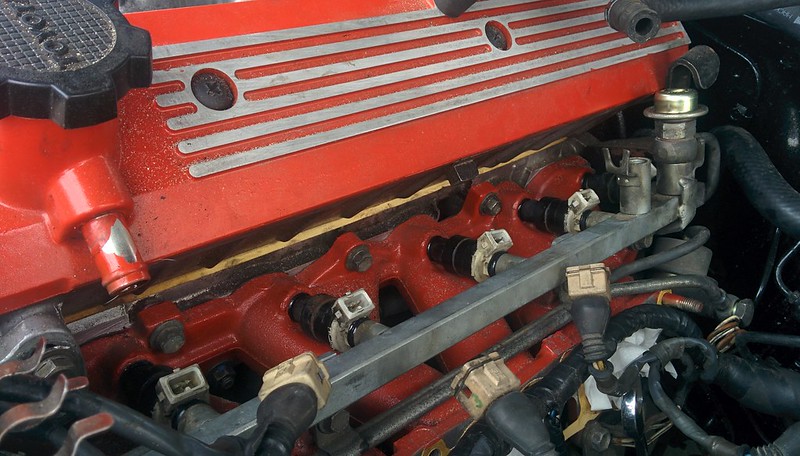
I quickly isolated the battery and started having a look over …

IMG_20160331_081853

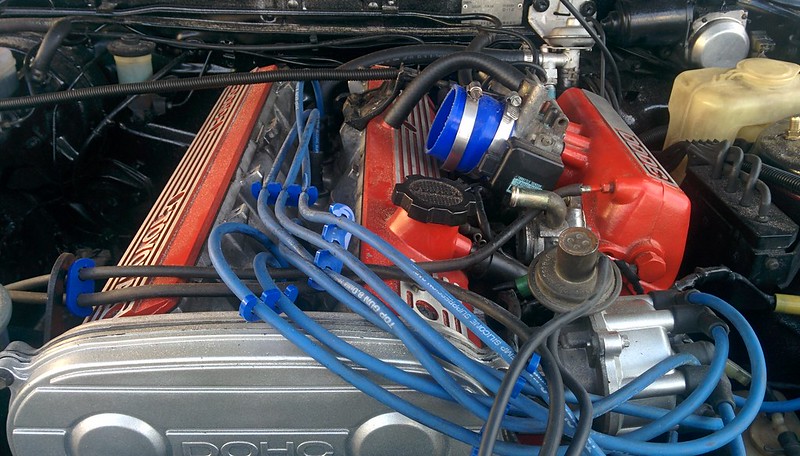
Which turned out to be leaking injector seals…. and not just weaping, absolutely pouring out.
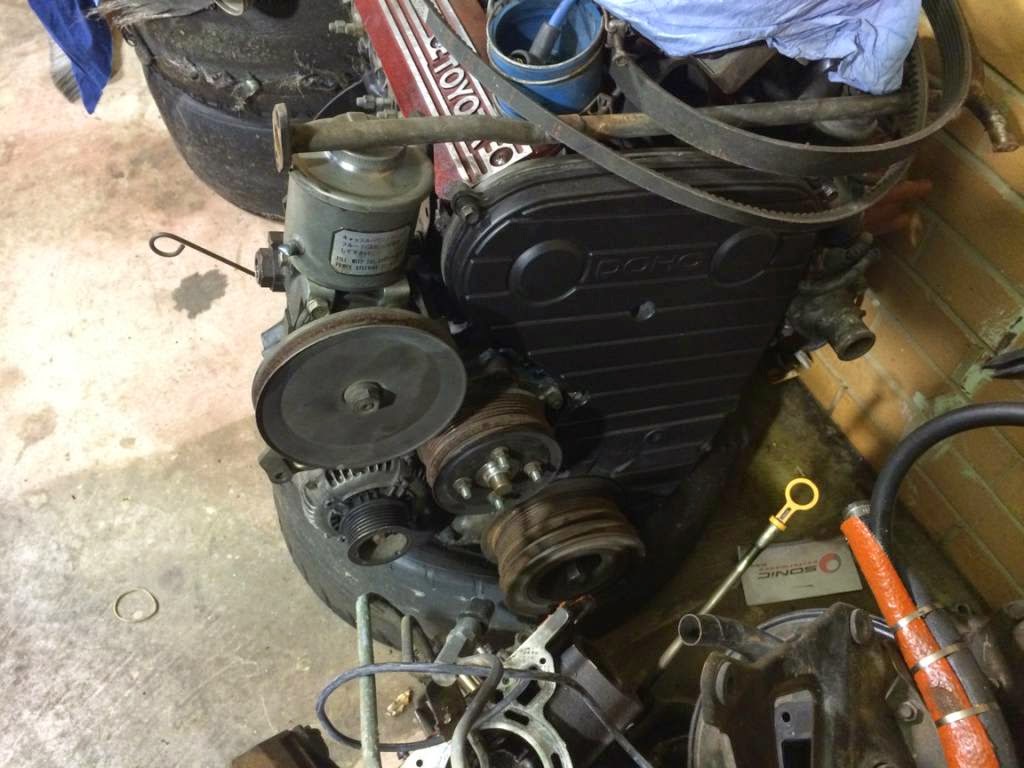
This was quite confusing, as I’d purchased and installed new Toyota OEM seals for the injectors in 2015 when I repo’d the 6M-GE on the engine stand before putting it in the car. :@

Oh well, maybe a combination of old fuel and sitting around for 5 months might have caused the rubber to break down ?? Although I would have thought Toyota OEM seals would last years regardless of the conditions the engine sits around in..

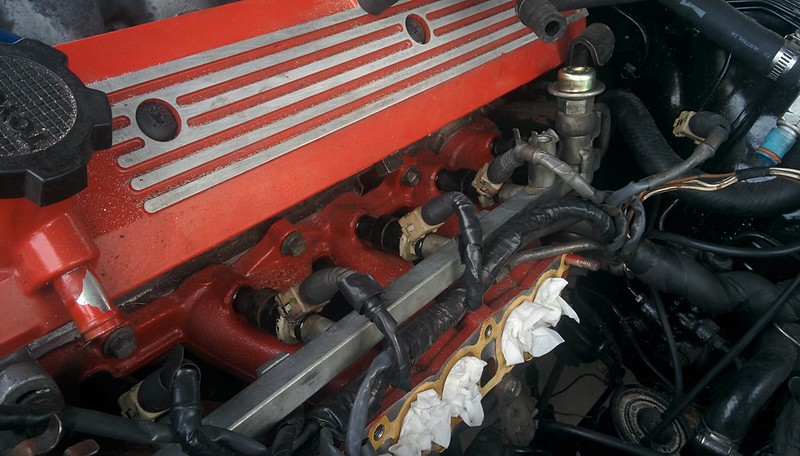
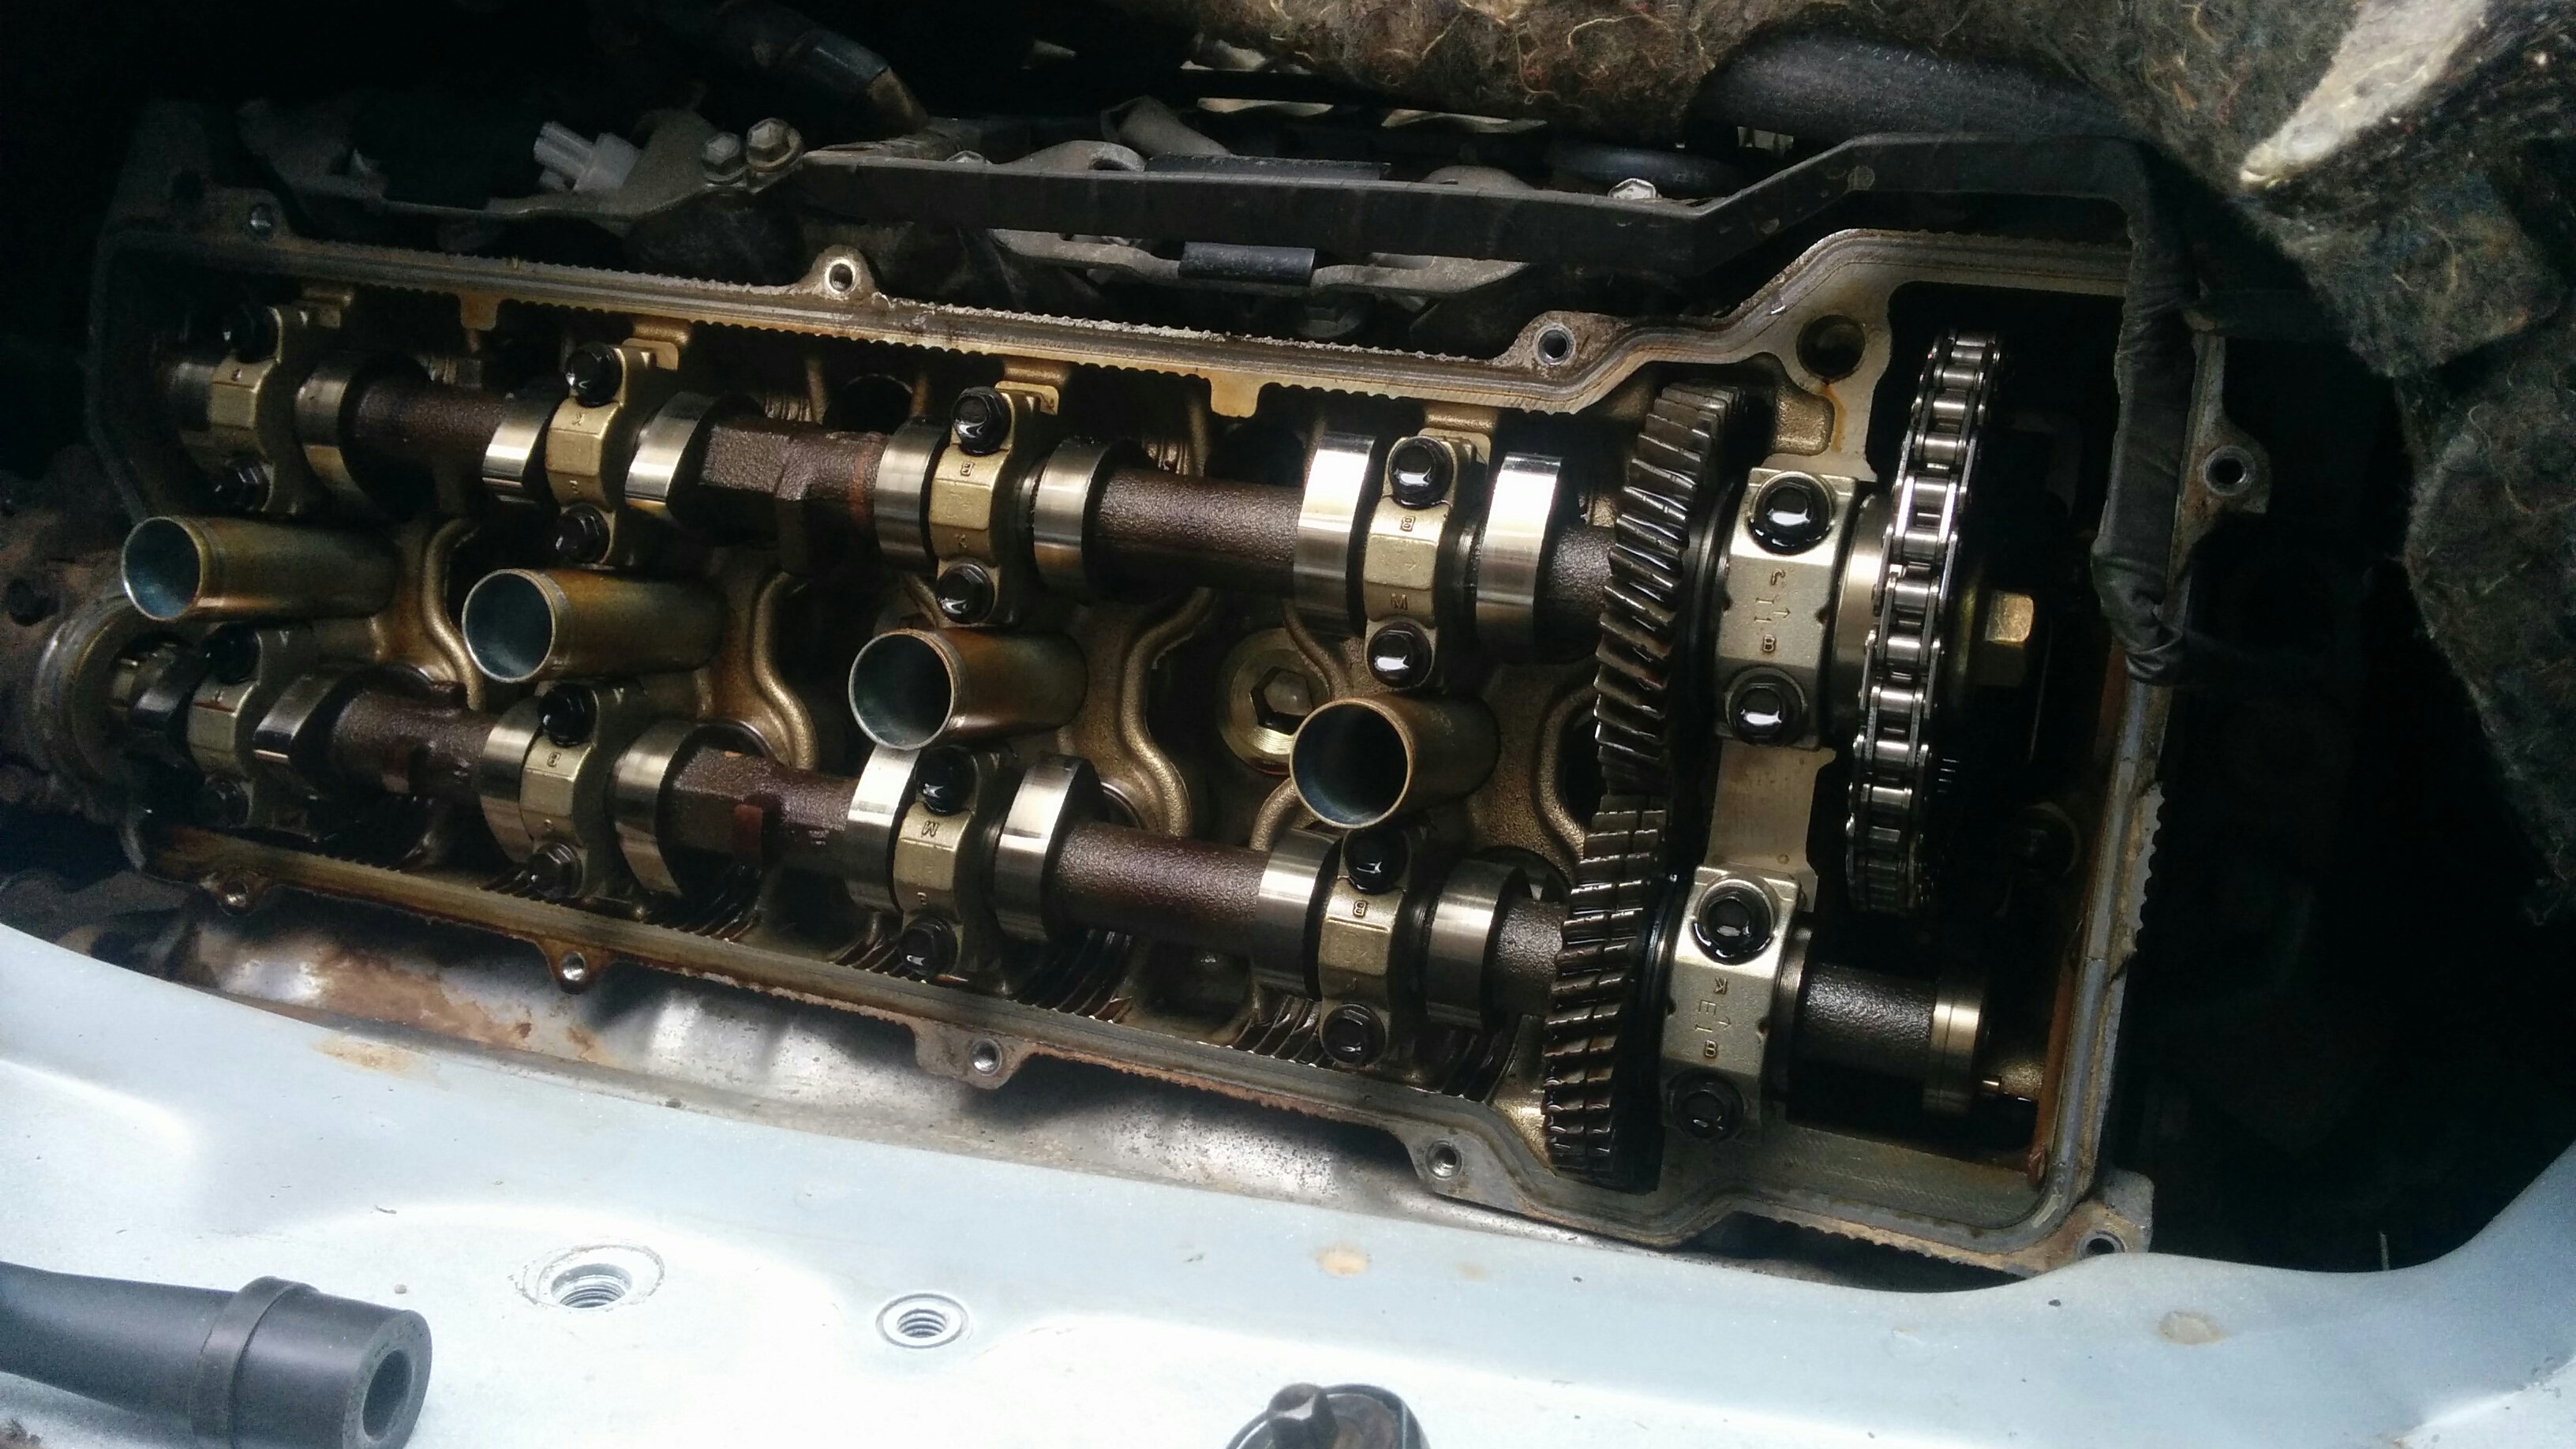
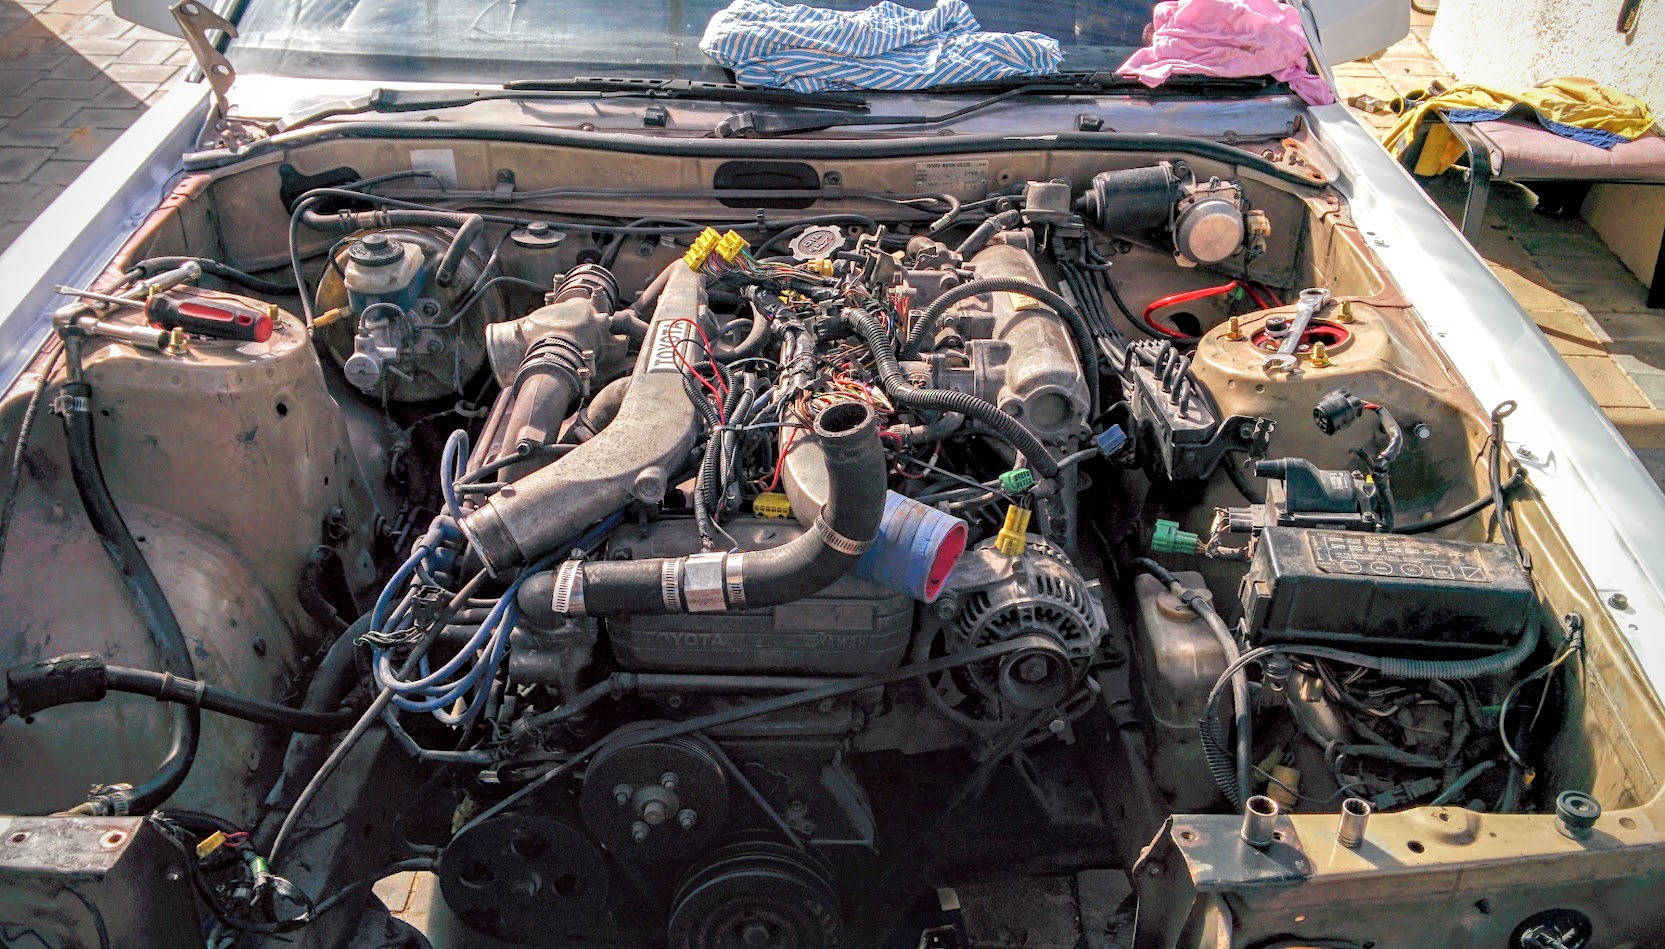
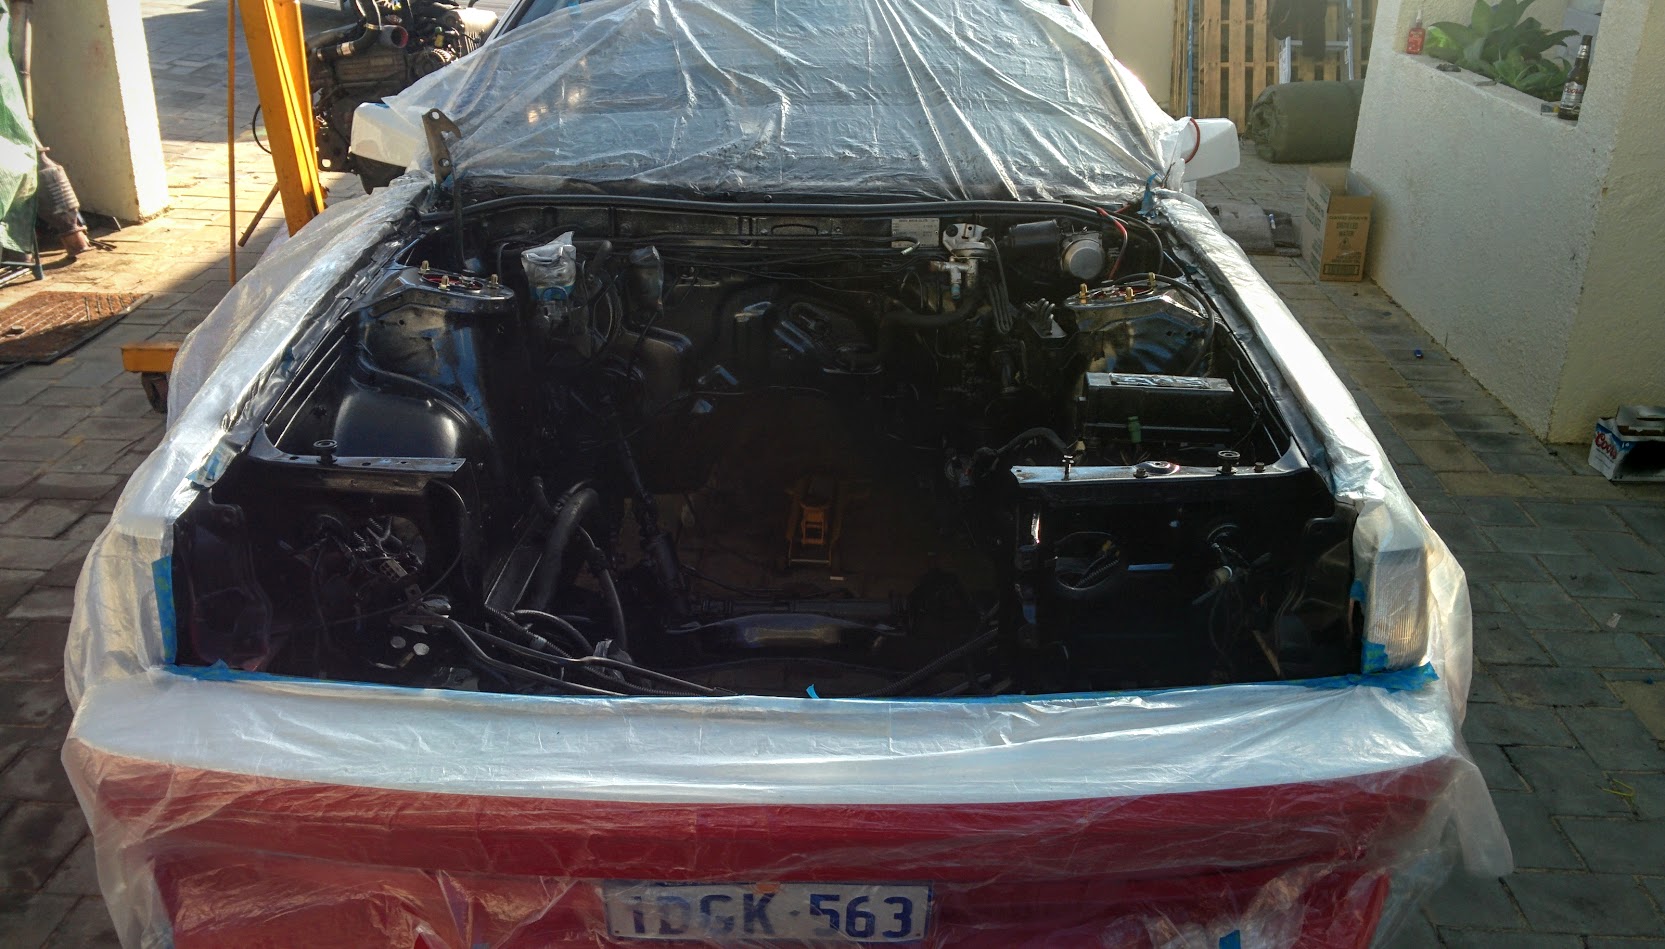
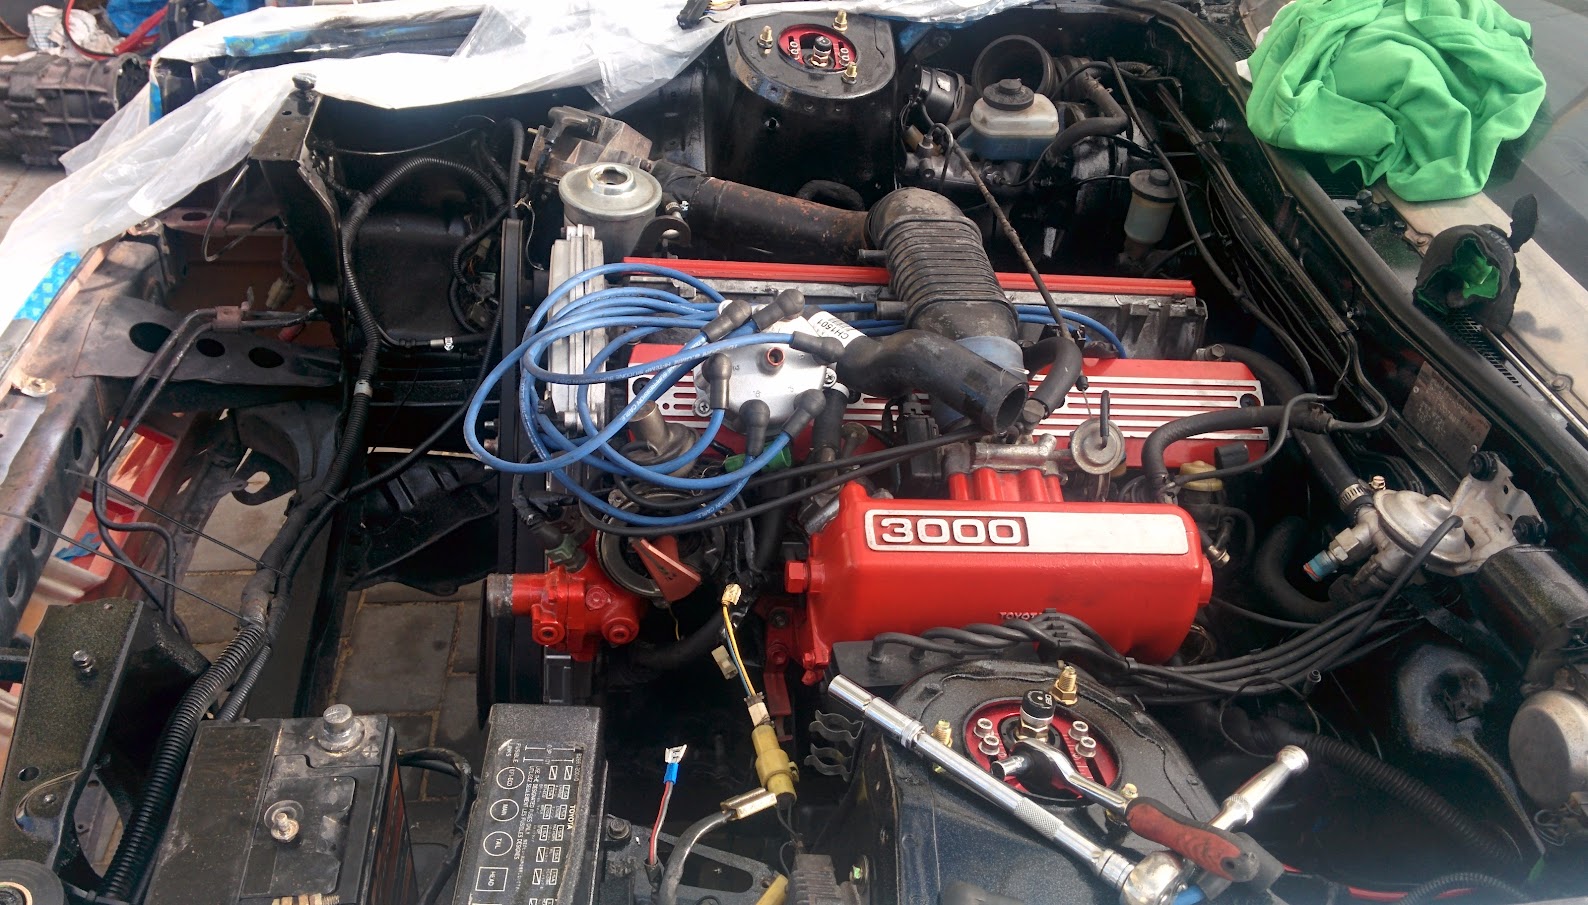
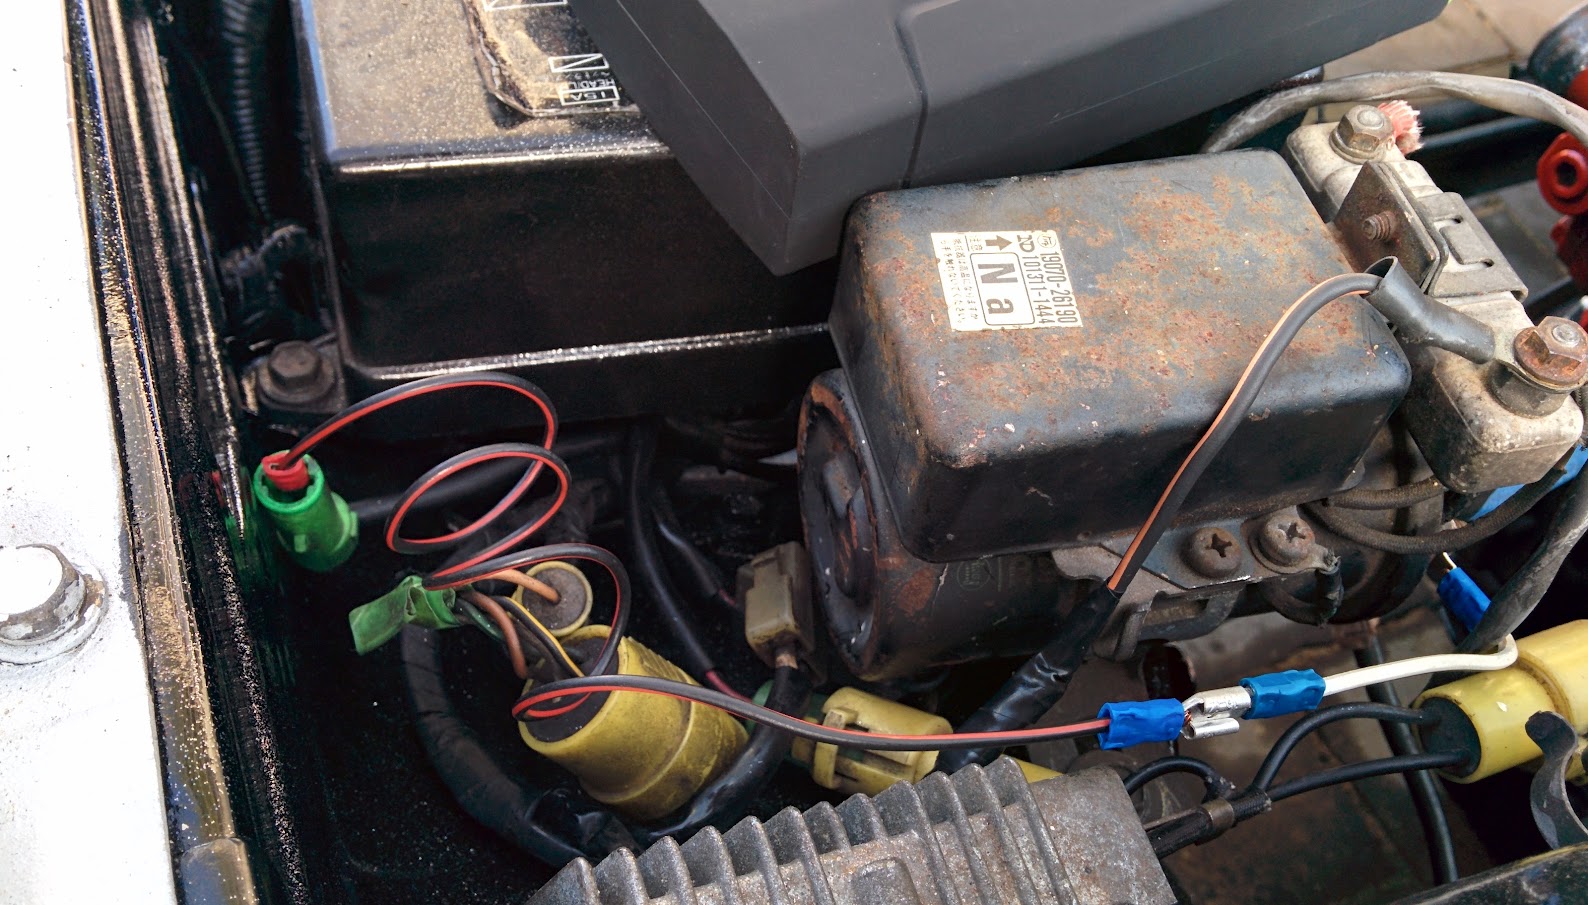
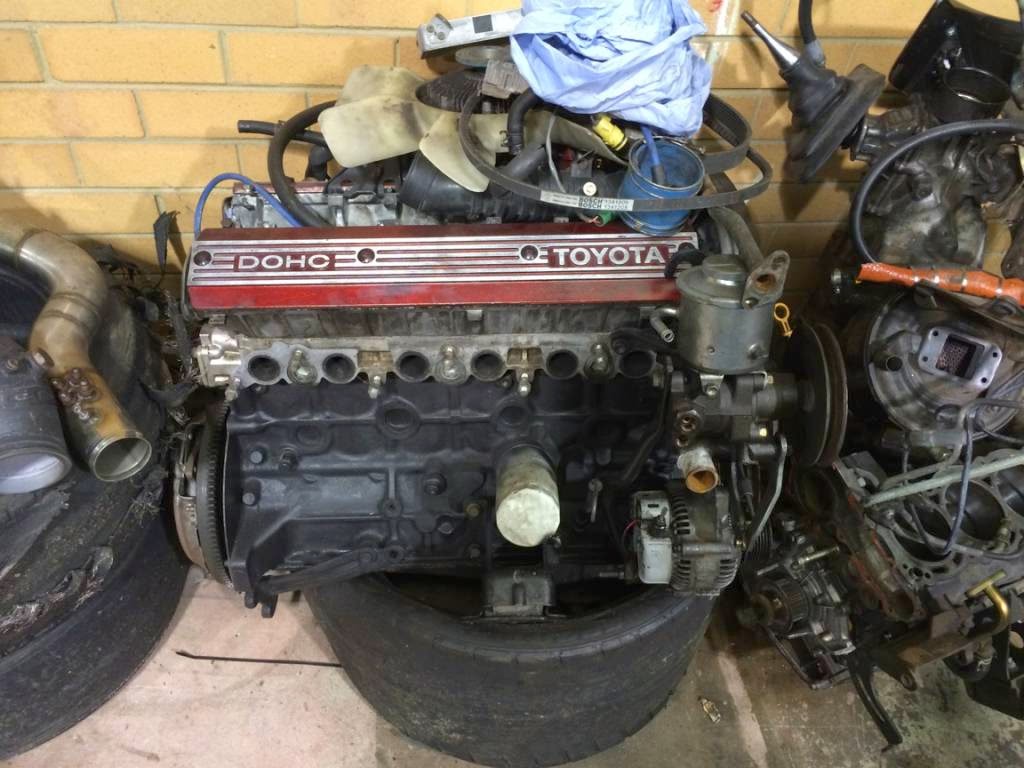
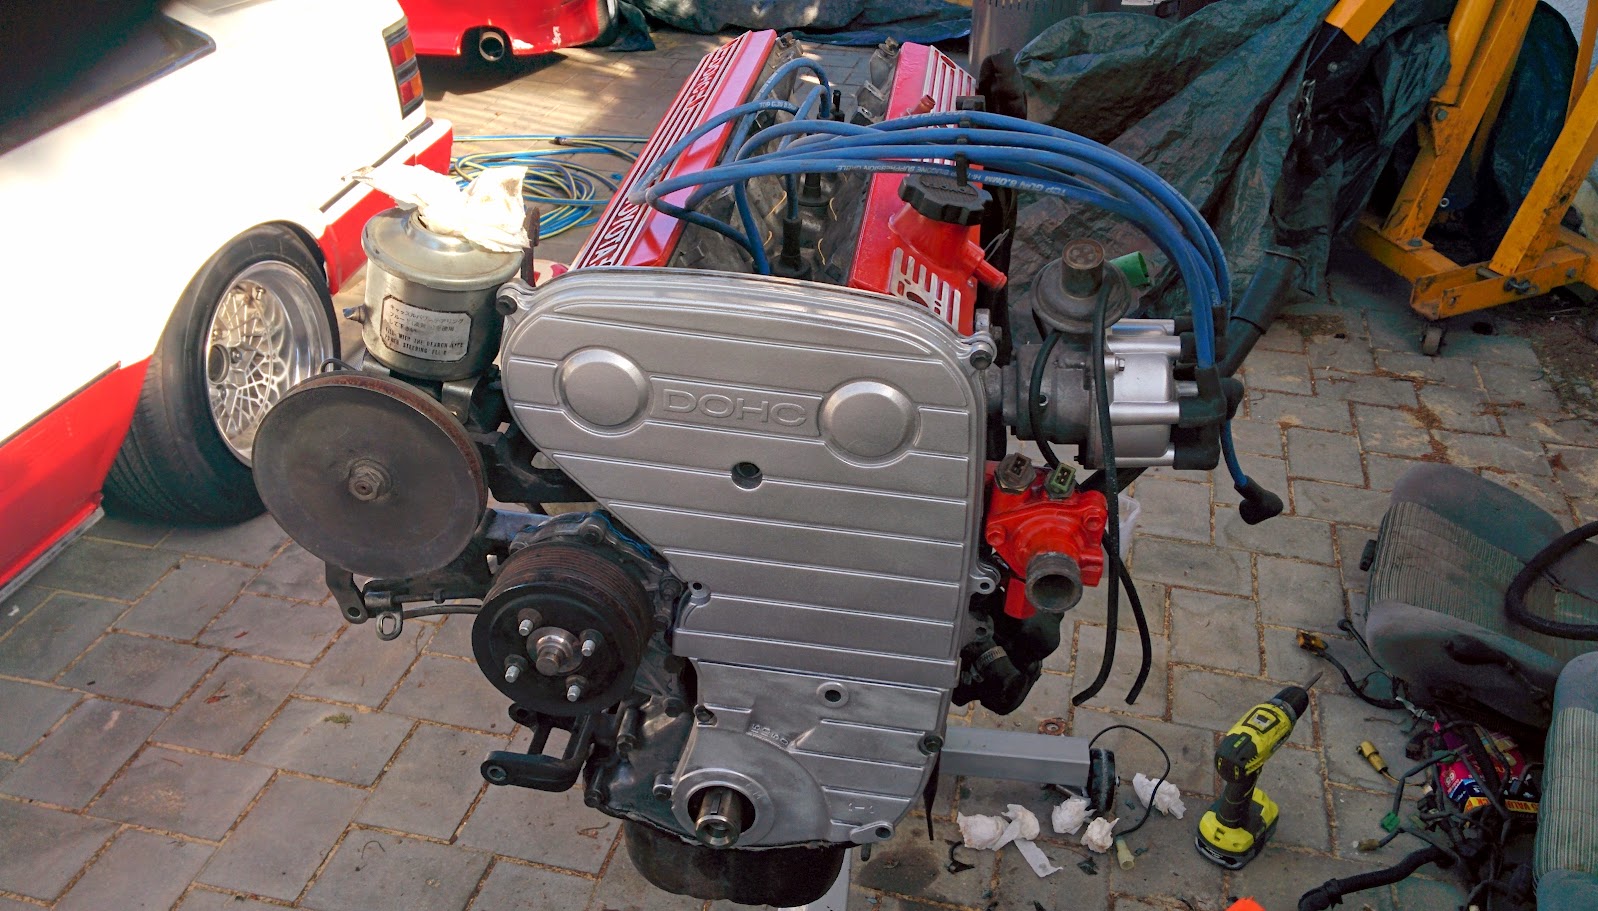
I knew at this point I could attempt to remove the rail and injectors to see if I could find any issues before going and purchasing new seals right away.. So off with the plenum we go..

IMG_20160404_074857
IMG_20160404_080328
IMG_20160404_080943
IMG_20160404_080948
IMG_20160404_080959

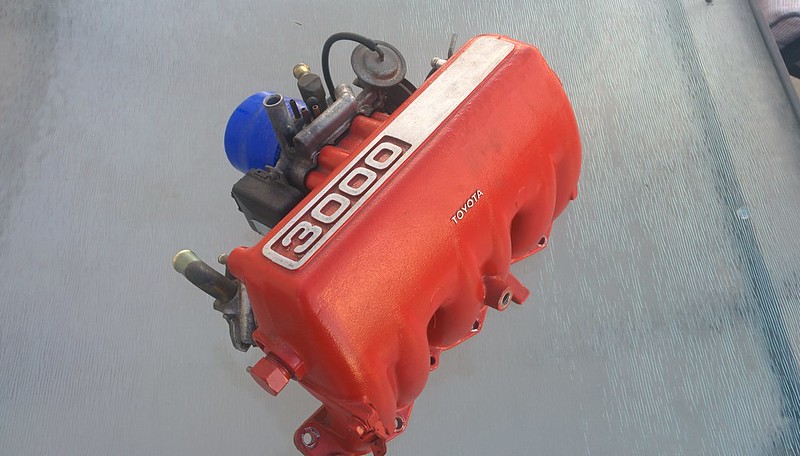
Not a real hard job, just a few bolts here and there which require a few bits of foul language to be thrown at them before they wanted to play ball … haha
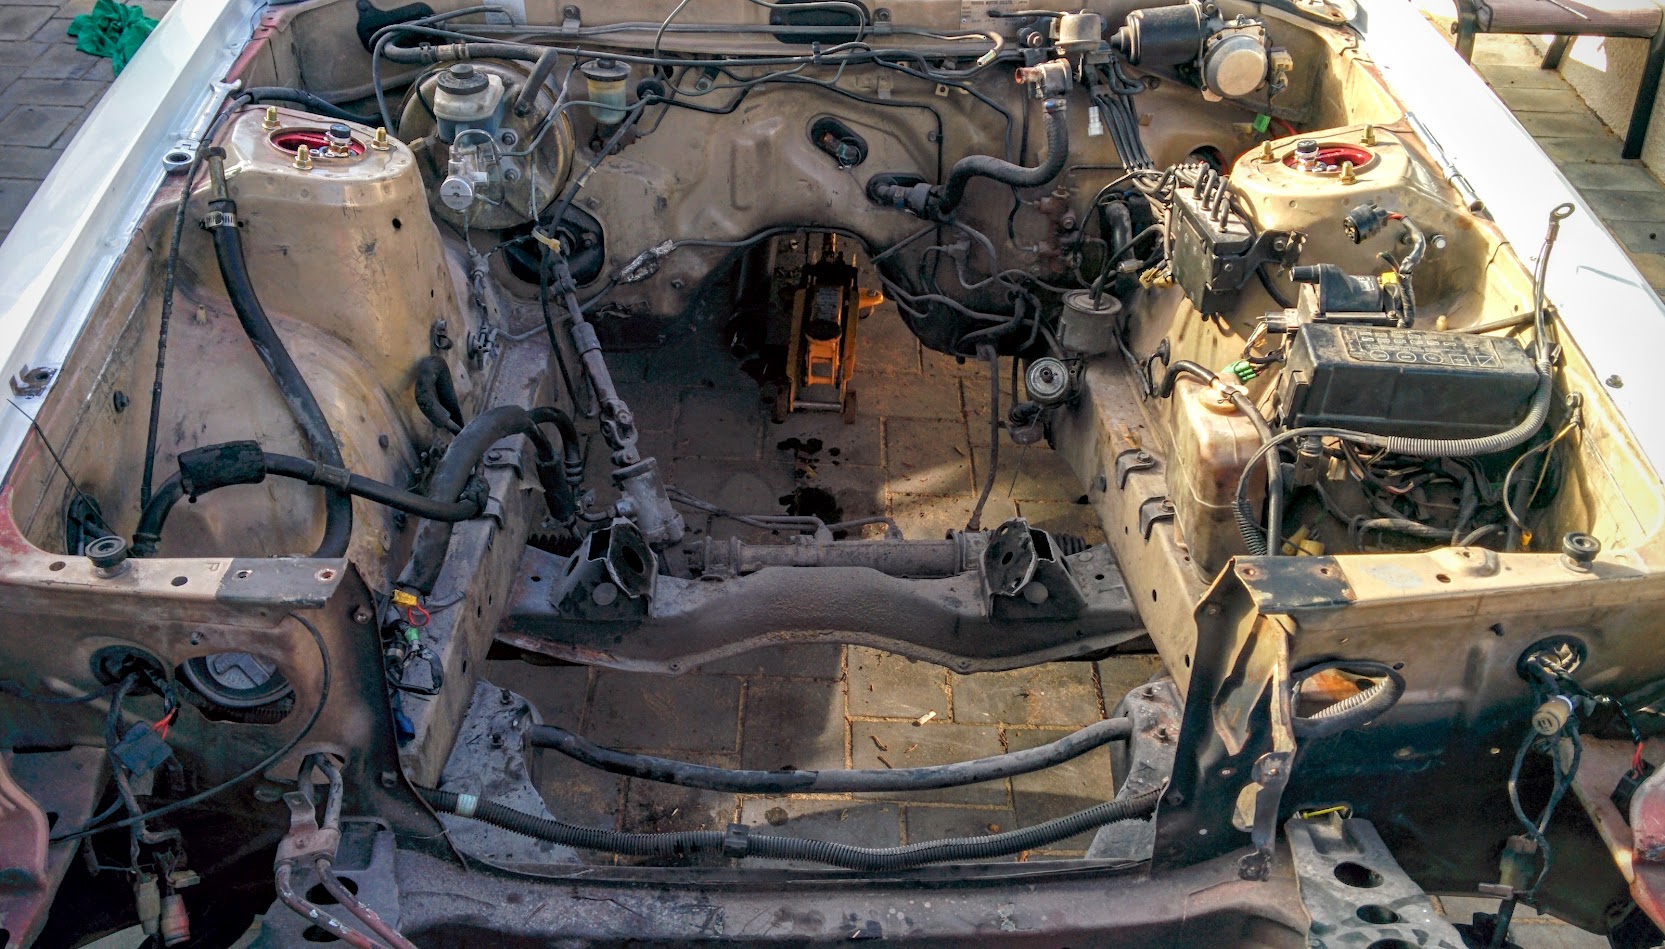
Safety first :

IMG_20160404_081404

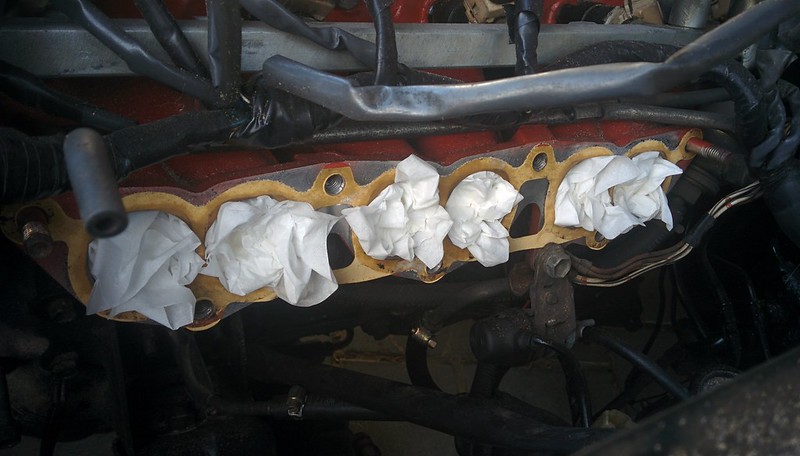
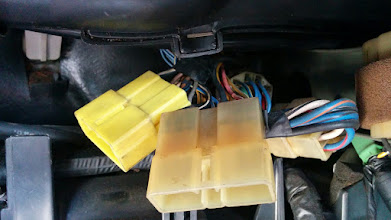
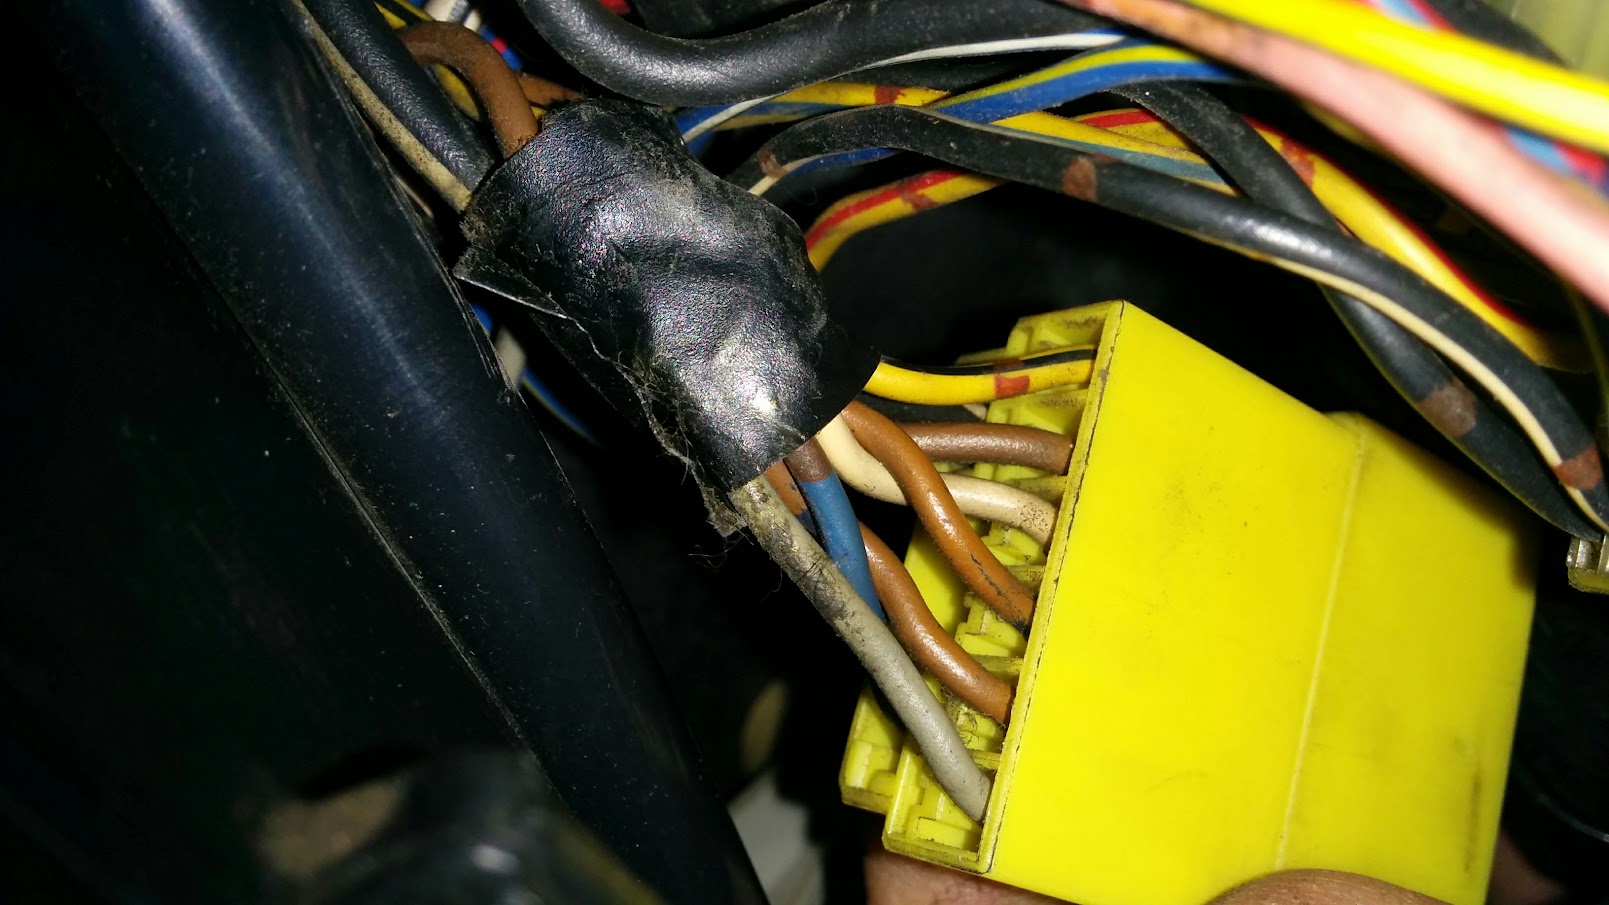
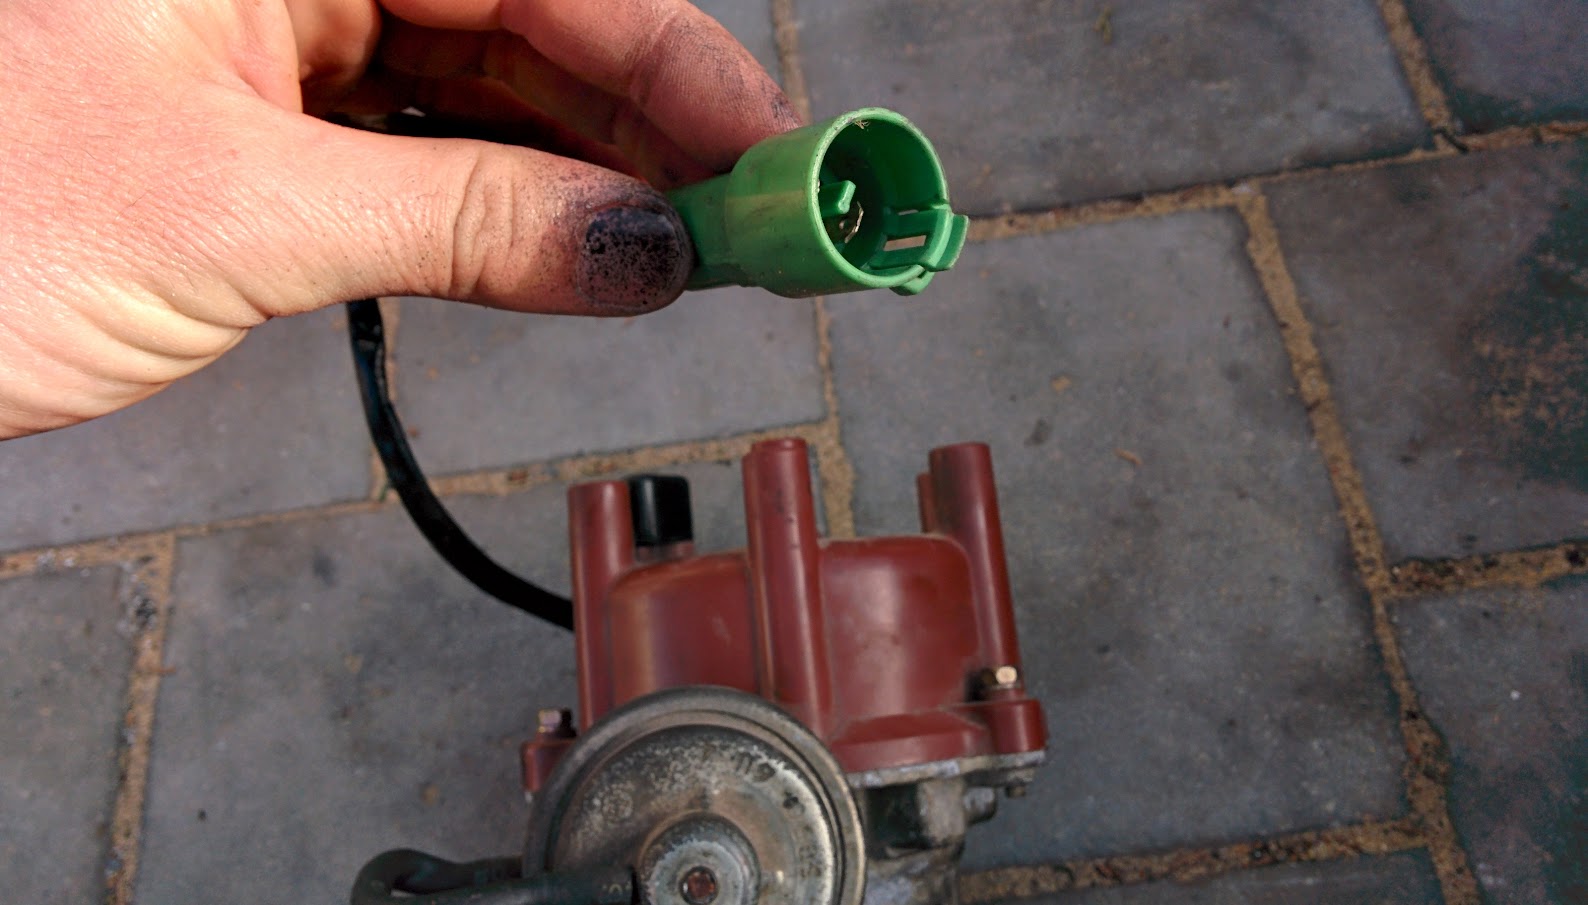
Then it was off with the fuel system, If any of you reading have had a fiddle with 1G/5M/6M/4AG original, 1980’s injector plugs, then you know how careful and tedious the next step is…. those 30+ year old brittle connectors are just so annoying !
I only broke 1 of the 6 (bottom left of pic… and yes, i cleaned up the sandyness before continuing)

IMG_20160404_084521

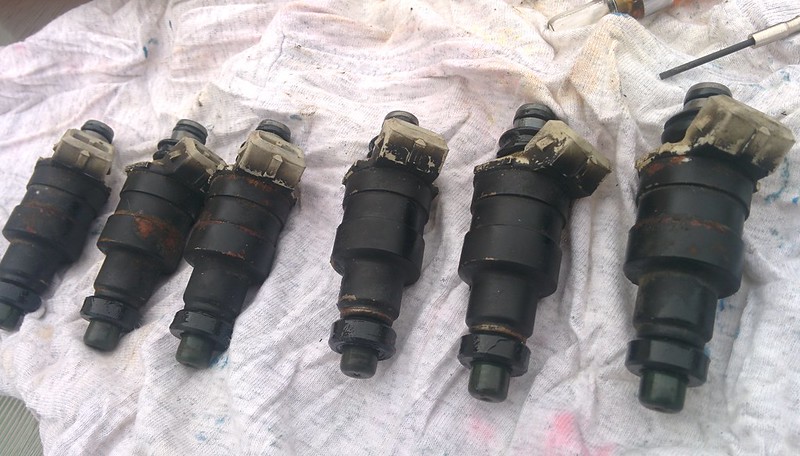
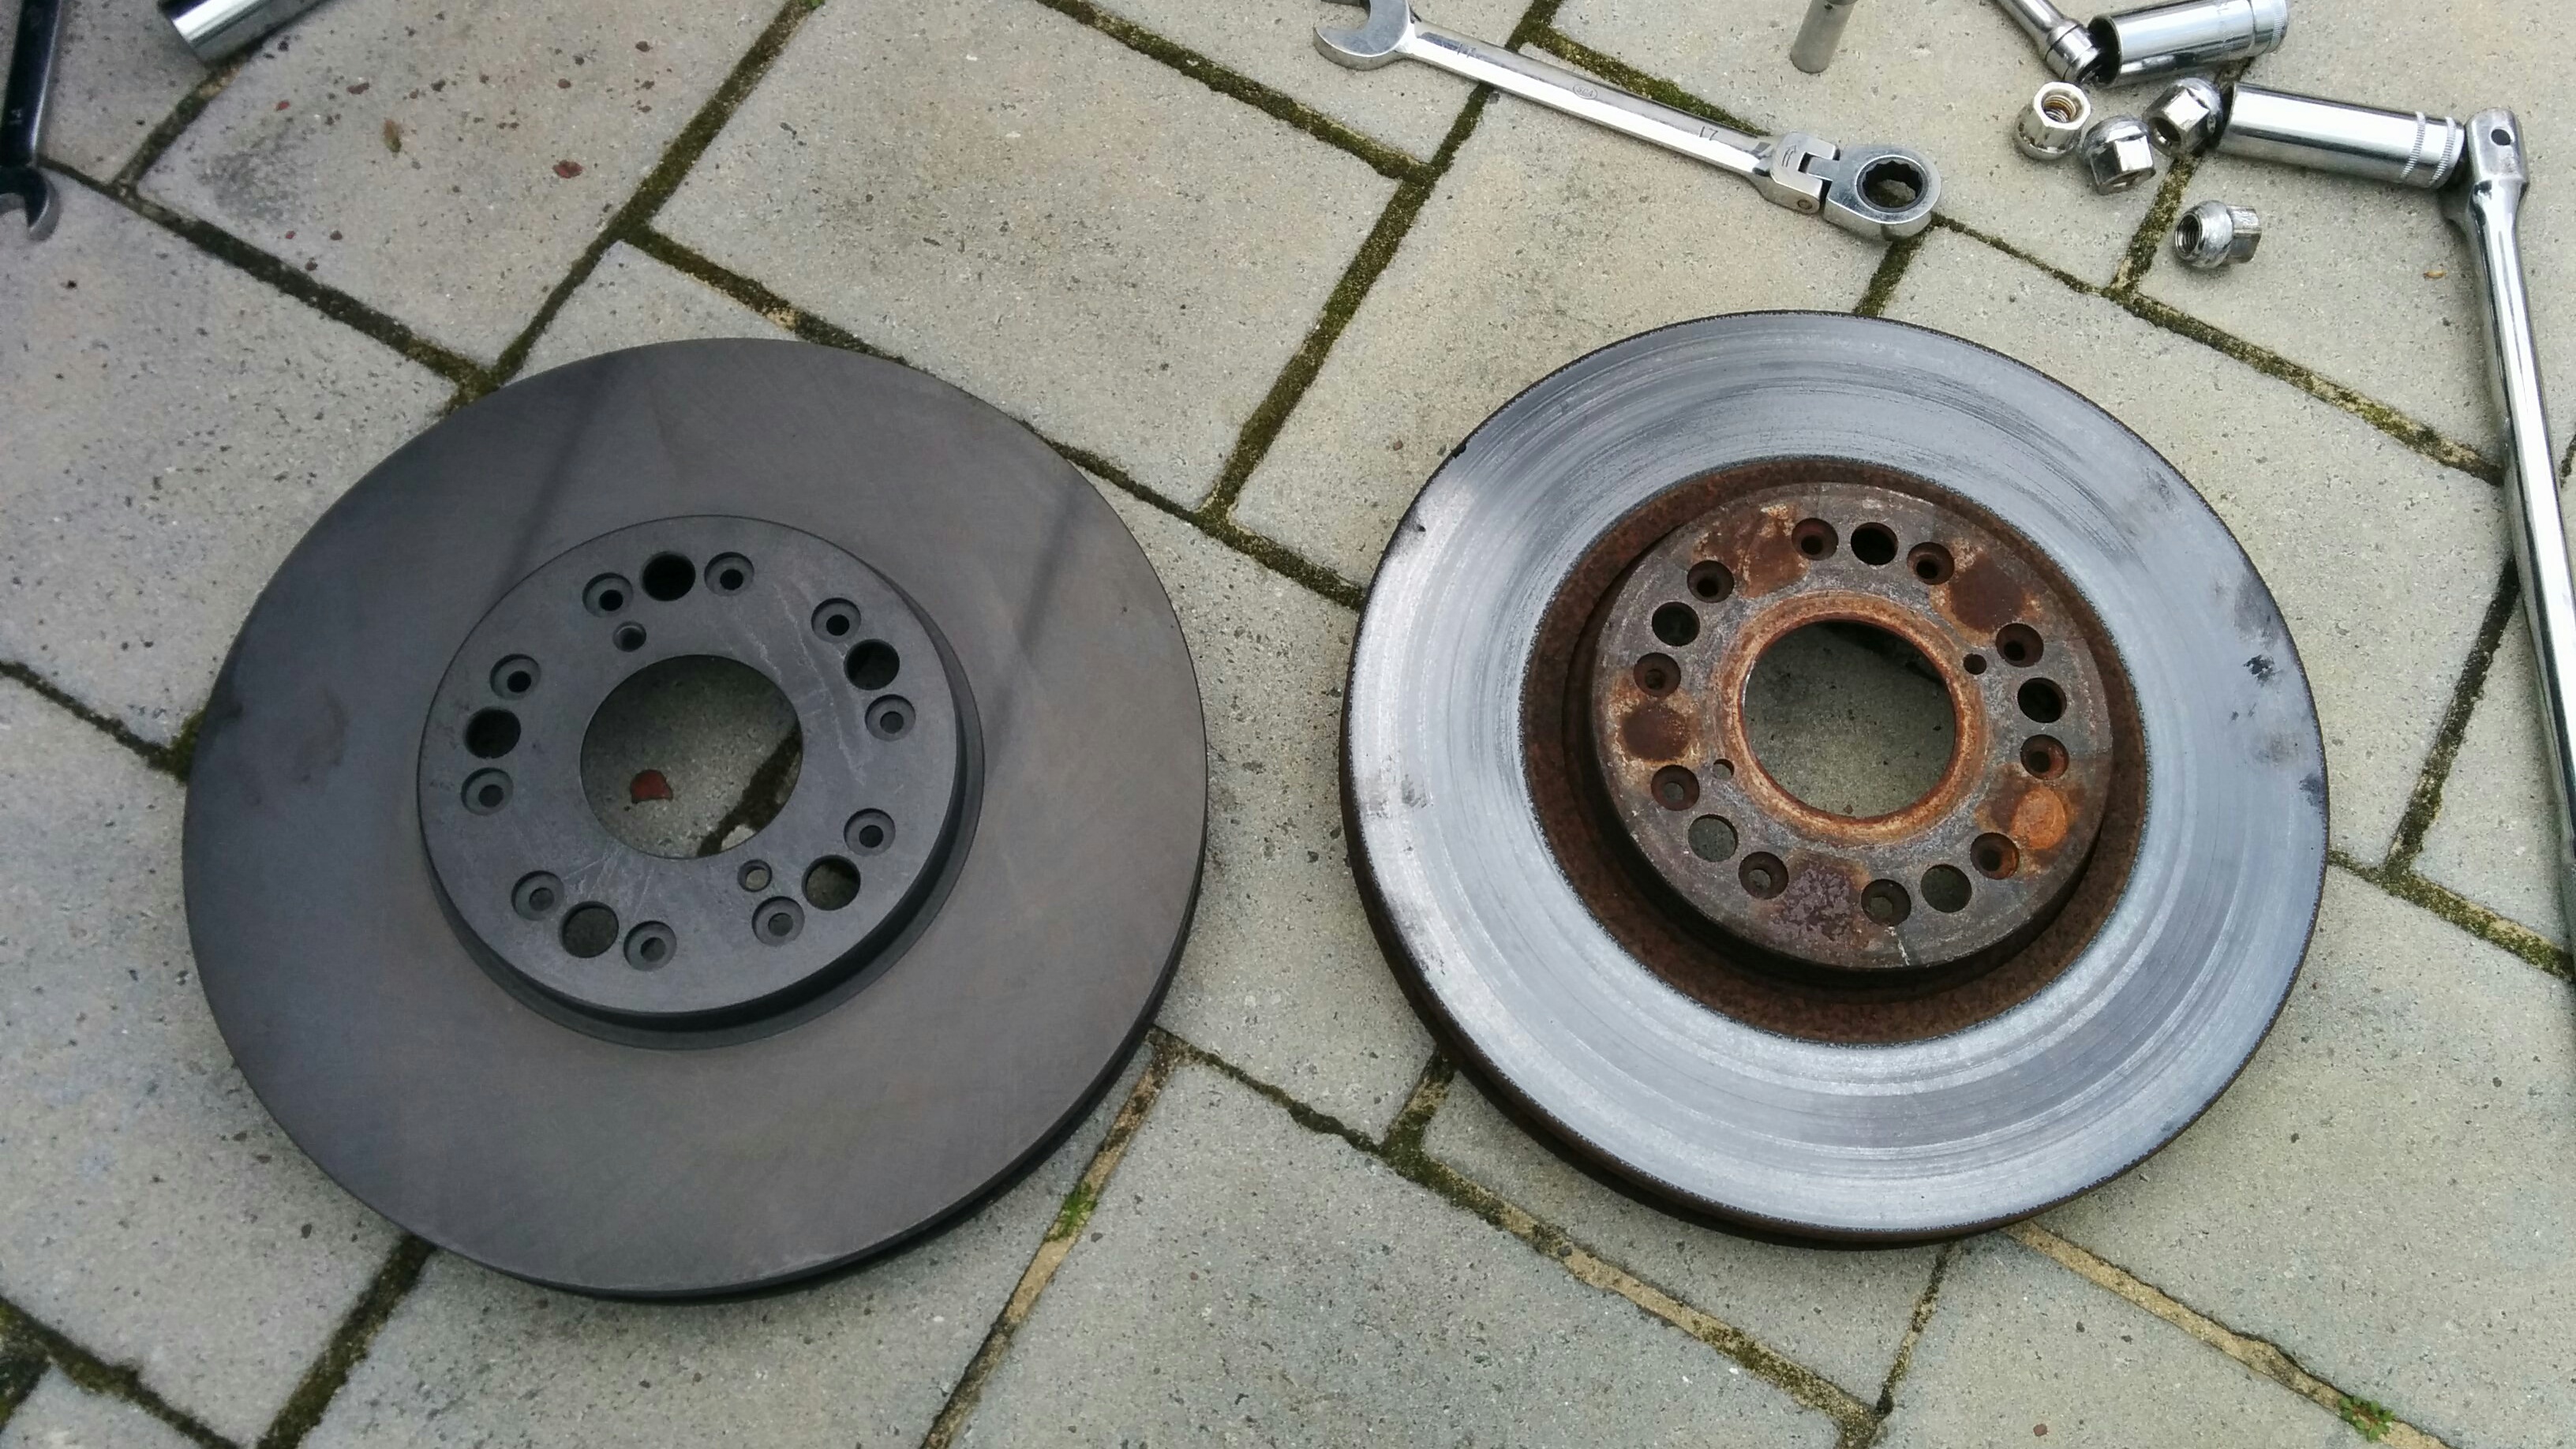
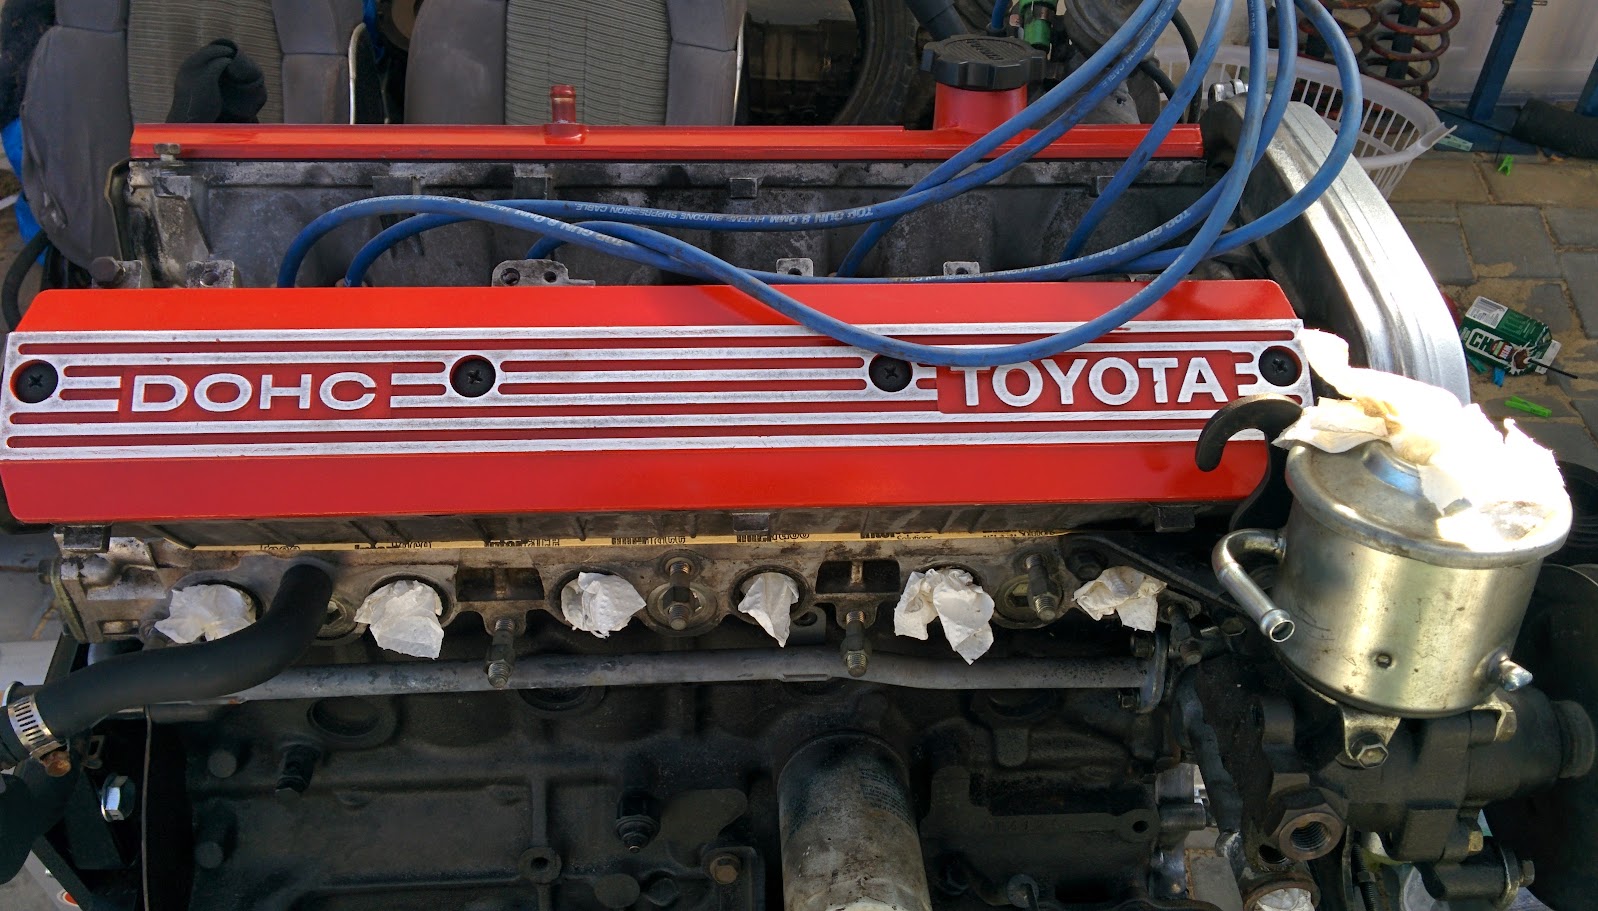
With the (sand covered!) Injectors removed, it was time to give them a scrub and check out the seals…

IMG_20160404_084534
IMG_20160404_084542
IMG_20160404_084903
IMG_20160404_101027
IMG_20160404_101051
IMG_20160404_101101

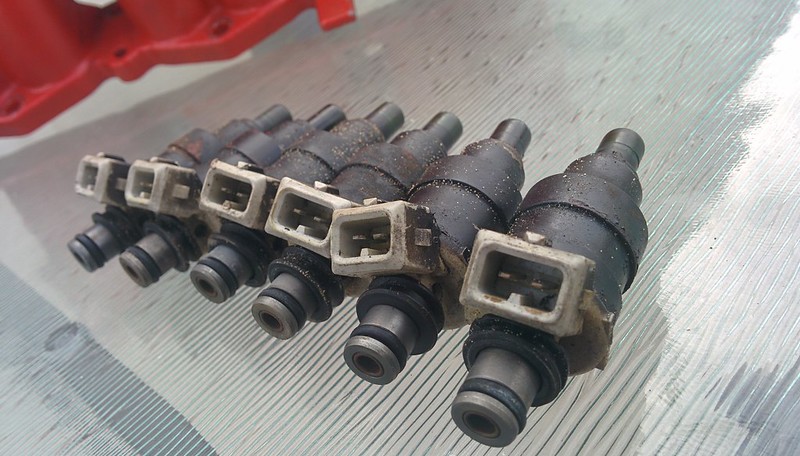
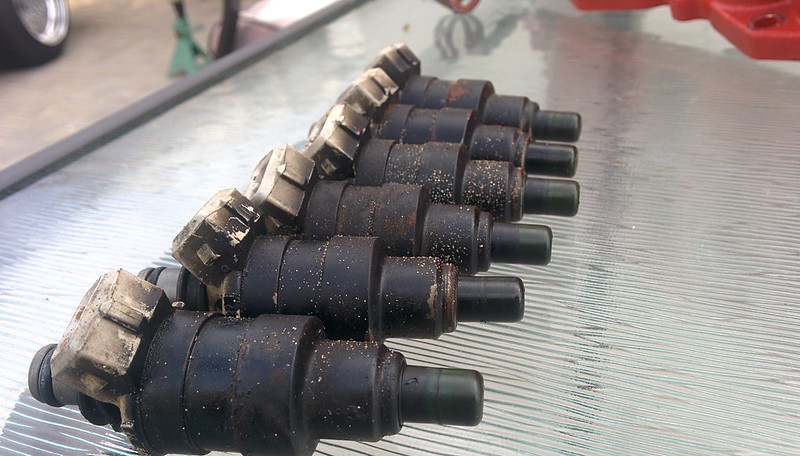
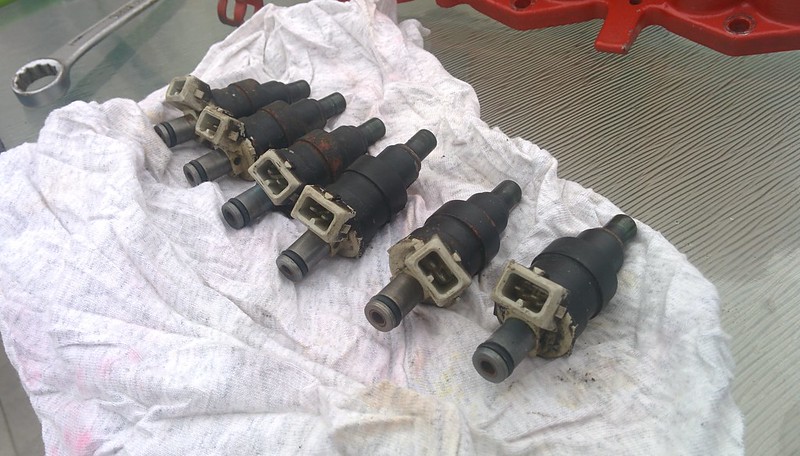
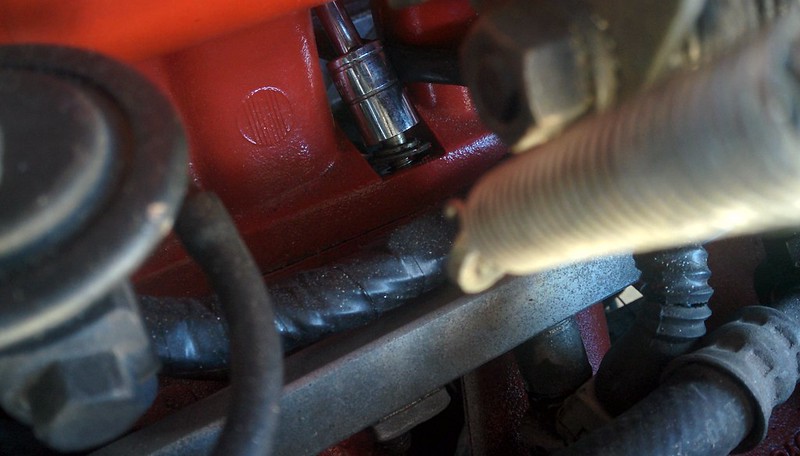
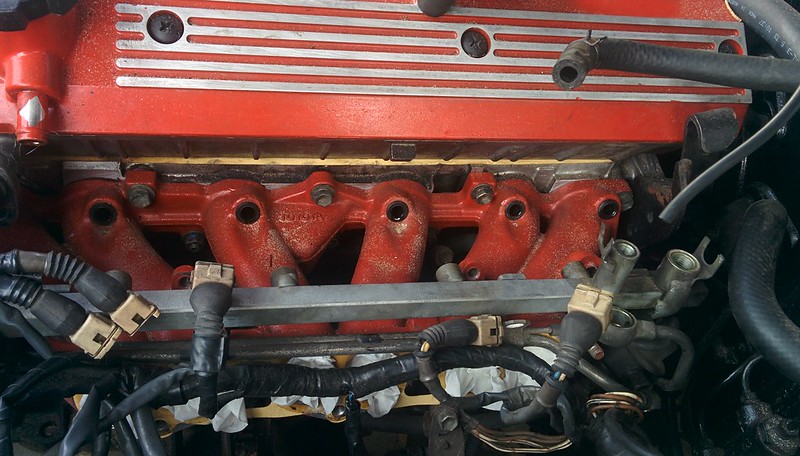
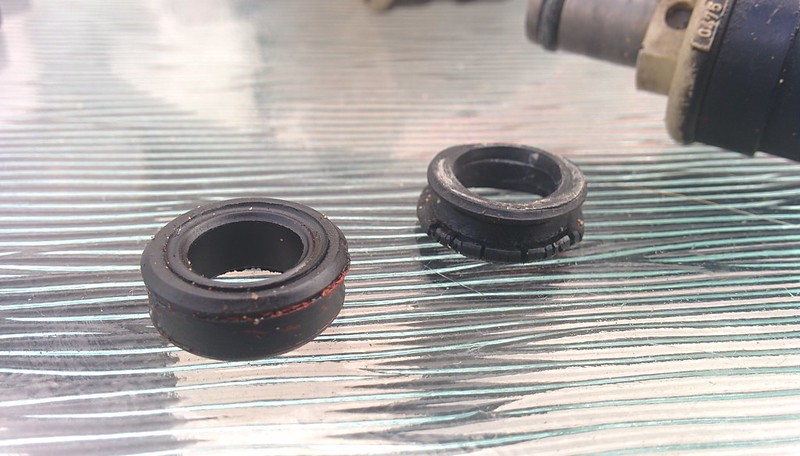
Most of the injector insulators looked alright, with the exception of #6
Which looked slightly crushed, and the fuel rail grommet looked even worse, near on decomposing…

IMG_20160404_085012
IMG_20160404_085041

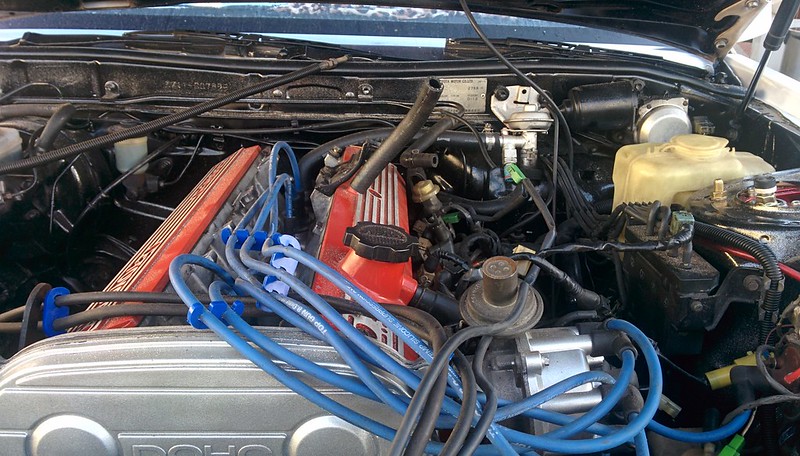
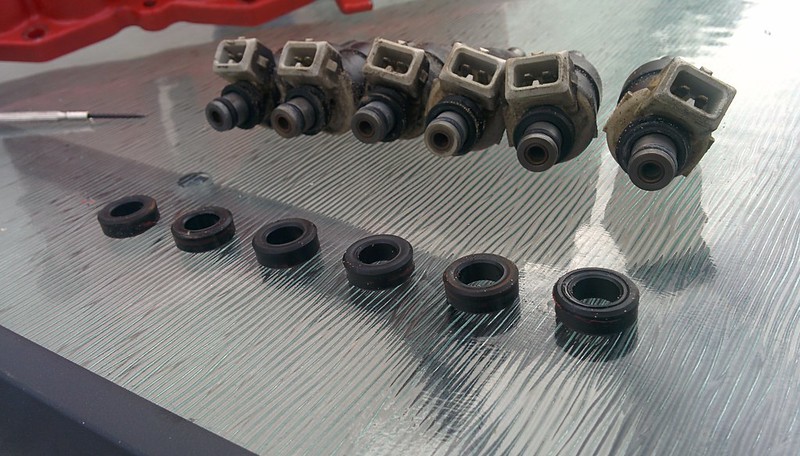
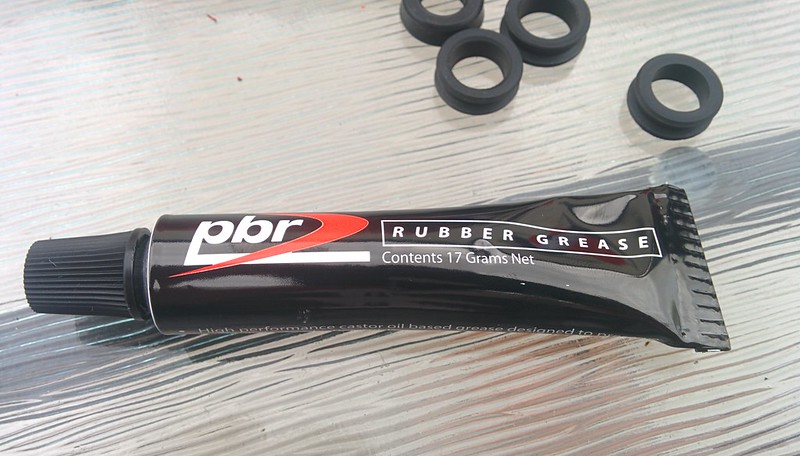
It was lucky that I had a couple of spare grommets in my toolbox, I swapped the dead ones out, and then purchased some $5 rubber grease from my local autoshop. Re-lubed up all the rubber parts surrounding the injectors.

IMG_20160404_101137
IMG_20160404_101445
IMG_20160404_103359
IMG_20160404_103405

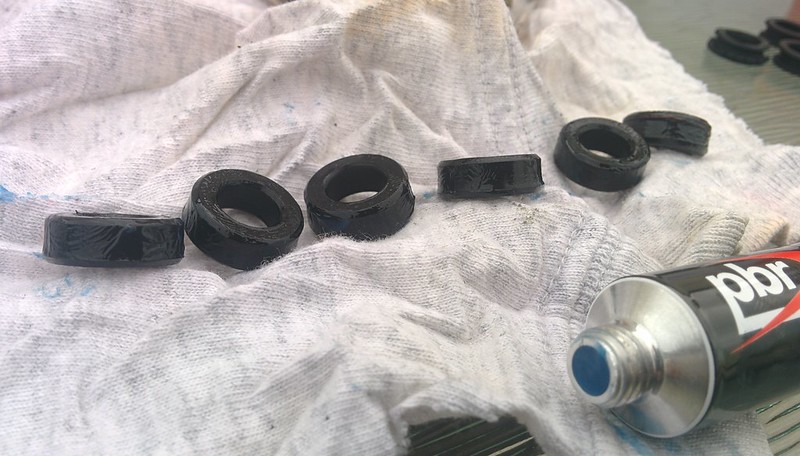
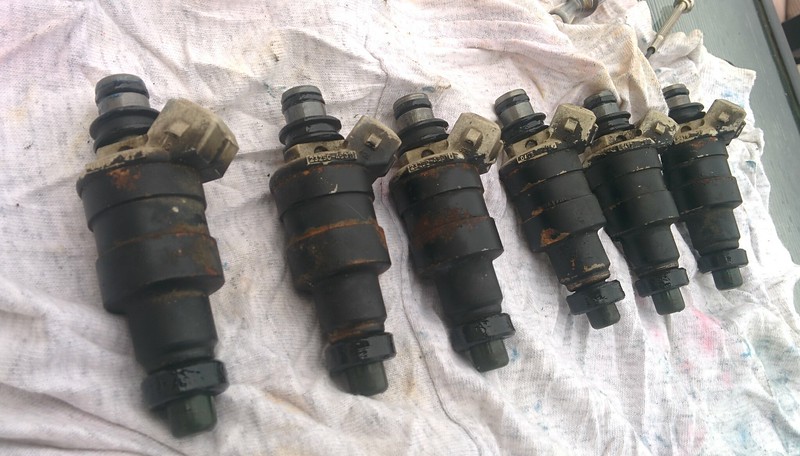
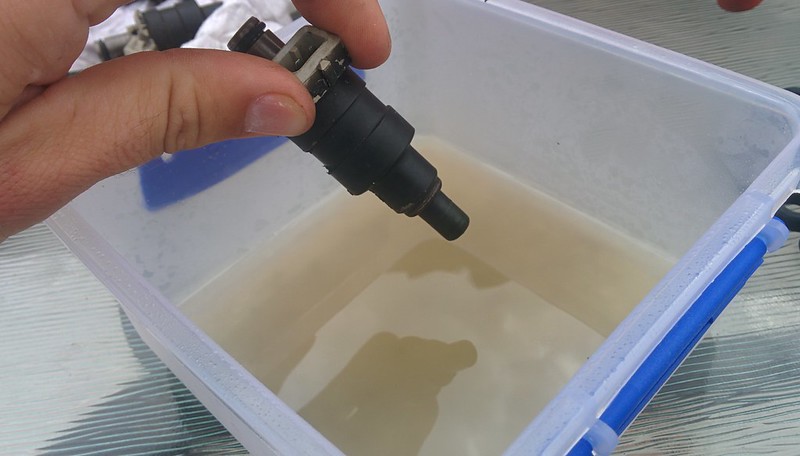
I lubed up the insulators, the o-rings and the grommets in hope that a re-seating the lubed up rubber parts in the rails maybe re-create that pressure seal that had failed…

IMG_20160404_105132
IMG_20160404_105500

Sadly this was not the case…..

IMG_20160404_110824

So I have now ordered new seals from Toyota, next week, once the new injector seals arrive i will repeat the process all over again and then finally take it for a drive!
And also counting down to May for the Estima Parts to arrive!!

More soon …..

2016 – TCR20W

Back again for a new year, 3 months in and 4 months since last update!

Since the last update, I have managed to complete the Department of Transport’s puzzle which they laid out on the table for me. It wasnt hard in the end, it was just a lot of waiting…


Holly estima Papers
With the Approval coming through Early Jan 2016^^ . I moved quickly onto Engineering.

After some minor searching to find an engineer worth of the giant pearl egg bean, it appeared Dan Pitic was the best guy in my area to speak to.

Adrian (Dan) PITIC
ENDRACON PTY. LTD.
6 BRIGHTON MEWS,
HILLARYS, WA 6025.

Ph. (08) 9307 1436
Fax. (08) 9307 1046
Mob. 0419 931 022
Email. apitic@bigpond.net.au

I called him, had a decent conversation and he was VERY happy to talk on the phone about what i was after. Which is surprising as most people in the vehicle / mechanic / engineering field that I am aware of, are generally pretty short with you when on the phone and just want you to “bring it in and ill check it out” ….

IMG_20160107_105034

Met Dan at a local workshop around 8am January 7th. Left the van with him to look over. Initially he was semi confused as he was expecting some sort of modification, I reminded him again, that it was engineering for factory seats and coilovers… he was relieved…. haha.

Went and jumped on the weighbridge at my local recycling plant to get some weights for Dan.

TamalaPark
He submitted all of my engineering report there and then on that day

IMG_20160107_133511

Once i got home it was time to fit some parts. Starting with the headlights to plastic lens kouki models, the later model grill and “mask panel” which sits below the lights and grill.
To complete this i had to cut into the front radiator support as the rear of the kouki lights are kinda different:

IMG_20151201_182905IMG_20151201_182927
IMG_20151201_190347
IMG_20151201_182938
Here I have removed the original mask panel, lights, grill and bumper

IMG_20151201_190305IMG_20151201_190314
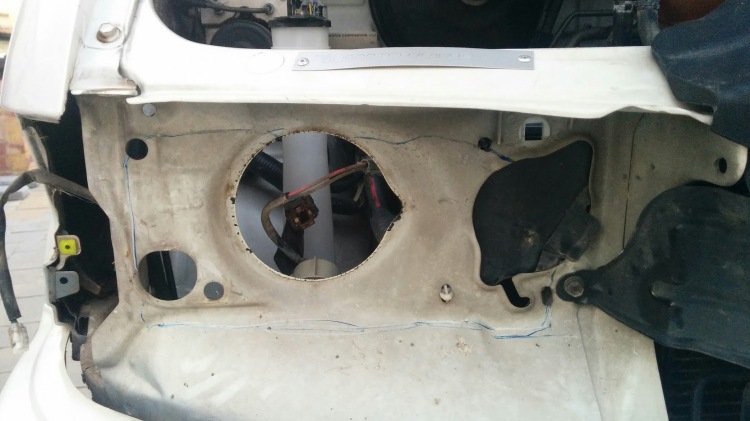
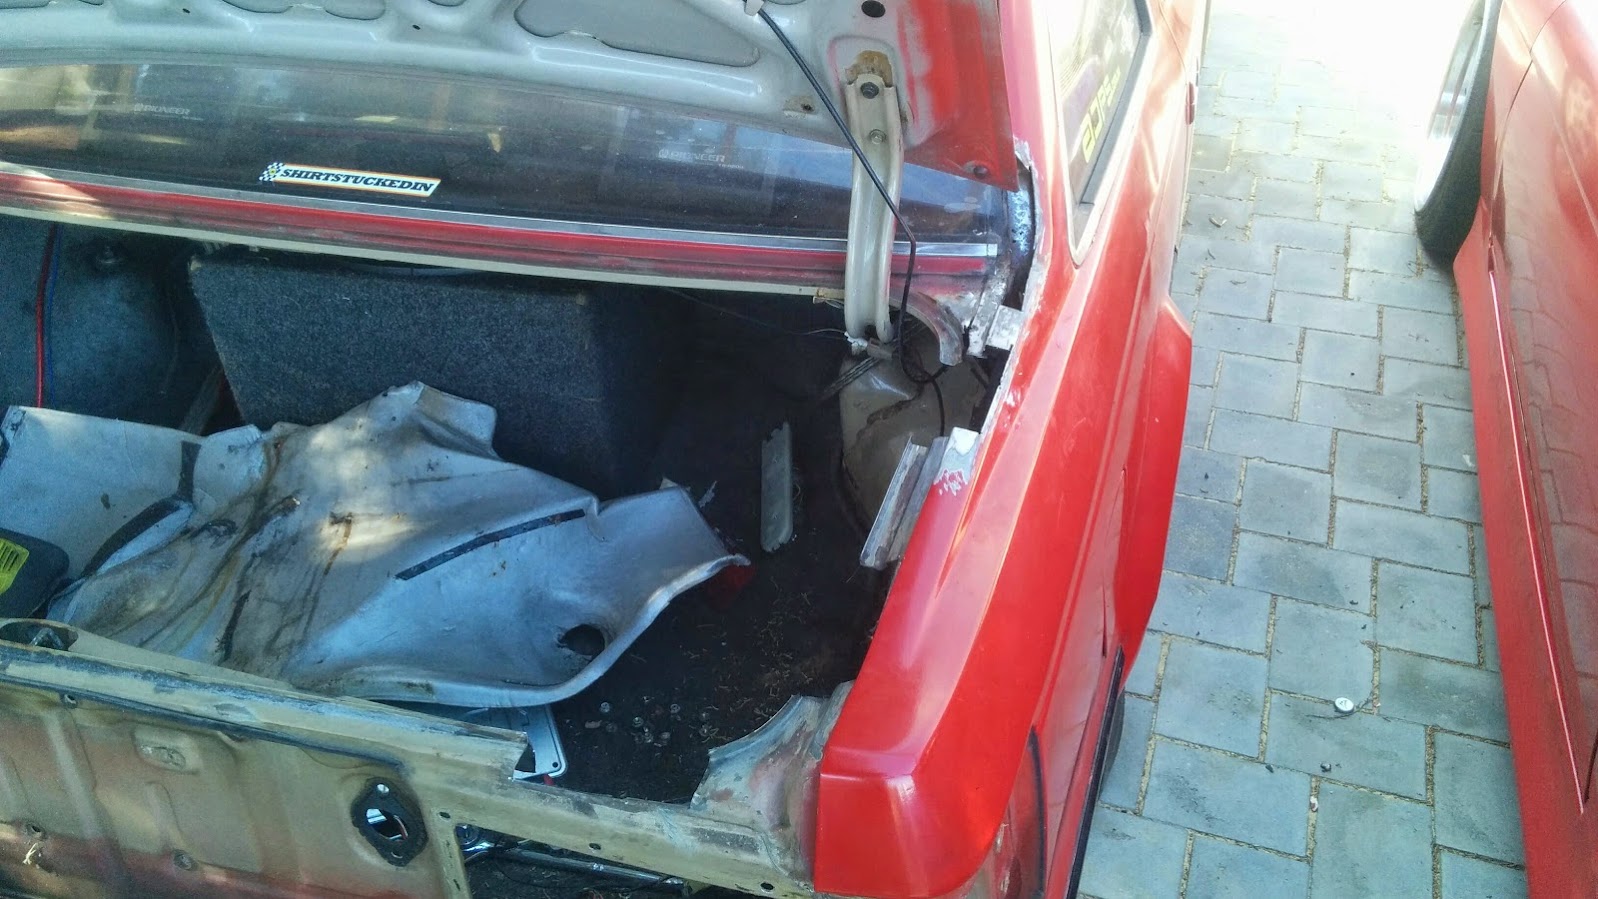
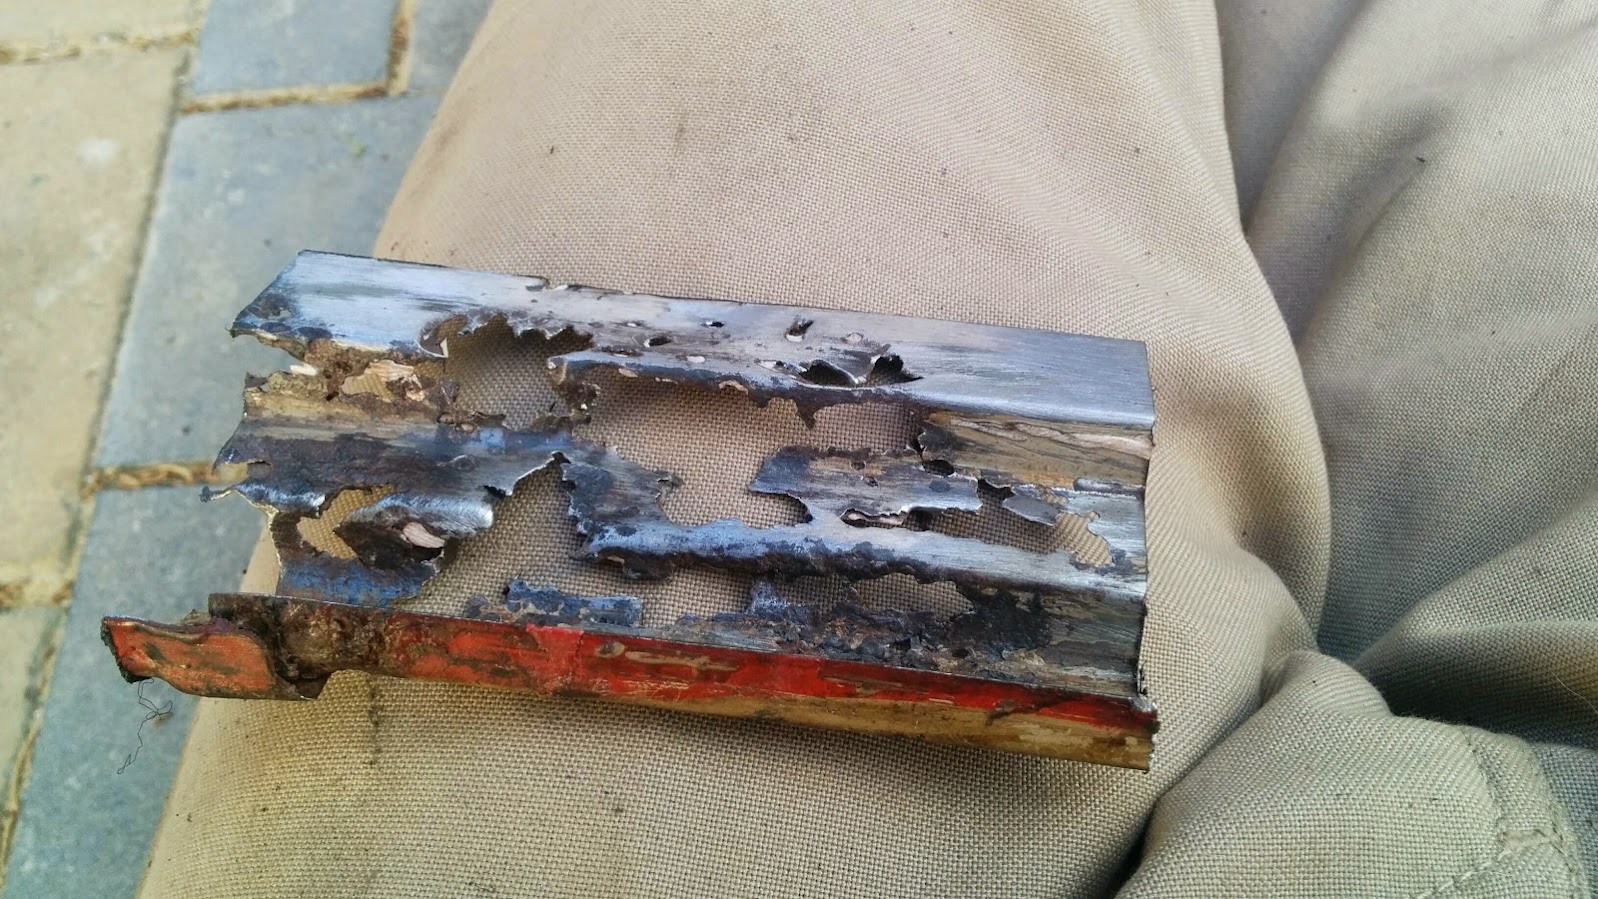
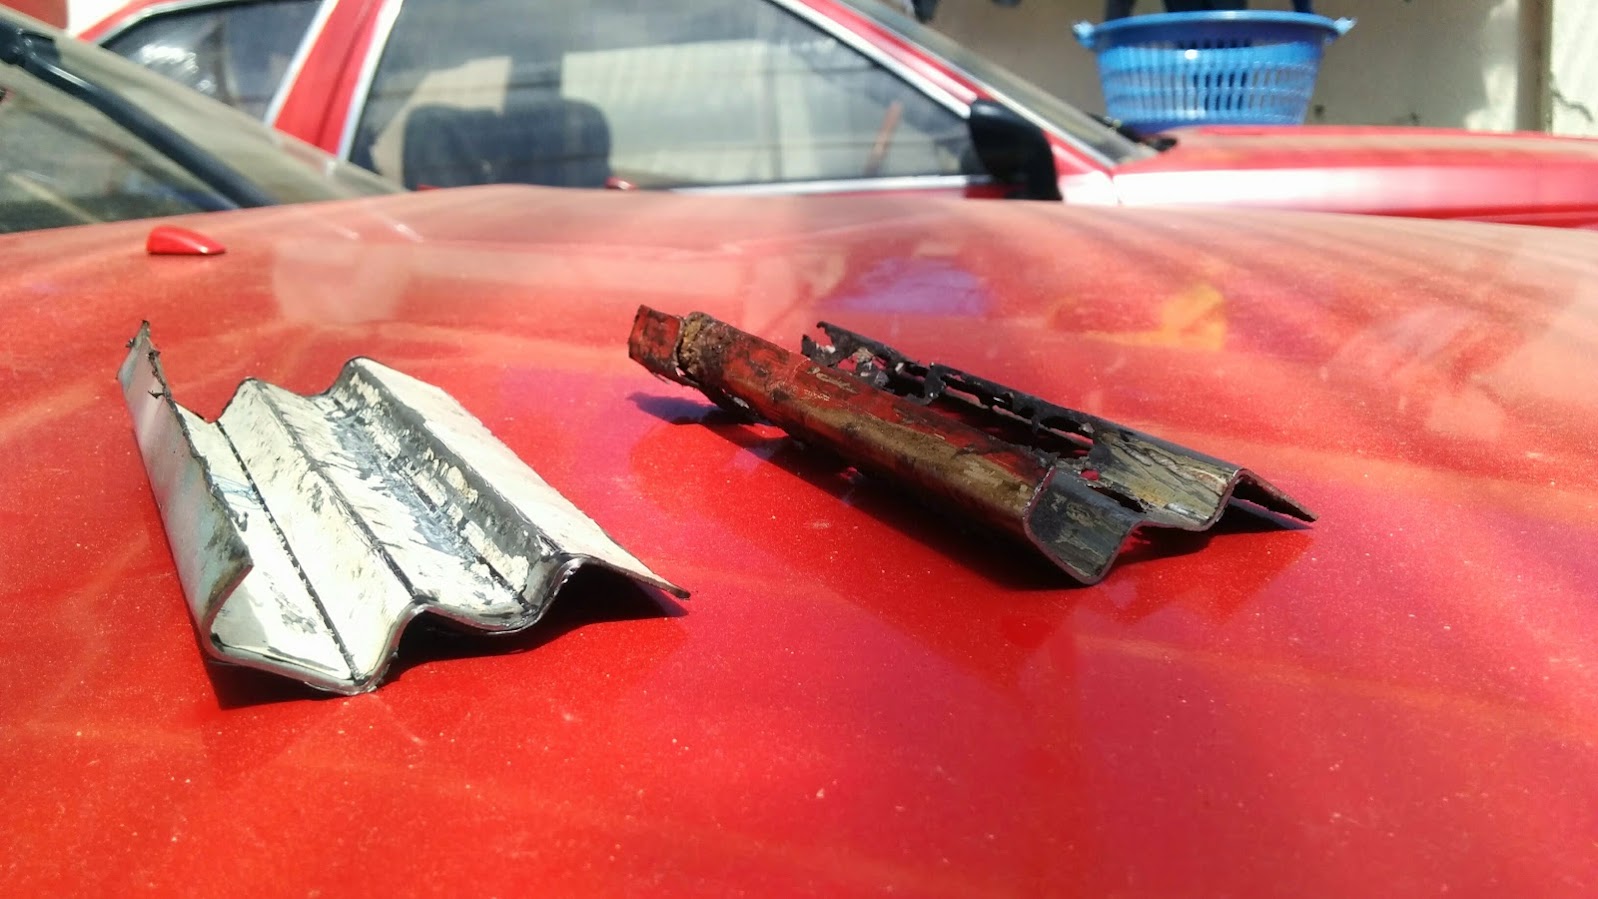
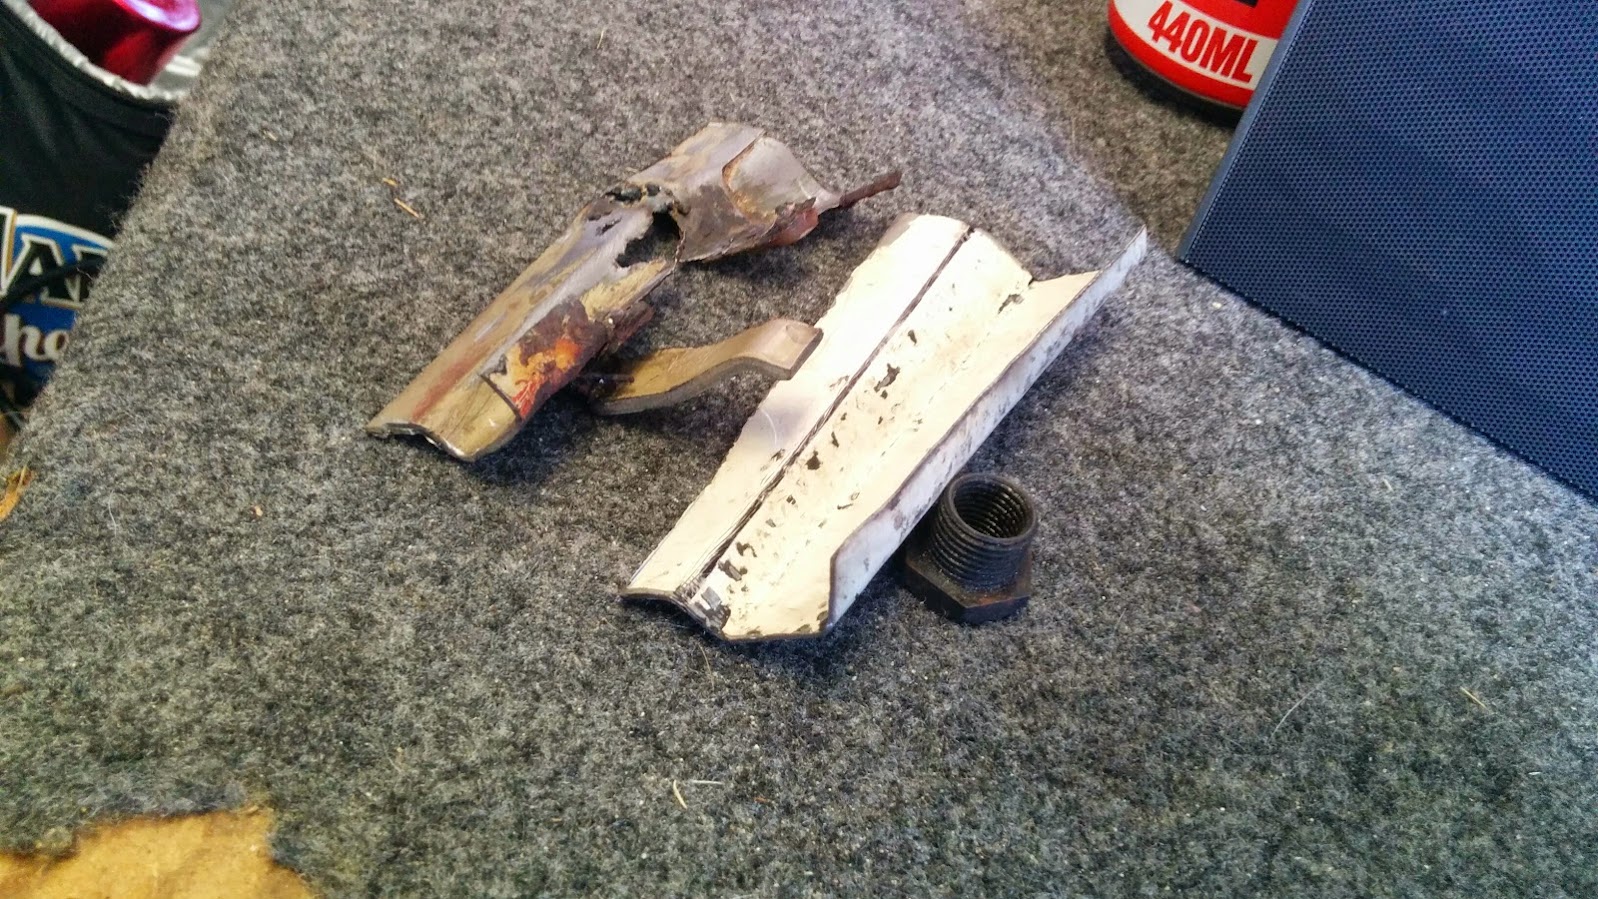
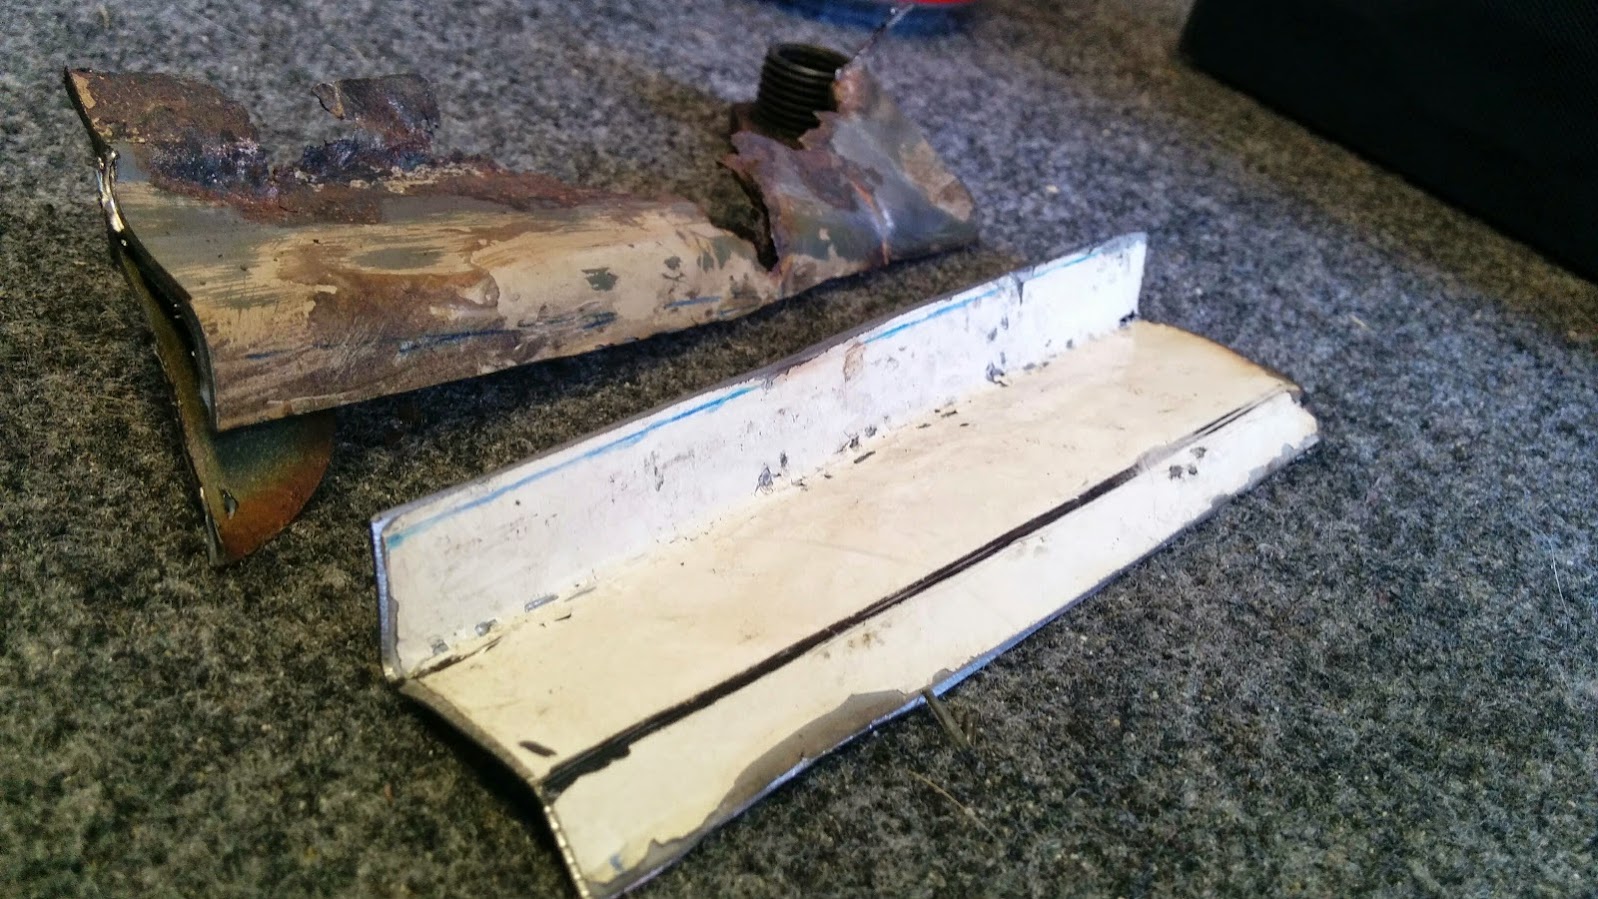
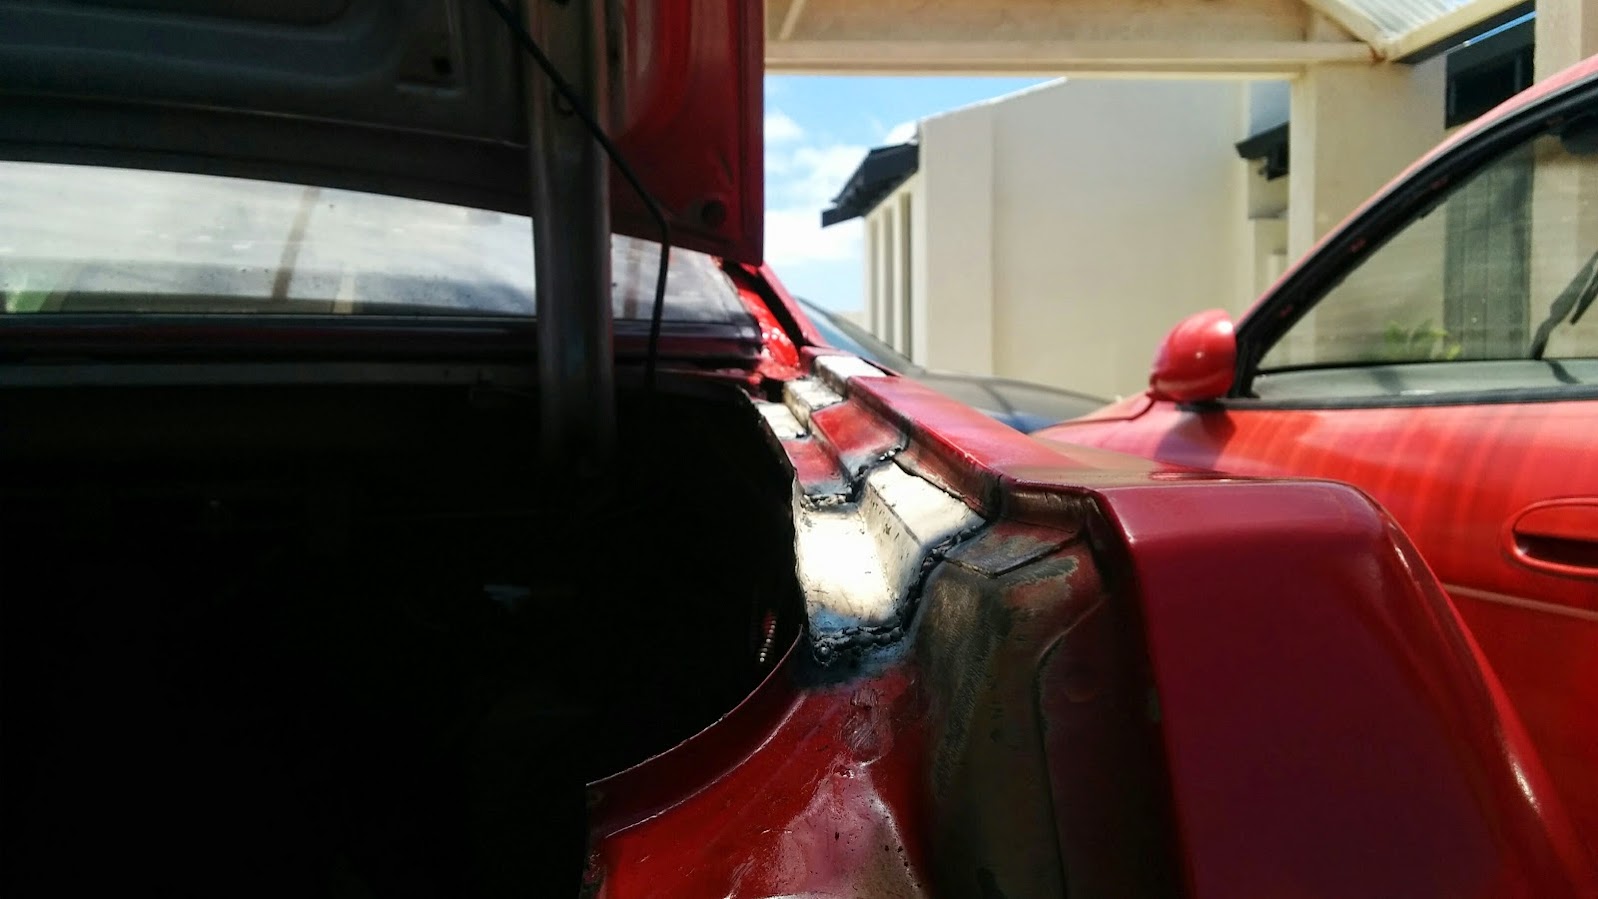
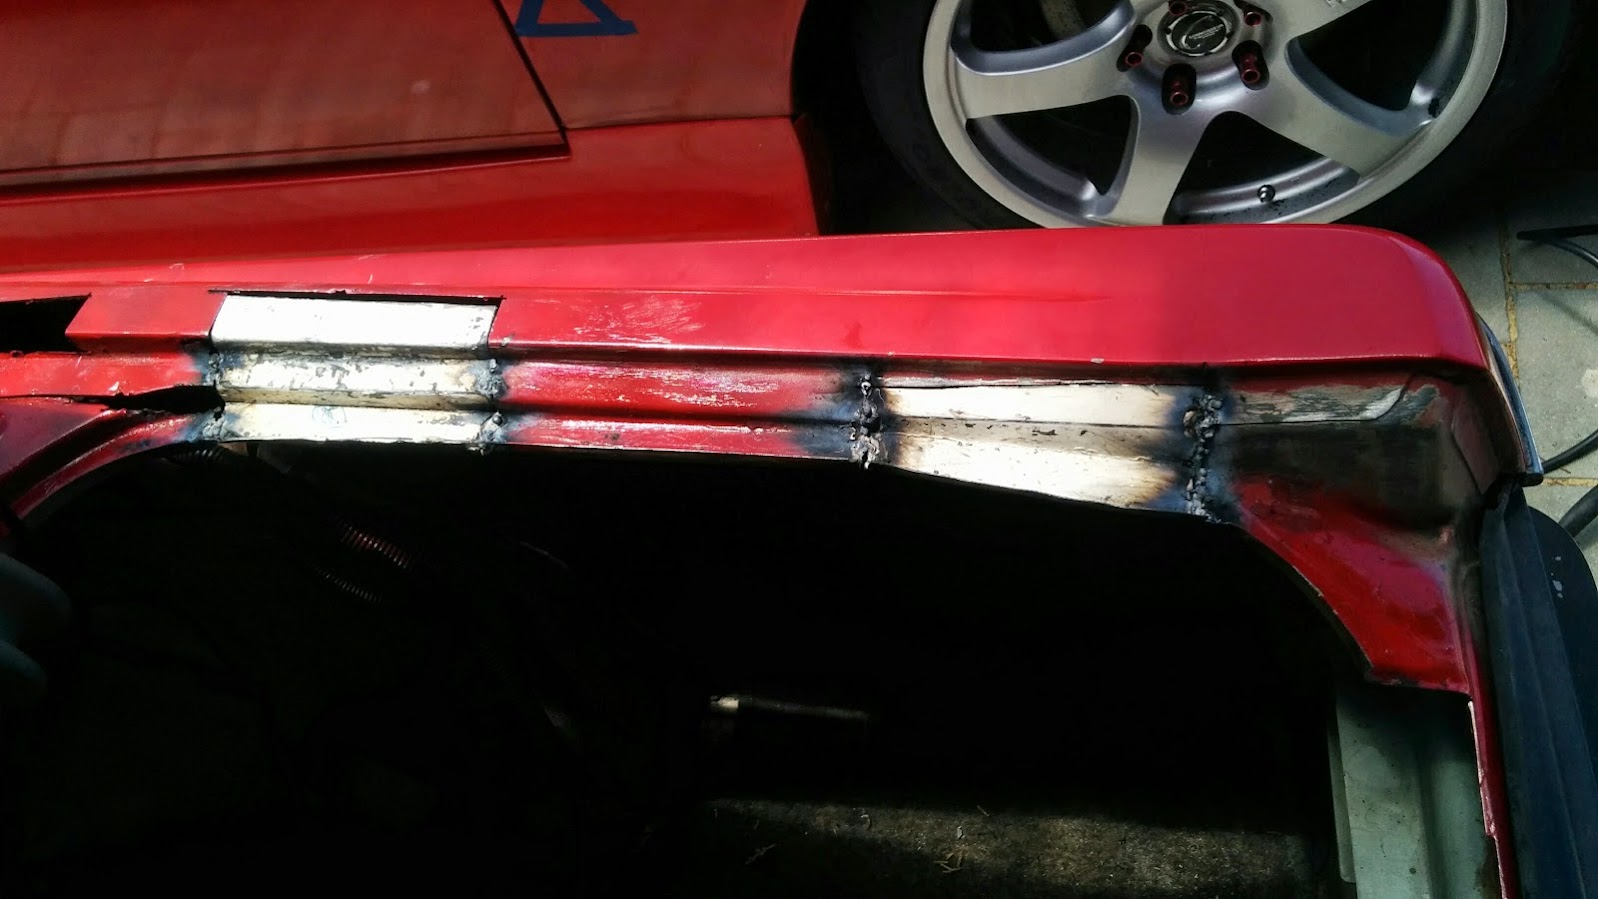
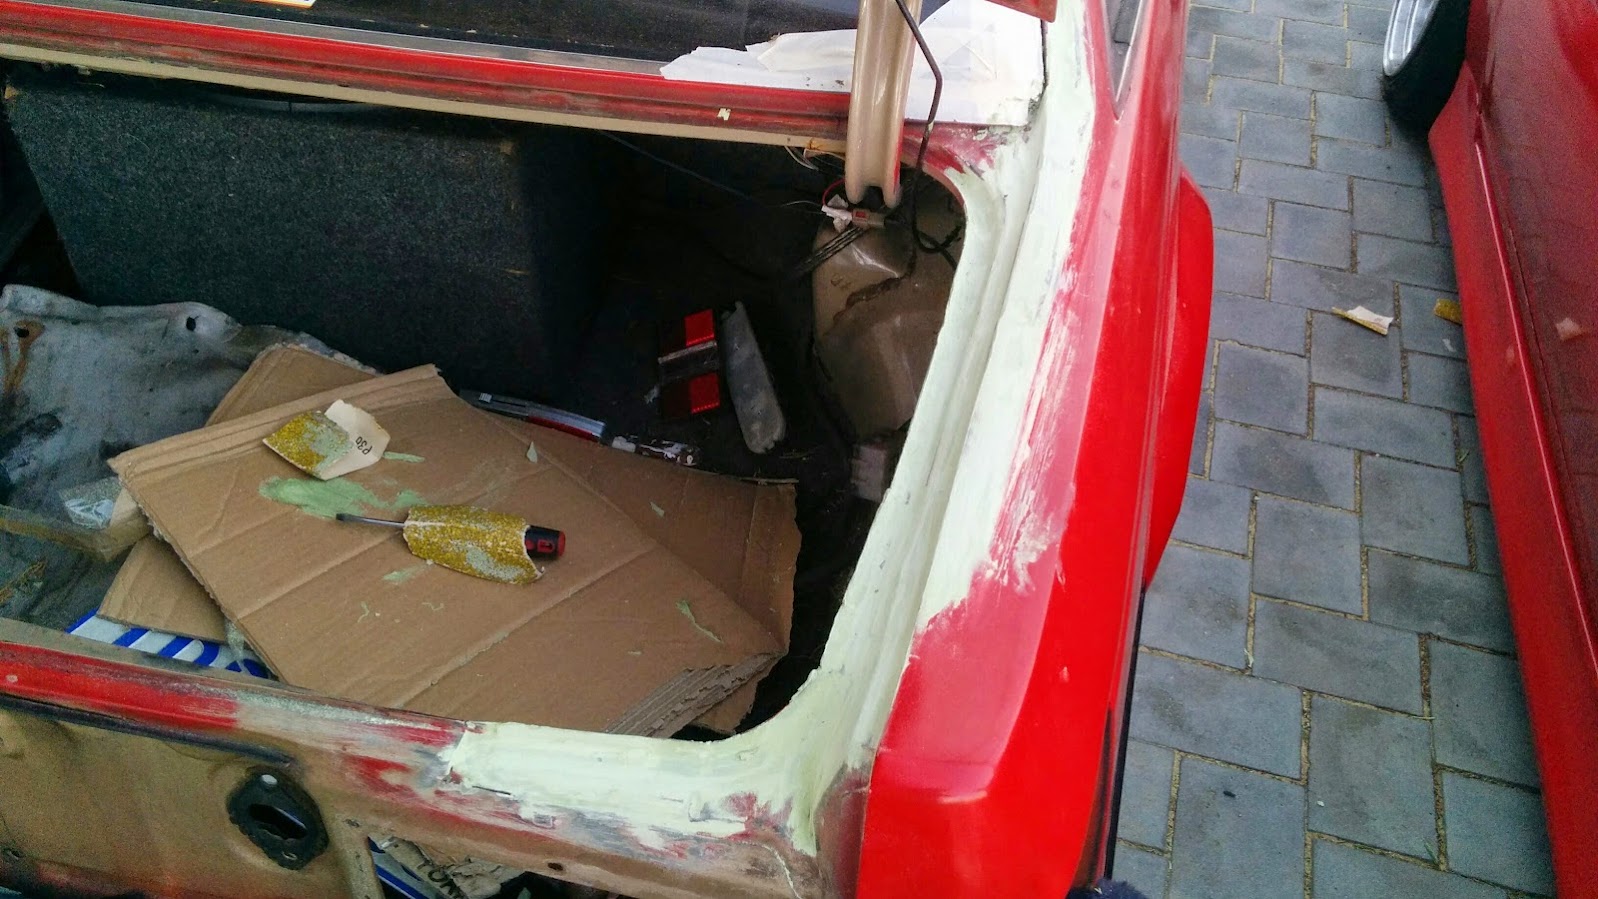
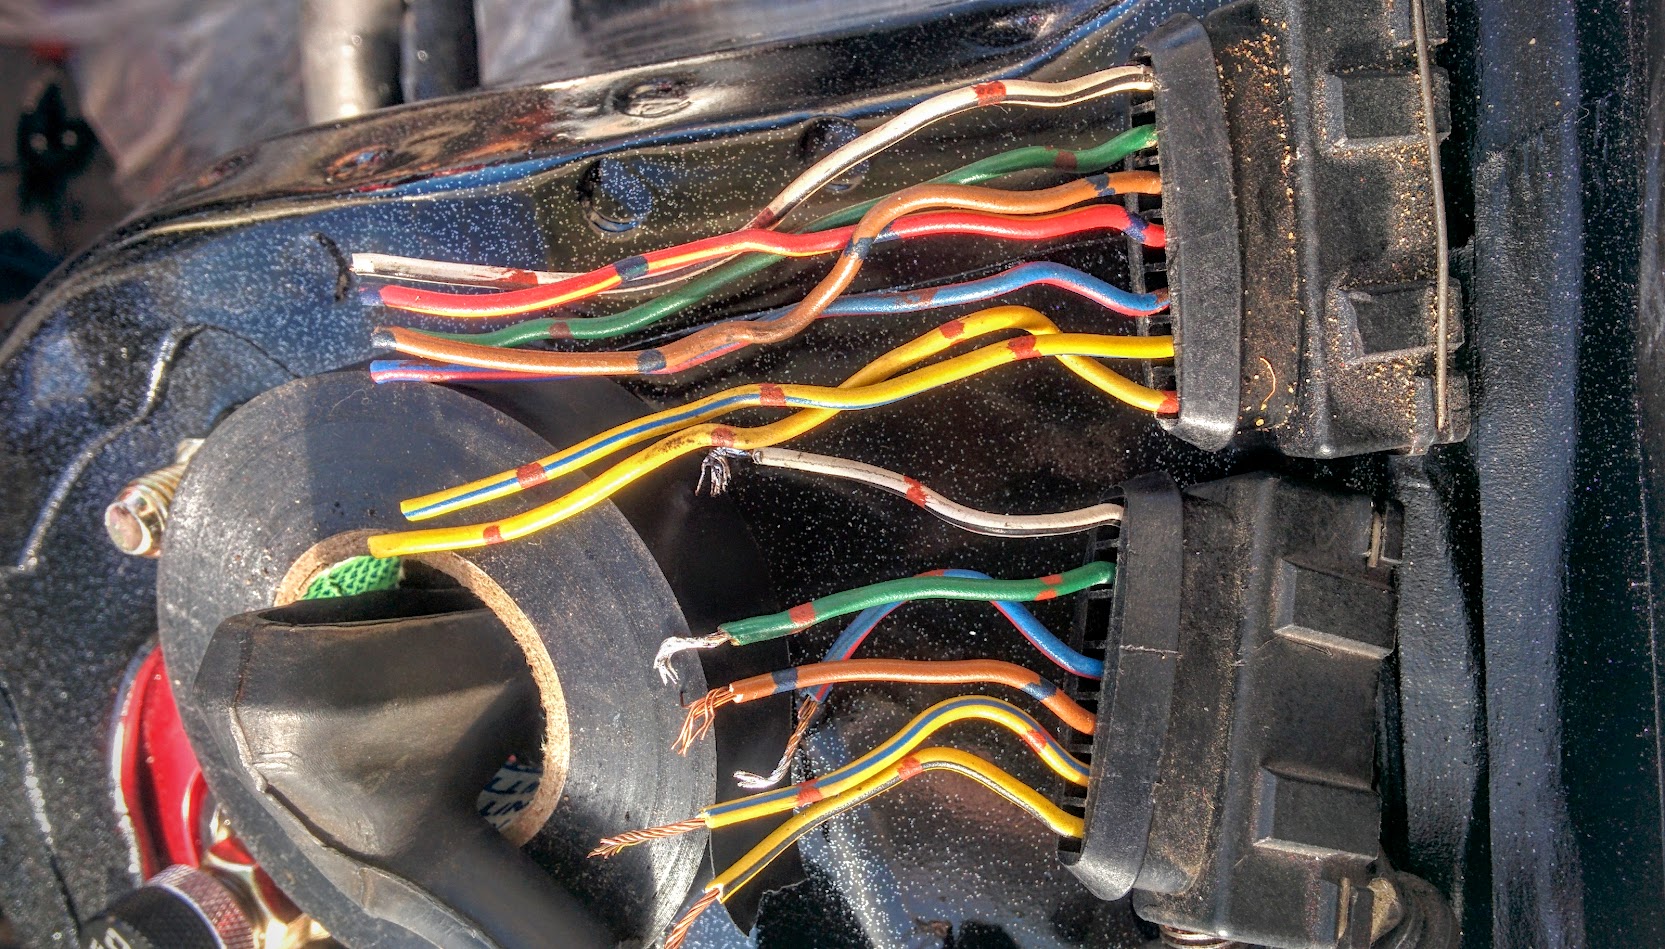
I had to cut out this semi-large section (marked with pen) behind each light to allow the kouki lights to fit.

headlamp hole
😮 !!!!
IMG_20151210_173312
Popped the lights in, they all bolted up easy and there the van sat for a while, MUCH BETTER!

A couple of weeks later. The DPI again sent me some snail mail with their approval and to formally invite me back to Osborne Park licencing center for re-inspection.
I arrived, the car was checked again and approved for registration there on the spot.
“Bob” who inspected the car , advised he was “Happy to see a young man do the right thing for a change and get a vehicle engineered when asked, rather than trying to mask things or swap parts out to pass”

IMG_20160122_133951
Bam ! Passed with flying colours!

I put on my SSR Zweel wheels, 18x8j +45 which sat pretty nice. The van was really starting to take shape ! (An Egg shape?)

It was time for a trip to my local Bunnings underground carpark for a few phone pictures, so i can compare the van later, when i have added all the special bits and pieces, not to mention LOWER it a bit.

IMG_20160125_163826IMG_20160125_163650IMG_20160125_163744IMG_20160125_163945

Now the van had registration, it was time for some maintenance.
I emailed Jesse Streeter and asked him to order me some Toyota Supercharger oil, which seemed to be un-available in Australia… I guess the only real Australian Toyotas which were supercharged being the TRD Aurion and the TRD Hilux. Maybe Toyota Australia considered the supercharger oil was not something commonly serviced by Toyota Australia on these two vehicles ?

I read how to reach the supercharger oil drain and oil filler thanks to Minkara Carview as always. Here: http://minkara.carview.co.jp/en/userid/157729/car/268611/485254/note.aspx

IMG_20160122_101842
It was quite a simple procedure, although very tight and hard to reach!

Next, an oil and filter change !
IMG_20160318_092923~2IMG_20160318_093410
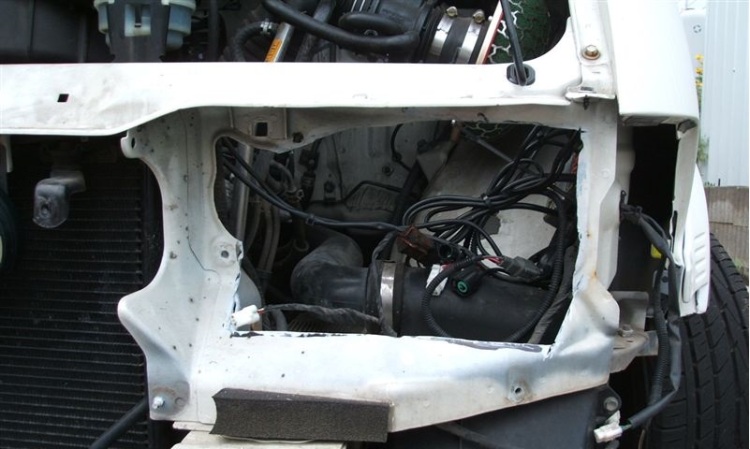
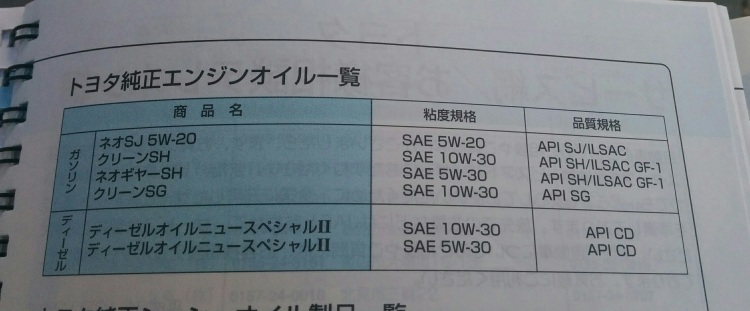
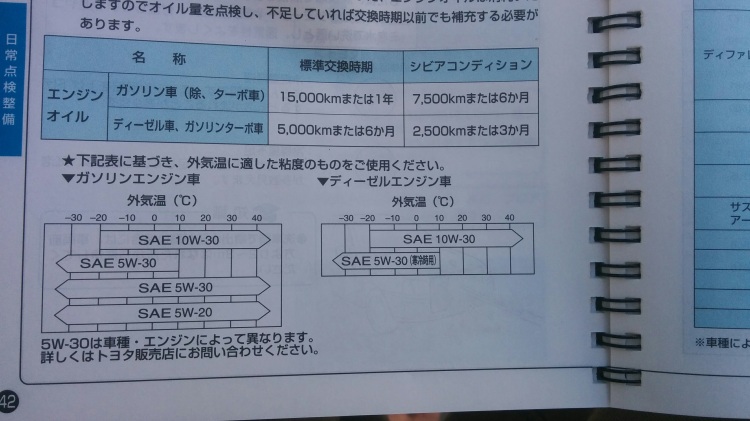
This was from the Maintenance Handbook, recommending SAE 10W-30 for the 199x Estima with a 2TZ-FZE Supercharged engine. 5.8 Litres total !!! THATS A LOT OF OIL!

IMG_20160318_111319
Purchased my favorite oil, Penrite !
10W-40 (the extra 10 is for the stupid heat we have in Australia)

IMG_20160318_111326
The oil change is odd to do. I’ve never owned a van before so it felt odd to be pouring oil on the interior !!! I thought i’d best use a funnel this time! Engine filler easily accessible under the passenger seat … lol

It was then time to increase the volume inside the car.
IMG_20151214_121313
Opened up the fusebox in the center of the dash to find two PERFECT spots for 10″ 2-Ways! So i moved the factory Toyota GPS module out of the way, as i was no longer using the factory head unit. Then moved the large 40AMP breaker fuse down below the dash rather than mounted in the 2nd 10″ hole.

IMG_20151214_122326
IMG_20160125_163921
Installed some 10″ Pioneer 2-ways in the fusebox lid !

Pioneer-avh-x5750bt
Pioneer Bluetooth Mirrorlink  !

IMG_20160205_154604
IMG_20151214_121402
IMG_20160205_154617
Pioneer 6×9- 3-way 400W Speakers for the rear connected to a Pioneer Gm-x334 amp

IMG_20160205_154631
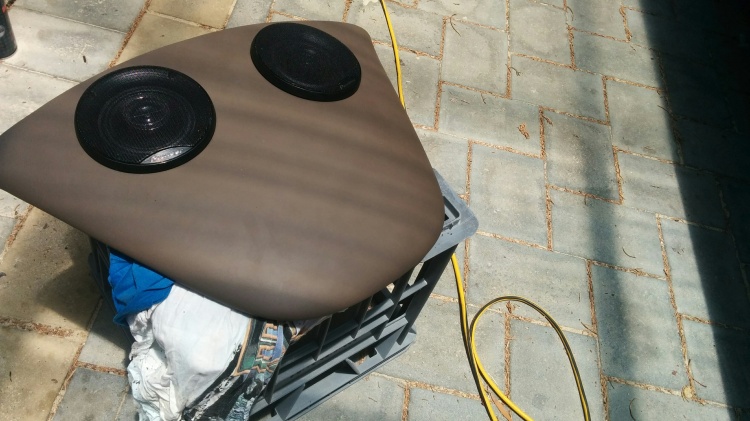
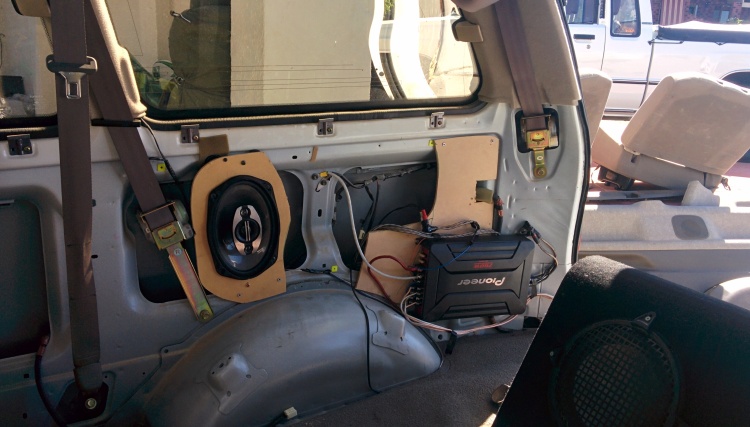
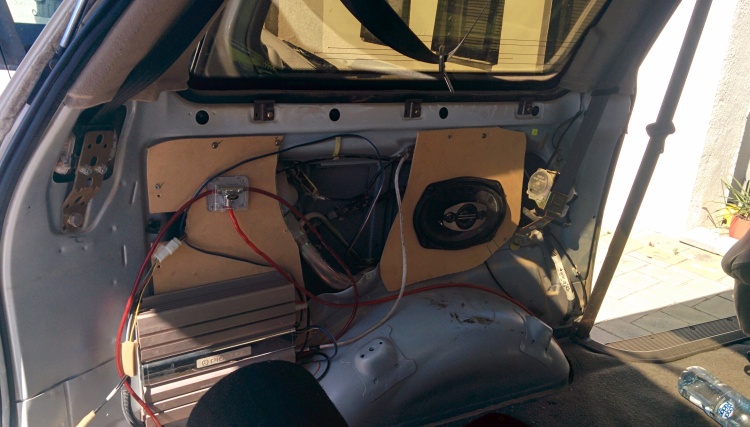
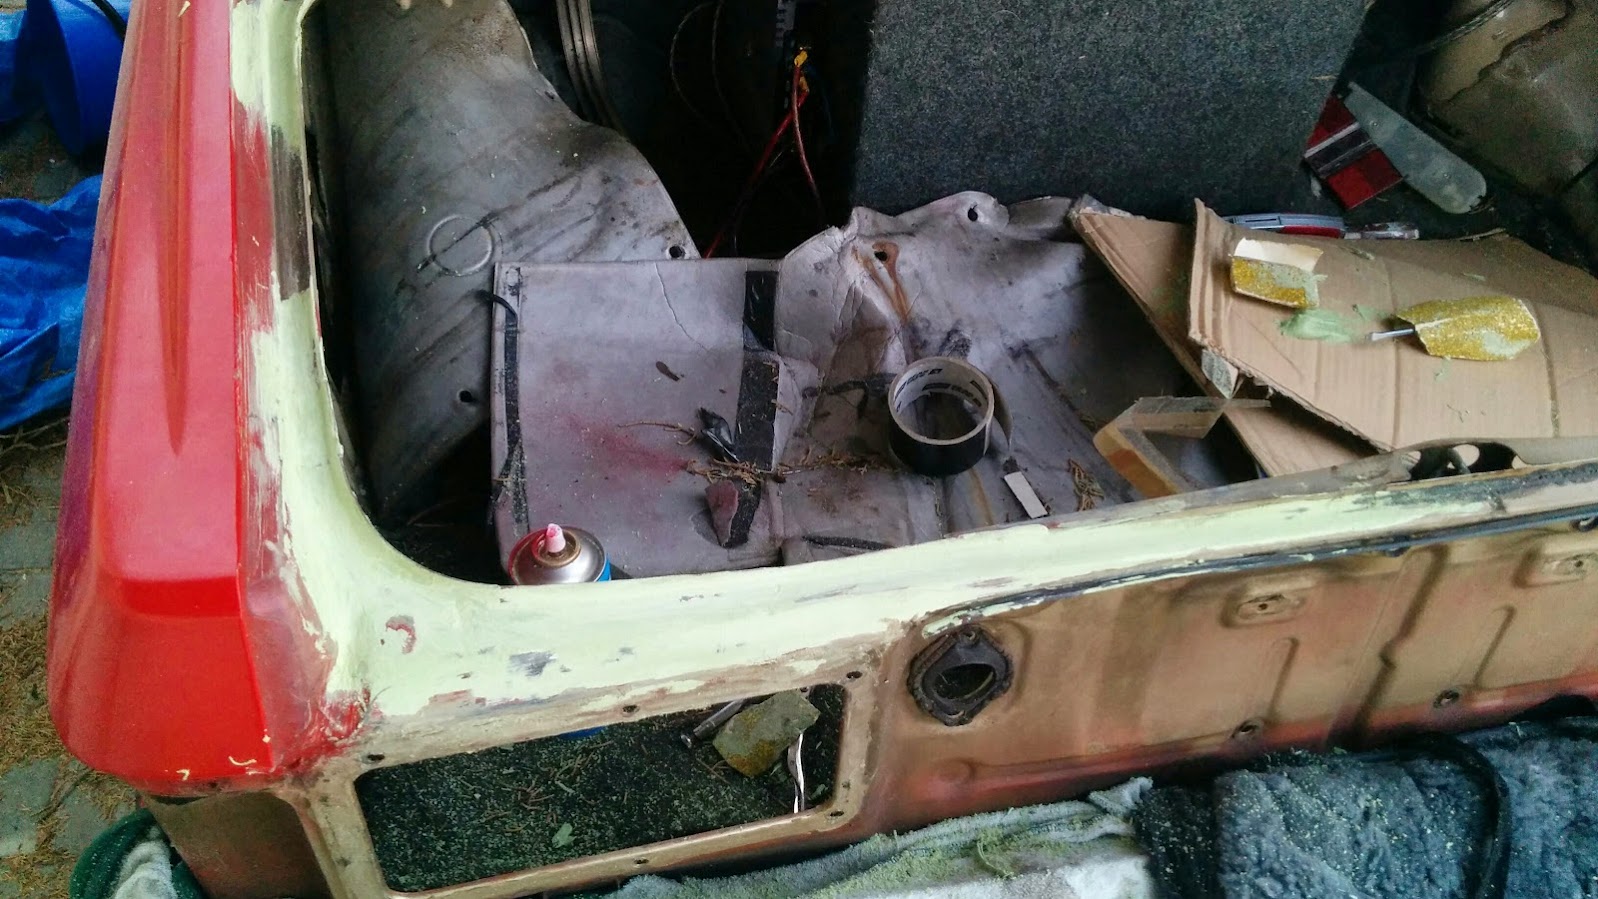
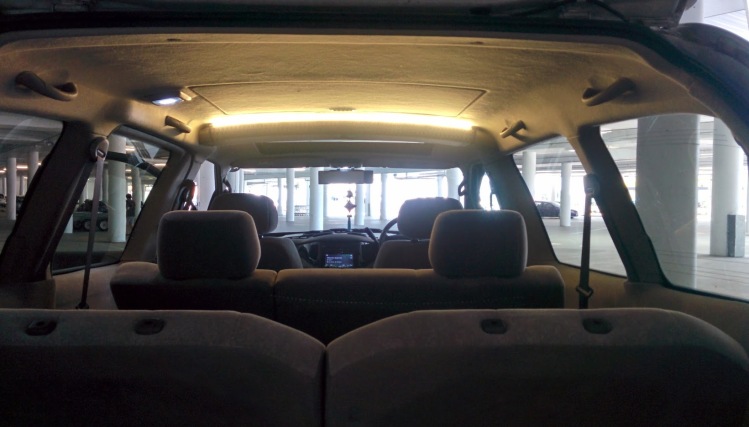
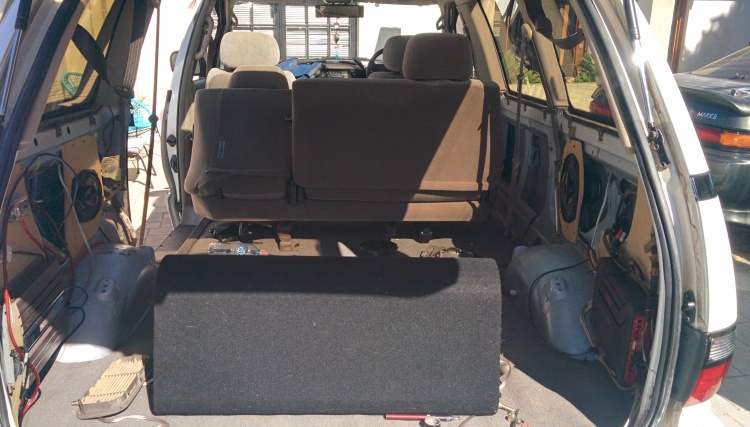
2 x 10″ Pioneer TS-W235F woofers in the rear. Connected to a Pioneer GM-A6604

The car was awesome to drive now, loads of sound, some semi-decent wheels, coilovers stiffened up !
What was missing ?
A CENTER CONSOLE !

Yeah the captains chairs are cool, but you need that center console feeling when driving a giant pearl egg. So i found this little (big!) guy on Yahoo and asked Jesse to send it on over!

IMG_20160209_095726IMG_20160209_100006IMG_20160209_100028IMG_20160209_105043
Perfect! Storage space and extra cup holders!

The next step was to fit my big wing which i bought and arrived even before the car did ! haha. But first, i found this genuine black Toyota badge on ebay which i think looks mint!

IMG_20160321_090056

Then installed my big new wing ! Professionally painted in Pearl White 042 by Punk @ Northside Panel & Hydrographics . Such amazing work , Highly recommended !!! FACEBOOK: https://www.facebook.com/northsidehydrographics/

12903724_1288644984508994_2017228108_o

12874168_1288644924509000_130415123_o

Some more updates soon, waiting on Maytech’s container to arrive from Japan with more goodies inside!

Coupe Wagon Driftcar Van

Wow, its been four months since i updated this , i cant believe how fast time passes! haha.

Well , we left off with warning lights on the dash of the JZS171W Crown. Shortly after the last blog post i managed to figure out both the items causing warnings.

First of all the JZS171W rear brake light out warning error. This was a simple one.
In the upper brake light of the wagon, the previous owner in Japan must have replaced it with a standard T10 wedge. Instead of replacing with the larger 12V – 16W wedge globe pictured here :

The second warning i had was the “Auto headlight leveling function” was not operating correctly.

IMG_20150707_120255

This was due to a sensor on the passenger rear lower control arm, there is a sensing rod that bounces up and down with the movement of the LCA. After changing over the coilover suspension from the CUSCO to the Buddyclub. I managed to slip the sensor rod upside down.
Explained very well in pics here :
http://minkara.carview.co.jp/en/userid/1311717/car/962158/2091331/note.aspx

I never went through with the CCFL install on the headlights, as the two “round” Athlete headlights i have were too clean to mess up. I thought id keep them as spares.

Moving on from that, I replaced the front discs and pads using JZX100 gear from RDA .
Simple to do, with the floating rotor style.

IMG_20150723_112130
IMG_20150723_112136IMG_20150723_113215IMG_20150723_113226IMG_20150723_114220

I also managed to buy back the original wheels that came on the Crown, which suited its style.

IMG_20150810_121045 IMG_20150810_121101

I also managed to fix the electrical drain by repairing a wire on the MPX DOOR (tailgate) ECU.
Which dropped the considerable 600mA “Phantom” drain, to nothing.
IMG_20150811_130525

I then got stuck into a bit of MZ11 work!
Drained the tank of dirty fuel, over the months of sitting, getting painted and generally not used, i could smell the stale fuel just by walking past it… I guess the rubber seal on my fuel cap is also perishing ?
IMG_20150810_121750 IMG_20150810_121756

Then removed the MZ11’s tired diff slightly more noisey diff and replaced with an identical 4.11 from the previous purple GZ10 i scrapped.

IMG_20150810_093136 IMG_20150810_110620

In September Holly had organised a secret trip for me and friends to goto Singapore for the F1 !
We got to walk around for a few days , then we had a few days of track time at the Formula 1.
We had an amazing time, what an incredible city !  The F1 was sensational i could have stayed for double the time !
(we even got to go for a special dinner at the top of the Marina Bay Sands)

IMG_20150919_193016 IMG_20150918_193316 IMG_20150917_223511-PANOIMG_20150917_223516 IMG_20150918_215602 IMG_20150919_210012 IMG_20150917_145014

After i got back from Singapore, I had a new project on my mind. It had actually been on my mind for a while.
So i set my priority to sell poor Clifford. Although I loved the car and finally got it working amazing after so many oil issues, I wanted to let it go. I’m never home for drift events, when i am, something else more important is usually on as well. Its cool, I have other things i want to do, and having a drift car sitting around isnt helping. Many years of drifting was fun but it was time to move on. So the final headlight clean on Clifford was completed, and it was sold on to someone else in the Perth scene.
IMG_20150819_144132 IMG_20150819_144140 IMG_20150819_144350

In October TOYOTAS IN THE PARK annual event was on !
Morgan and I managed to get down there, and get our Z10 Soarers in the public eye for a day.
Boy it was nice to drive an old manual car again ! haha
IMG_20151018_134518 IMG_20151018_134458

We even got to got for a little cruise with some of our friends from the X-Chassis crew of Perth.

IMG_20151018_144417 IMG_20151018_150841 IMG_20151018_150857

At the same time I had been looking at Toyota Estimas online over a few months (maybe 6 months lol). Originally i was looking at the 2005-2006 MCR40 , which is a 3L V6 M-Series engine from Toyota. The “40” is for All-wheel-drive. Which in my mind would go really well. However the troubles i had with the MPX network in the JZS171W was off-putting. The ACR30/MCR40 Estima’s had MPX, probably even more complex than the MPX network in the JZS171W…..

I then found out there was a SC14 Supercharged version of the previous TCR series Estimas… Otherwise known as the “BEAN or EGG” versions of Toyota’s Estima. The majority of the 2TZ-FZE Estima’s produced between 1991-1999 were TCR20/21 which were Toyotas “All-Trac” AWD versions.

So I started looking around to find out if the TCR20/21 series was allowed to be brought here. As i have seen a lot of Toyota Enima / Lucida models around, which were the thinner,shorter,diesel variant. However the TCR20W full wagon size versions were identical to the Australian Tarago of the era, so one would assume that they were denied importation.

Looking up RAWS / SEVS laws on the Estima TCR20w series I found a bunch of information on the workshops that were allowed to comply them “back-when”
RAWS estima

SEVS Ruling

Vehicle Details:

Ruling: 511//00     View Official SEVS Register
Make: Toyota
Model: Estima R20 (Campervan)
Model Code: R20 Series
Category: MA
Date From: 1992/01
Date To: 1999/12
Conditions: Linked to 377/02. R20 is 4WD

I contacted Hybrid to ask some questions on importation after spotting this TCR10W (2TZ-FE, RWD) on Goo-Net:
Photo of TOYOTA ESTIMA V EXTRA EDITION / used TOYOTA

I spoke to Robert from Hybrid he advised that there has been no “want” for these for a long time now, however they are still RAWS compliant “as a Mobile Campervan” .
He went on to explain the loop hole which importers used in the early 2000’s was to import them as Campervans. Meaning removing the rear seat and setting up some “basic” camping items, like a small gas oven, a table and a bed was all that was required for compliance in Australia. (in accordance with Administrators Circular 0-4-12.)

I asked how much importing / compliance would be if i was to import one along with a bunch of other things, when Robert mentioned his father still had a TCR20W (AWD – S/C) version from back when they were a common import and if i’d be interested ! Apparently it had been sitting around for a while on a farm in south A.C.T.

He flicked me through some pictures:

V__8D6B V__9D52-1 V__6379-1 V__5539-1

Turns out Robert had a 1997 Toyota Estima “V Pearl Edition” , with the 2TZ-FZE S/C engine and 78,000 kms on the clock!
I totally could see the potential in this van to be something pretty unique and great for a daily driver.
After a bunch of easy , relaxed conversation and organising, Robert sold it to me for a very reasonable price. We organized shipping and by late October I collected it from TOLL Perth Depot. (Special thanks to Nuwan at i-REV for assistance!)

IMG_20151028_134400 IMG_20151028_134433 IMG_20151028_143132

The drive home from TOLL Perth was interesting to say the least.
It felt like the suspension had seen nothing but corrugated dirt roads and potholes for most of its life. There were rattles, there were noises that sounded like metal banging against each other and there was floating on a cloud as it went over bumps, allowing the Estima to change lanes on its own !

Robert had warned me of the suspension multiple times before purchase, and there was a damn good reason why. HAH!

The good news was that the 2TZ-FZE drove smoothly home, perfect idle, 2,100RPM at 110KPH on the freeway and the captains chairs in the front were super comfy and in GREAT condition !

First order of business was to find out what the hell was wrong with the suspension. I thought maybe new shocks were required ?
Lucky i had pre-purchased TANABE coilovers from Yahoo (thanks Jesse!)

estima coils estima coils3

Upon further inspection :

IMG_20151029_085632 IMG_20151029_085643 IMG_20151029_085652
The rear shocks were completely gone, no rebound what – so – ever.
So I replaced the blown shocks with my recently imported Tanabe Coilover Shocks and springs.
IMG_20151029_104414

However i didnt really like how the spring seat/spring adjustible part was mounted. I also didnt think it was a “LIKE-FOR-LIKE” replacement and our Perth vehicle inspectors would also deny me using them legally, I mean, if i think something doesnt look right, I’m pretty sure an inspector would fail me ….

So as an alternative, I found that the old front springs from the front of Loch’s JZX90 Mark II were the same internal diameter.
They were Pedders (a local suspension company) springs, which were lower and slightly softer than standard.

IMG_20151029_113939 IMG_20151029_113946 IMG_20151029_121332 IMG_20151029_121338 IMG_20151029_121350
That looks a bit more “normal”
They fit PERFECTLY!

I then moved onto the front, which is where the majority of the noise was coming from during my drive home.
First i found a broken brake line : which was easily replaced !
IMG_20151029_141356

Then I removed the struts completely to replace with the coilovers…
And the top hats decided to stay behind :
IMG_20151029_145011 IMG_20151029_145003
Yep, completely gone….
Anyway.. In go the fronts :
IMG_20151102_120646 IMG_20151102_120557
I continued on replacing everything into the evening. Changed both Diff oils and bled the brakes.
IMG_20151029_090054
IMG_20151031_193916

Coilovers were in, LEXUS IS250 16×7 wheels with excellent tyres were fitted and the car drove great! (up and down the street only , of course 😉 )

I had one more day before heading for registration, finally some of my engine seals showed up.
I accessed the engine under the seats, which is an annoying task. Removed the cam cover and replaced all the seals.

IMG_20151030_152649 IMG_20151030_153130 IMG_20151030_153147

A not-so easy job after a non stop day fitting suspension, replacing brakelines, brake discs, pads, changing diff oils and adjusting other stuff.
(my back was very sore!)

Off to registration the next day.
I spotted this 1998 Estima Lucida on the freeway ! It must have meant good luck !

IMG_20151102_103038 IMG_20151102_103049

I arrived at Osborne Park Examination Centre around 9am.
IMG_20151102_090122

Handed over my keys, and sat in the waiting room for an hour or so watching daytime TV “news”
Lucky it was Channel 9, my favorite “news” …

The inspector came out and called my name, I went over for the chat, assuming as this was my first attempt to pass the vehicle I would fail for something so that i can come back a second time and pay them more money ! (how else would they make money right ?) Usually I pull out a tail light globe, or something simple for them to fail me on and write down on the “list” to which i just go home and replace the minor things and pass the next day. But hey , This Estima had done 79,000kms it was barely “run-in” and id replaced all the bad stuff i could find.

Sadly I was right.

The Inspector , who i might just say was “in a good mood” , or just a general nice guy. Advised me the car was beautiful and drove perfectly. All the suspension “upgrades” were excellent and that he would have passed the vehicle then and there.

Except it had 8 seats in it ……
IMG_20151102_115607
Of course it had 8 seats in it, its an Estima ……. oooooohhhhhhhhhhhhhhhh……. thats right….
Robert said they complied them in using a loop hole and “converted” them to Campervans , reducing the seating capacity to

YOU GUESSED IT !
5 Seats….
V__A27D2

Well, fuck me.
However, the inspector went on to say that he has seen this before. The way i need to tackle it, is completing the Modification Application for Light Vehicles document, and providing pictures of all the mounting equipment of the seating to prove it is factory and can be used within Australia.
He also mentioned i might as well put in the wheels (16″ instead of 15″) and the Coilovers as upgrades as i will need to go through engineering.
This is the same process that some people are unlucky enough to go through when they want to “legally” modify their vehicles, for instance:

Installing a more powerful engine ?
Changing from an automatic to a manual gearbox ?
Adding a Rollcage ?
Installing adjustable control arms ?
Lifting a 4WD ?
Installing larger (safer!) brakes ?

And so on..

So, I wasnt too happy, But i could totally understand why I was knocked back. I gave no attitude to the Inspector and left.

When I arrived home, I took approx 30 photos of the mounting of the seating, the mounting of the coilovers. Completed the document above and I hand delivered it to the Technical section of Welshpool Vehicle Services.Estima pic mods

The Gentleman behind the desk advised I should receive a letter in the mail (Hello ? Its 2015?) within the next “few months or so” , which is usually Australian for “Fucking Ages”
Then I need to pay an Engineer to sign off on the factory rear seats, and the coilovers.

IMG_20151102_120839 IMG_20151102_120831 IMG_20151102_120818

So until then, I will be installing some of the parts ive received from Japan Auctions and an awesome sound system.

IMG_20151029_123550KitfromJapan1 12064199_963237040378472_1659271543_n RSR Rod taillights mirrors Parkerlights headlamps

Updates soon (i hope) 😉

MZ11 pipes with JZS171W Processing

Another few weeks off work over and done with.
This time I managed to get the MZ11 Soarer exhaust completed thanks to the awesome work by :
Garry at “Custom Exhaust Specialists” in Perth.
Garry was amazing to chat with and really understood what i was after.
I spent some time explaining about half of what i was wanting on the MZ11 and he was already finishing my sentences. Garry knew what i was after as he had owned old Toyota and Nissan vehicles in the past and knew the exact sound and style i wanted.

An early morning tow to the shop:

The next morning i went and collected the MZ11. Started it up in Garry’s workshop and heard the sound i was after !
Stainless steel 2.25″ from the extractors through to a straight through stainless oval muffler, 2.25″ inlet and 2×1.5″ outlets!


I also ordered a new steering wheel from Yahoo Japan, as my awesome woodgrain Nardi that Holly bought me 4-5 years ago had developed a small split, although totally repairable I thought it was time to update with a smaller size wheel too!

I scored this “Tornado” wheel from Yahoo in Pearl Metallic white :

I think it looks GREAT with the red/white paint job and black interior. 🙂

I then spent a few hours on the JZS171W Athlete headlights. After reading a minkara blog post by “Tim @ Dosanko” : Here
I purchased some CCFL rings from Yahoo Japan to install into the Athlete headlights. 


I started to seperate them using the trusty heat gun and a plastic tipped screwdriver.


The Passenger headlight came apart fine! The process took around 20 minutes,  however the drivers headlight lens had a cloudy / yellow hase on it..

I needed to wet sand the plastic lens as i did in a previous post with my Royal headlights. This time i purchased a full kit for use with a power drill. 

The kit consisted of 2x 800 grit, 2x 1500 grit and 2x 2000 grit sand paper pads and a soft pad drill attachment.
And to finish the polishing, a powerball attachment and compound paste.

After 800 grit:

After 1500 grit :

After 2000 grit + some light polishing with the powerball:

The kit worked very well…. and i cant wait to use it on my Royal headlights too!
Sadly for the drivers side athelete headlight. The light still had some haze to it. I wasnt happy with the final result. I could not remove the haze enough to make it crystal clear like the passenger light. Even after repeating the process twice.
I think there is UV Light damage inside the plastic. 😦

I willl find another second hand light on Yahoo Japan and get it sent over eventually… LINK!…..

On the last day of my break the weather was terrible. Heavy rain and VERY cold. I had a few hours up my sleve and thought i’d complete the dash black-out that i had wanted for some time now.
Removal and disassembly of the dash was needed.


The dash was so easy to take apart, just a lot of care is needed.
reassemble after painting


Photos dont do it justice. So here is a video .. which is a bit more clear….
<CLICK FOR VIDEO>

In the video you can see the “TAIL LIGHTS OUT WARNING” flashing when i depress the brake pedal. This is due to me removing the piece of black electrical tape , covering the LED inside the dash. Which is somewhat of a concern, So i checked every single light globe…….. and found no issues.

However the warning light remains! unsure of what has caused the fault! 😦 more Minkara Carview reading for me !  here is a section of the owners manual :

There is also the “auto headlight alignment” warning light on as well, which was covered with black tape the same as the taillight out warning, which i also need to figure out how to fix. See below:

Thats about it for this update…..
Hope you enjoyed! Hopefully next break i can get the CCFL install completed on the passenger headlight and a few other little bits ! .

More soon.


MZ11 自然吸気最高 !

Hi All,
Found myself with two weeks off work again thanks to a roster change. I thought the two weeks off would be a great time to complete the 6M-GE conversion on the MZ11.

With all the oil seals replaced and the engine nicely painted a few weeks prior. I was ready to remove the 1GGTE.
The Generation 3 1GGTE was a great little motor. Dont get me wrong, its no 1JZ-GTE however it was just enough power and had that “cool” turbo whistle all the cool kids were raging about in 1992.
As i had completed a red/white two tone paintjob, found 1990s Recaro seats and really early original SSR 14 inch wheels. I thought i might as well scrap the 1JZ-GE idea and put and old original style 6M-GE back in the car, and we all know how nice a high RPM rev of an N/A engine sounds with an exhaust to match!

Its a risk, as i didnt really know much of the history with this engine. I found a LOT of information on the celicasupra.com forums, although being American, and a lot of items they talk about were different to Japan/AUS it was indeed helpful.

First: Breakfast!

Second , remove the 1GGTE which Matt Capp and a bunch of old friends helped me install around 6 years ago in 2009.


I always laugh and praise Toyota for designing the removeable radiator support panel. Did they know these cars would last longer than the engines? Maybe ? Regardless… Very helpful!

ECU and Engine harness / loom removed. Engine mounts / gearbox mounts unbolted. Your time is done here 1GGTE.

Sitting awaiting a friend to collect and transplant into an RA28 Celica!

And we have a classic Golden 1981 MZ11 empty engine bay again. Covered in years of road grime, oil and grease.

I got the trusty Karcher water sprayer out, and got to work giving the bay a clean down. Loads of degreaser , Loads of brake cleaner. Then took a trip to the local hardware store to find the paint that would suit. After about 30 minutes staring at the new Dulux paintrange of all weird and wonderful colours. One paint stood out more than the rest.

Duramax Diamond Finish!
It is basically a clear coat paint, containing extra fine silver glitter pieces! SO COOL!
If anyone is looking to paint an engine bay or even a whole car (LOL!) i strongly suggest finding the new Dulux range at your local. The other colours were amazing too! Glitter blue/Silver/Gold/Green there was other metallics and even a “granite” look paint! 😮

I initially got to work taping the car up with some quality painters tape with a strong edge snap combined with several sheets of plastic. Total cost of this was around $20. But the last thing in the world i need is to ruin the beautiful paint work from Paul !


Layed down several heavy coats of Satin Black enamel trying my best to dodge anything that didnt really need paint.

Followed by a few light misty coats of the Dulux Diamond Finish

I let a day or so pass to make sure the paint was dry and to spend time with Holly and Friends rather than be a hermet working on the MZ11 non-stop. But had the 6M-GE placed in front of the car like the suspensful part of a good movie! HA!

Matt Capp came over to help me figure out the wiring loom. Seeing as Matt was there to help me put the 1GGTE in, it was only natural to have Matt help with the 6M-GE wiring. Plus he loves this stuff deep down! haha!
Here is a picture of the wiring differences between 5M and 6M Air flow meter connectors.

Under dash (glovebox) body harness loom. Many things missing from this picture.

A few custom connections later, and another harness connector from the guys at Triptek Performance (Thanks Mark/Phil)
and we had the starter motor turning the 6M-GE.
However there were major issues with starting. No spark!


(PLEASE EXCUSE THE TAPED UP TEMP INTAKE PIPE! HAHAHA ! OH DEAR!)

Testing went on for hours and as day turned into night. The cause turned out to be the Ignitor / Coil .
For some reason it wasnt throwing any spark toward the distributor!
After multiple tests and assistance from an old mate Rudi (Toymods) we found the coil to be possibly dead! 😦

The next few days I went and saw my friend Clint G who runs a yard in Midvale – Perth, an hour away from my house and collected another coil to test. Wired it up for testing to see if we could get any spark.
12V+ Looked fine across the resistor.

My friend Morgan with the white GZ10 assisted me in testing the coil by holding a spare 5M-GE Distributor and spinning the gear of the Distributor which sends “a signal” out to the coil via a two pin connector. In Turn, telling it to fire.

Everything checked out fine! Sparks were flying !
We replaced the taped up intake pipe and airflow meter with some spare pipe and silicone joins. Ran the cooling system to remove any air. Disassembled the headlights for a good clean and repainted the surrounds.
Dropped the car back to the ground and enjoyed the near Harley Davidson sound of a 6M-GE through extractors to the floor. 🙂


I need some BLACK silicone joiners and someone to make me a stainless pipe from throttle to Airflow Meter.
But the machine runs for now! and looks almost decent enough as is! but again i want to make something as perfect as i can, not “decent enough” I spent too many years cutting corners here and there this time we gotta run it 100% nice.


Interior got placed back together !

Then went for a few drives up and down the street with Morgan 🙂


Big thanks to everyone for your help. Was a great conversion with very minor trouble now i look back on it.
Cant wait to get a really nice exhaust made, Im thinking 2.5 inch from the twin collector on the extractors. Through a small muffler or resonator around mid way, then from the axel back a twin 1.5 inch stainless shotgun. I hope to make the raspy buzz sound ive wanted for so long!

More updates soon!

peace.

Rebuilding the MZ11, Picture Perfect

Ahhh, three weeks off work was amazing!
Time flew by, loads of fun at home with the girlfriend and friends. Turned 30 years old and had an awesome party and got spoilt by Holly!

I also managed to get a fair amount of car fun done!

Back to where i left off….
I received a call from Paul the painter, who said its time to come and collect the Soarer.
I had still not seen the car in the flesh, only a few pictures here and there.. I Arrived at Bozz’s workshop to find an amazing result!
Pauls dedication and time he had put in really showed! Every dent, deep scratches and warped panels were all amazing!


I was so happy!
I quickly put the car on the trailer and got it home to start installing all the parts that were removed for the paintjob!
Starting with the front bumper sides pieces, headlights and rainbow indicators

The side moulding lines were painted perfectly, they all matched up as they should and the chrome was not touched! 🙂
I was still in awe at how perfect Paul had completed the car for me!

I installed the tail lamps which i purchased from YJP through Jesse. These were second hand items obviously, but very well looked after! They still had a new looking shine to them and the plastics were not distorted or faded or cracked!

Time to install the BC coilovers !
First i removed the S13 suspension that i had been running for around 4-5 years now.

The S13 suspension worked alright, binding of the tierods and rack ends was very irritating, but for a simple replacement to make the car low, it was enough. The MX73 BC Coilovers and MA61 lower control arms will make a huge difference.
Next was to install new MA61 Rack ends and Tie Rods onto the MZ11 steering rack.


Installation of the BC coilovers was a complete breeze. After months of working on a JZS171 Crown its nice to get back to the simplistic 80’s Toyota designs …
Test fitted the SSR Formula Mesh 14×8.5J -10 on the front.

Onto the rear end !
I removed the KYB shock and spring setup. Which were still in really good condition with no leaks and a good rebound.
Measured out the KYB Shock and matched the BC Coilover shock to the same length.
Installation was a breeze again, maybe even more so with the rear than the front, seeing as its a simple swapout.


Back on the ground. I wasn’t happy with the height, I measured the S13 coilovers and KYB Excel-G’s before i removed them, then and set the height of the MX73 BC coilovers to the same measurement. However as the mounting points of the S13 gear is completely different to the MX73 mounting points, and the KYB shocks compress a lot more, the measurements were void. Lucky the BC coilovers have so much adjustibility, it will get lower soon!


The interior needed a good clean after paint dust had blown through bits and pieces.
However it is now super comfy and has that 80’s/90’s feel thanks to the new Recaros!

A few pieces of JZS171 parts arrived the next day from Jesse. I just had to get the Royal grill on asap!

At the same time, i thought id try and clean my Royal headlights some more. As they still have the yellowing that all plastic lights get when they are not maintained. The Crown being 14 years old, has a fair amount of buildup.
I purchased Turtle Wax – Headlight lens restorer.

First the tougher cleaning using the Turtle Wax pads , which appear to be like 3000grit sand paper pads. There are 4 different pads which get finer and finer grit as you go through each stage.

Final stage is to use what looks like a really really fine cut and paste compound.
Again with the Mothers “Powerball” and drill i got to work :

To show the difference, I did not clean/restore my passenger side light. You can see in this next pic that it does 100% make a difference.
Drivers side is clean, Passenger side still has yellowing!
Maybe one more round with the process will have them looking clear and new!

A rear wagon shot for good measure! :

A week or so later, I got back to work on the MZ11 , Chin spoiler was the next feature to be installed, and the BC Coilovers lowered and set correctly for damper and spring.

Adding the Zenki 1981 grill completes the front end!
Maybe a little more low is needed? – But then i wouldnt be able to get into my driveway due to the kerb 😦 ¯\(°_o)/¯


Next week my mate Morgan moved in with us, He also owns a 1985 GZ10 Soarer.
Amazing condition with only two tiny little rust marks appearing around the bootlip. At some point a New Zealand person owned the car and the car has a few “TEAM SHHH!” and C’s Garage stickers.
The 1G-GE is still really healthy and he drives the car to and from work daily!
Soon to be changed over to a 1JZ-GTE VVTI motor.


The last week of my time off work Matt Capp came over with his project 180SX which had just been recently repainted. It was SO clean! Great to finally see it washed, cleaned and in the flesh!


Matt convinced me to continue with the idea of a re-vamped 6M-GE (3.0L 5M-GE) to install into the MZ11. As ive completed the exterior to be correct, i might as well complete a motor to fit. The original idea of using Holly’s brothers 1JZ-GE from his JZX90 went down the drain and work started on the 6M-GE.

Here it is after i bought it and gave it a bit of a wash…

I have since purchased a complete 5M-GE seal kit from the USA.
Replaced: Front oil seal, Cam seals, Oilpump seal, Cam tower gaskets, Cam cover gaskets, Rear main seal, Power steering pump, Intake Manifold, Exhaust manifold and mant other items.

I chose to keep the cam covers a bright red. So i took them to a sand blasting place near my house and had them completely stripped back. I then repainted them with high temp red engine enamel and sanded back the top embossing.


Hopefully my next trip home i can remove the 1GGTE and convert the car back to the 99% original 6M-GE
(yes i know, not 100% original 5M-GE but 6M-GE is better anyway! )
Install the rear under split spoiler and a few other items.

I will also be attempting to reconnect all the air conditioning and installing my Carrozzeria speakers!

Updates soon!

Rebuilding the Big Red – Phaze 3 – almost complete

Hey All, Last time i was home, i managed to get the coilovers sorted with the help from my friend Matt Capp. The Coilovers are BC V1 for MX73 Cressida. I purchased them from JustJap.com.au which is located in NSW. Not a bad price, I have been always running them on the drift cars ive had (z20/Z30/A61) and they never fail. The difference with these, much like the MX83 coilovers you can purchase. Is that the original factory OEM stub axel must be used in the process. Removal of caliper, top hat, spring, shock, rotor, hub and all the oil from inside the strut has to be completed. Once apart, Matt Capp cut down the strut to 1 inch from the base, this allows us to weld on the coilover with more room for the base adjust to bottom out. 
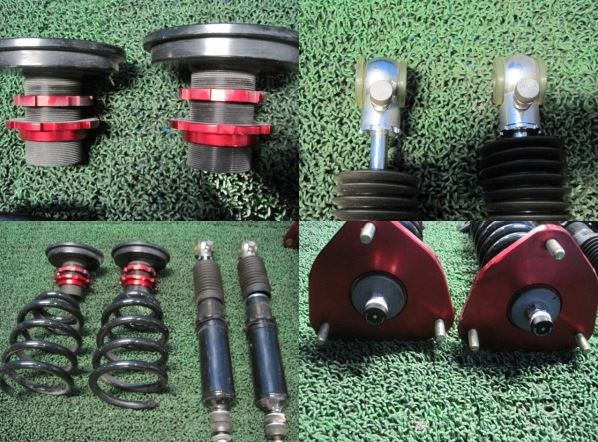
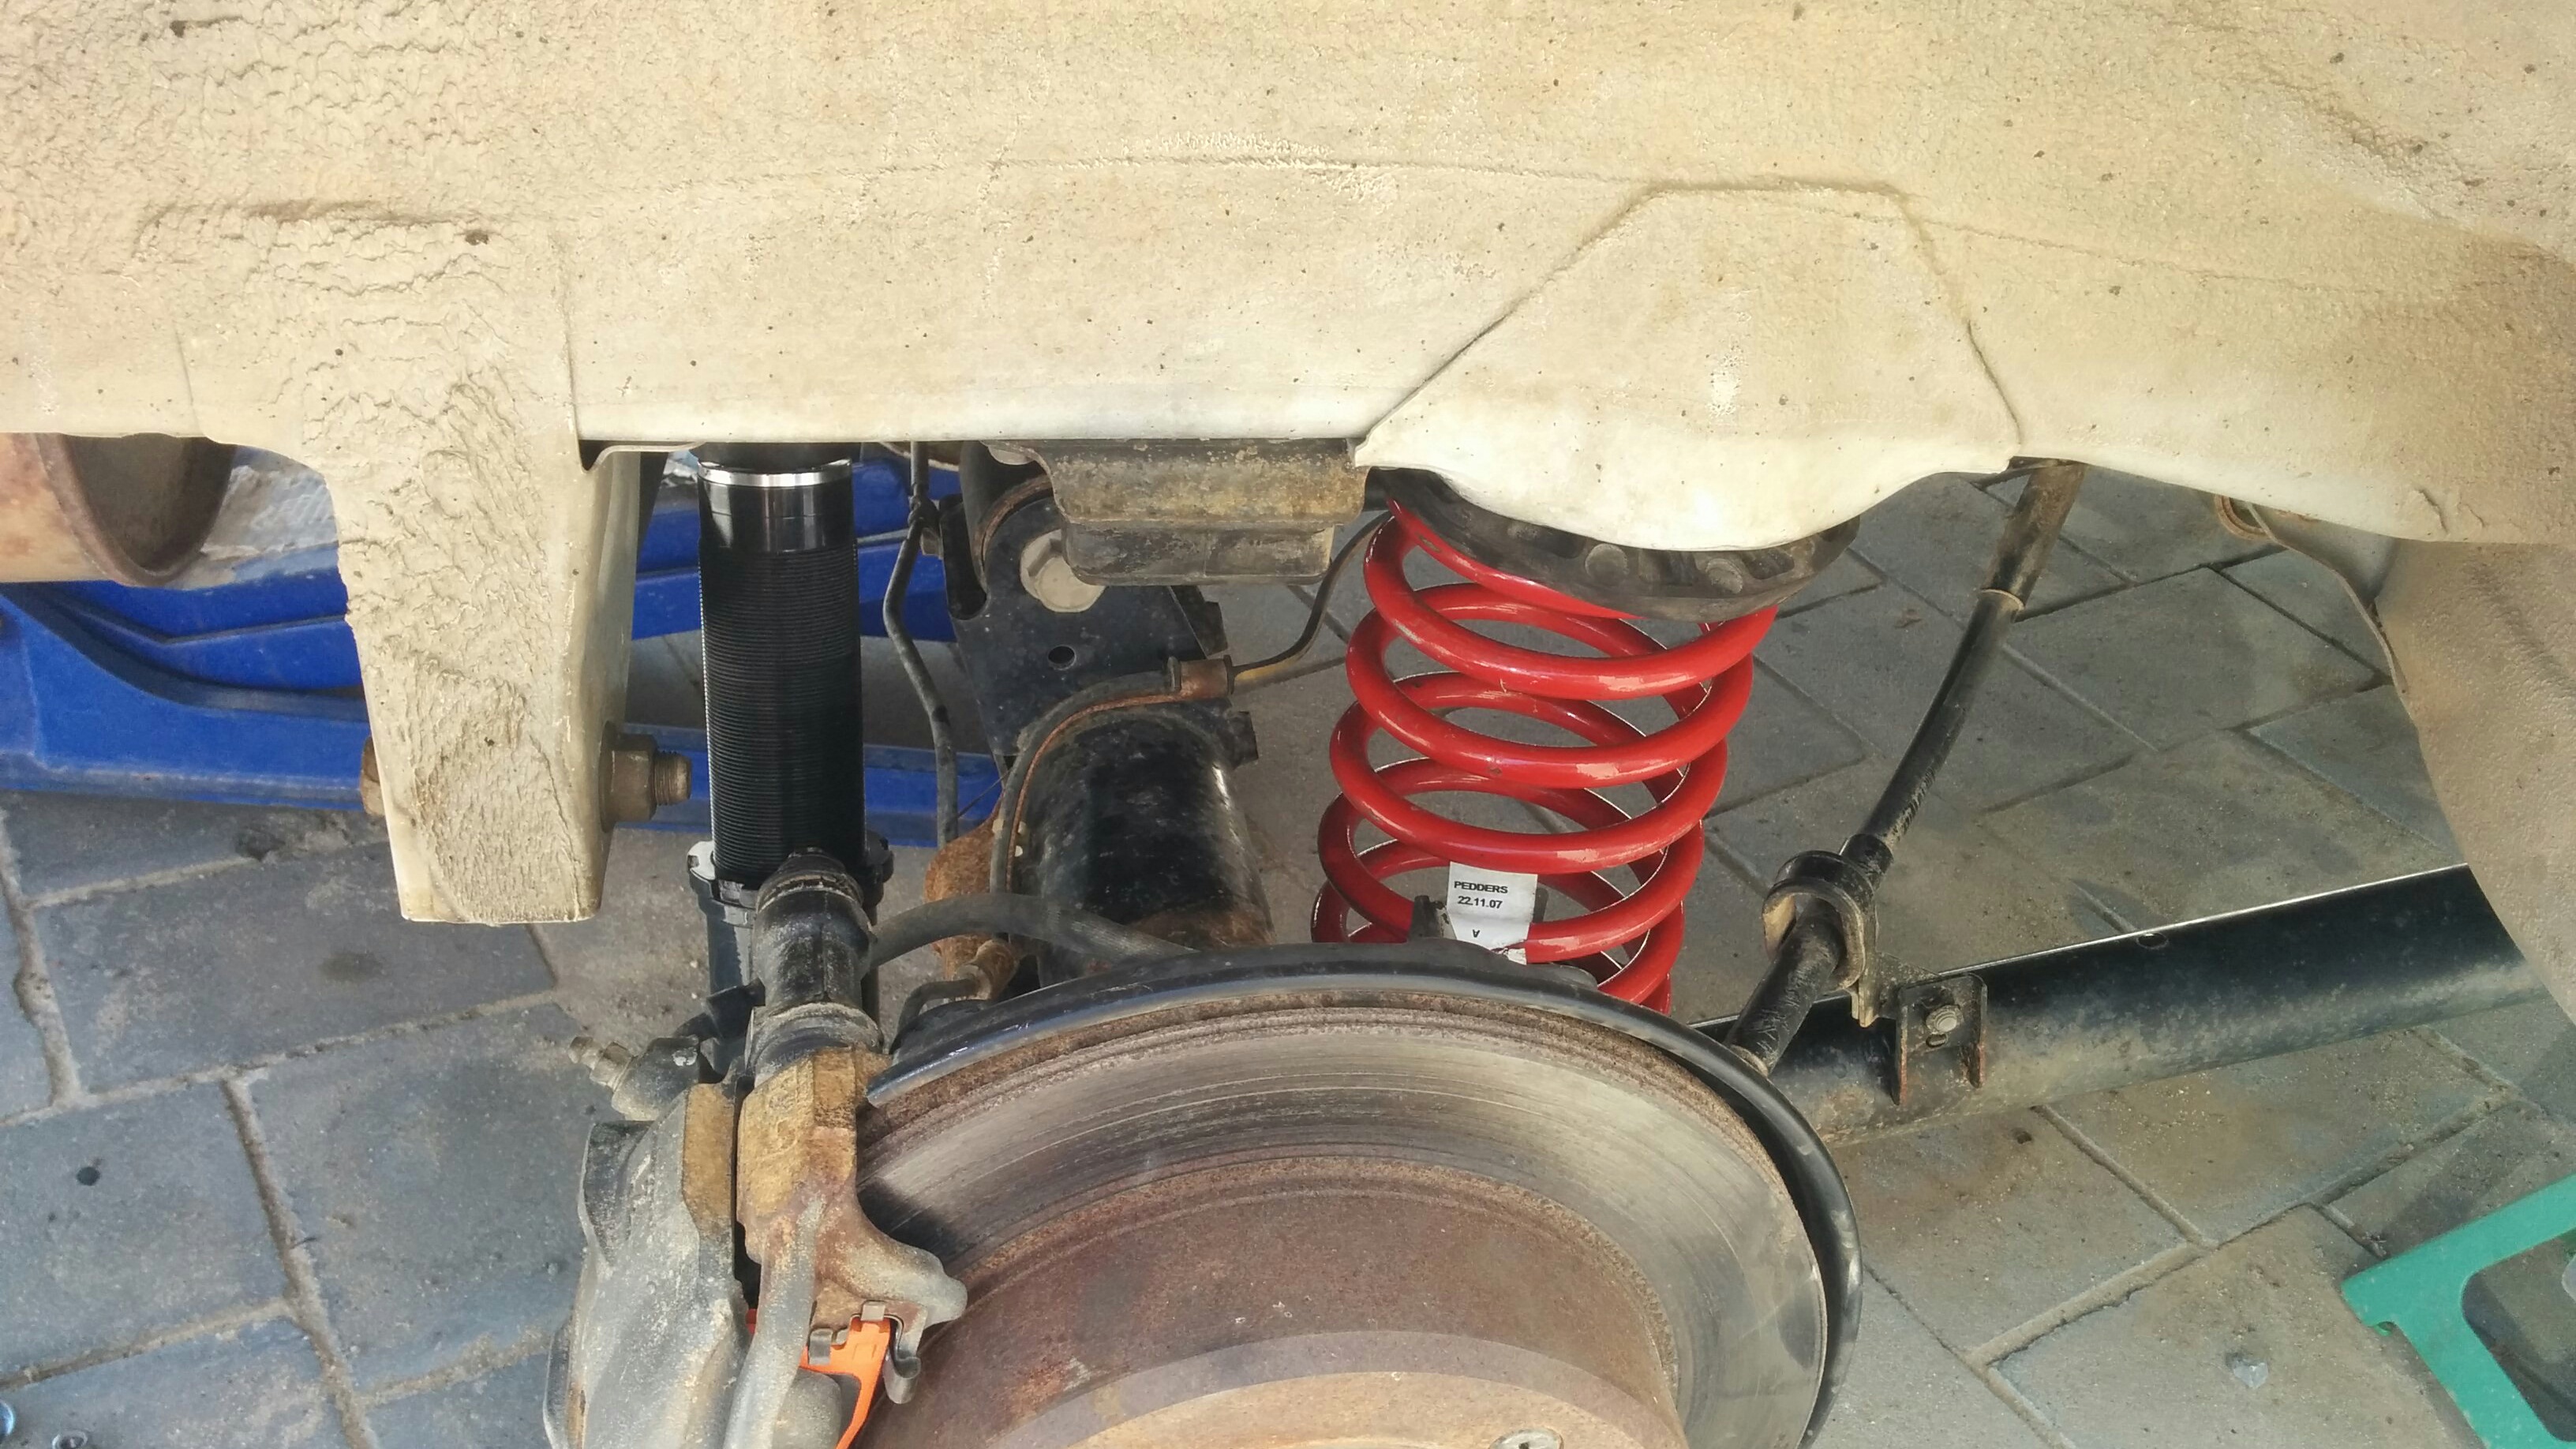
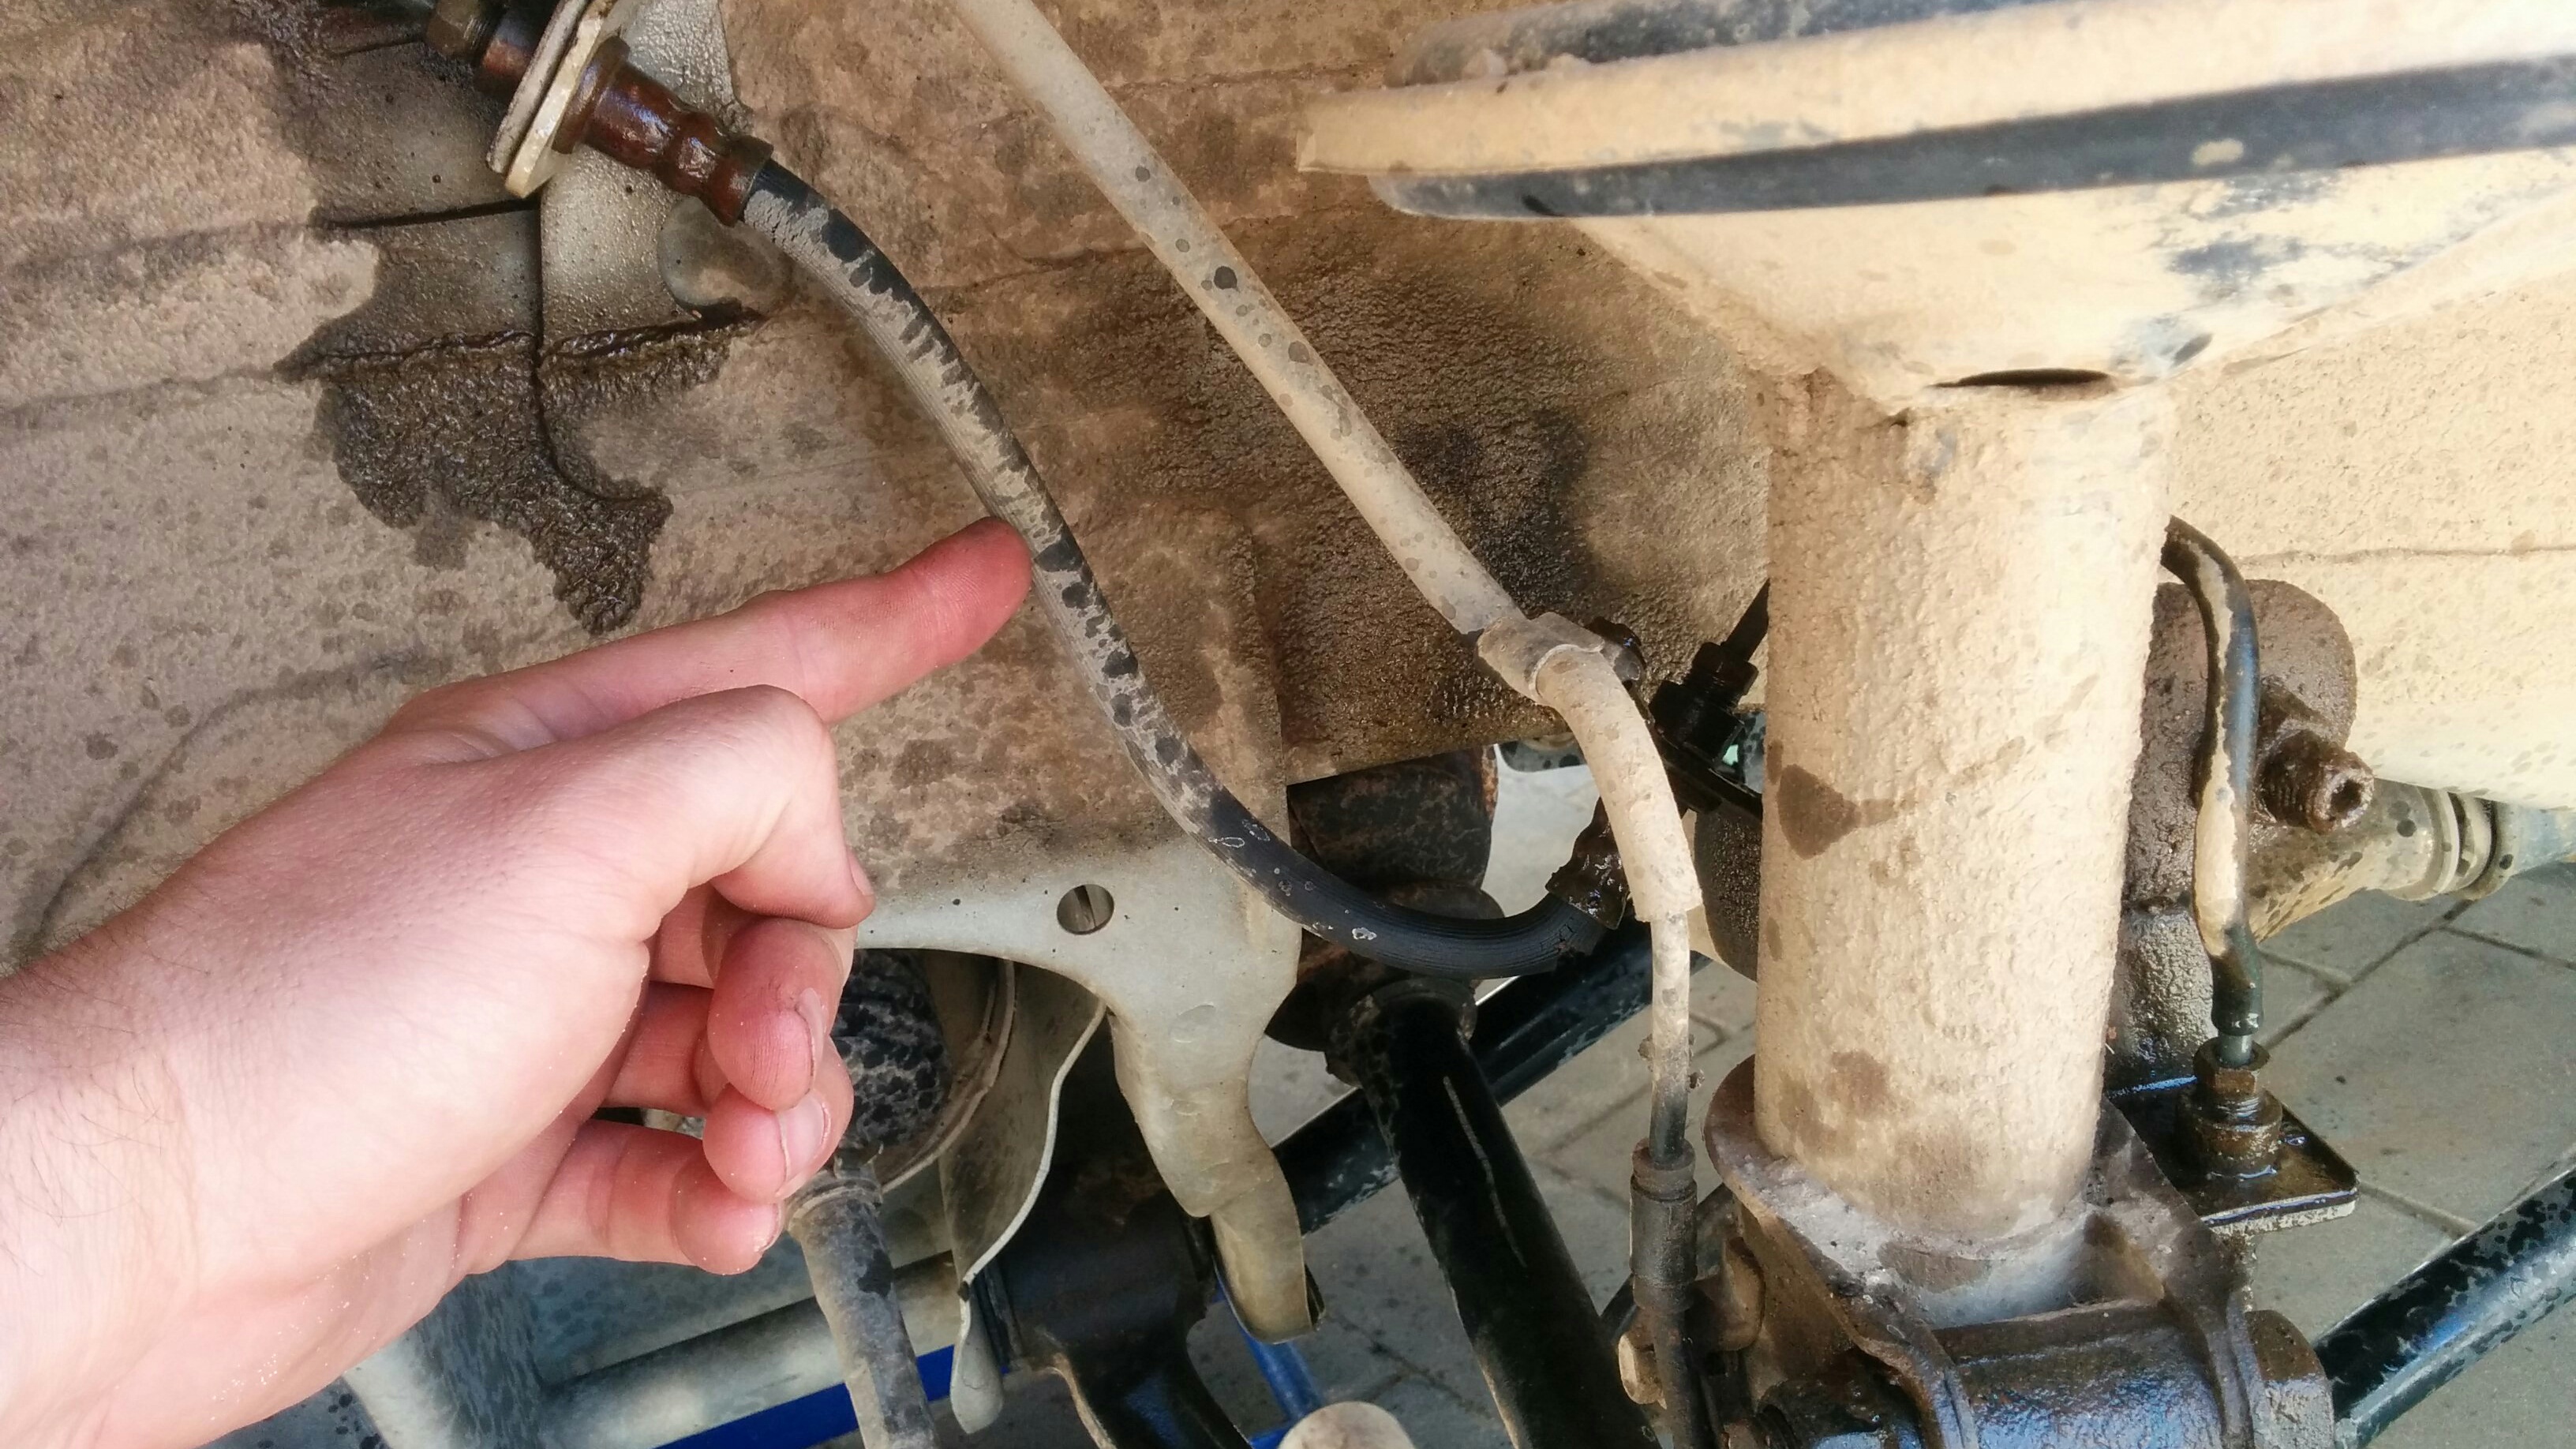
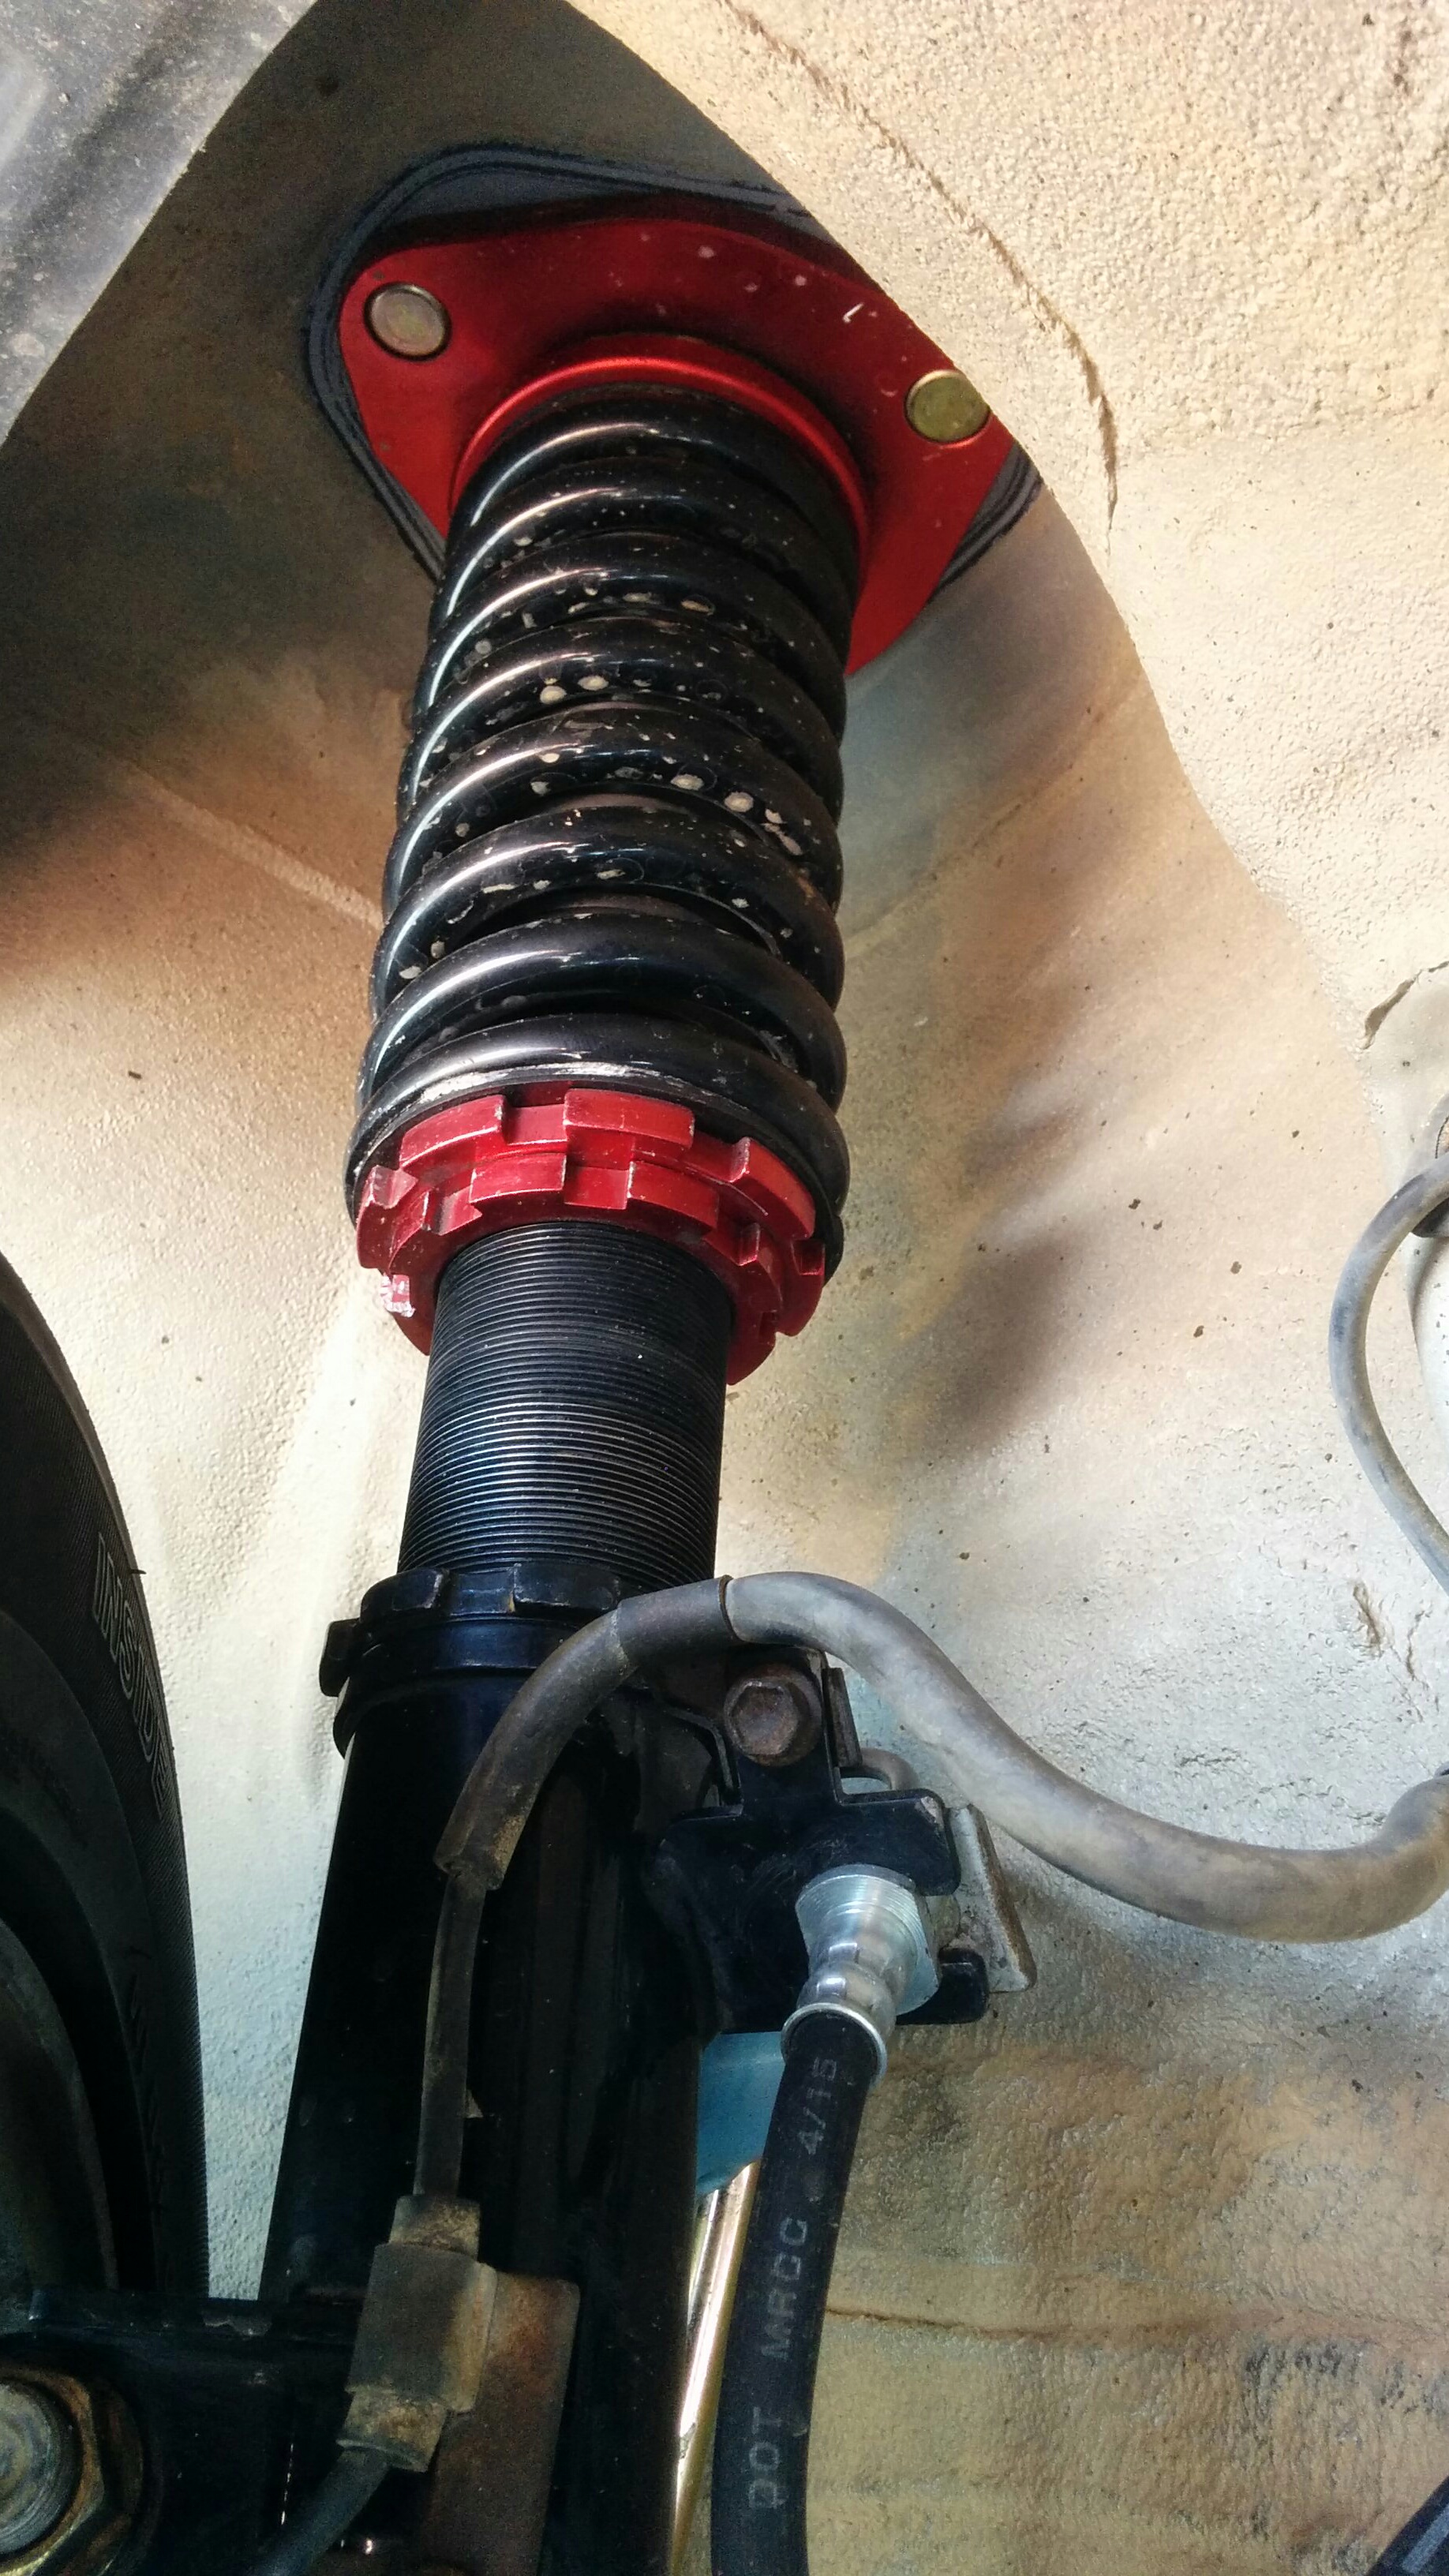
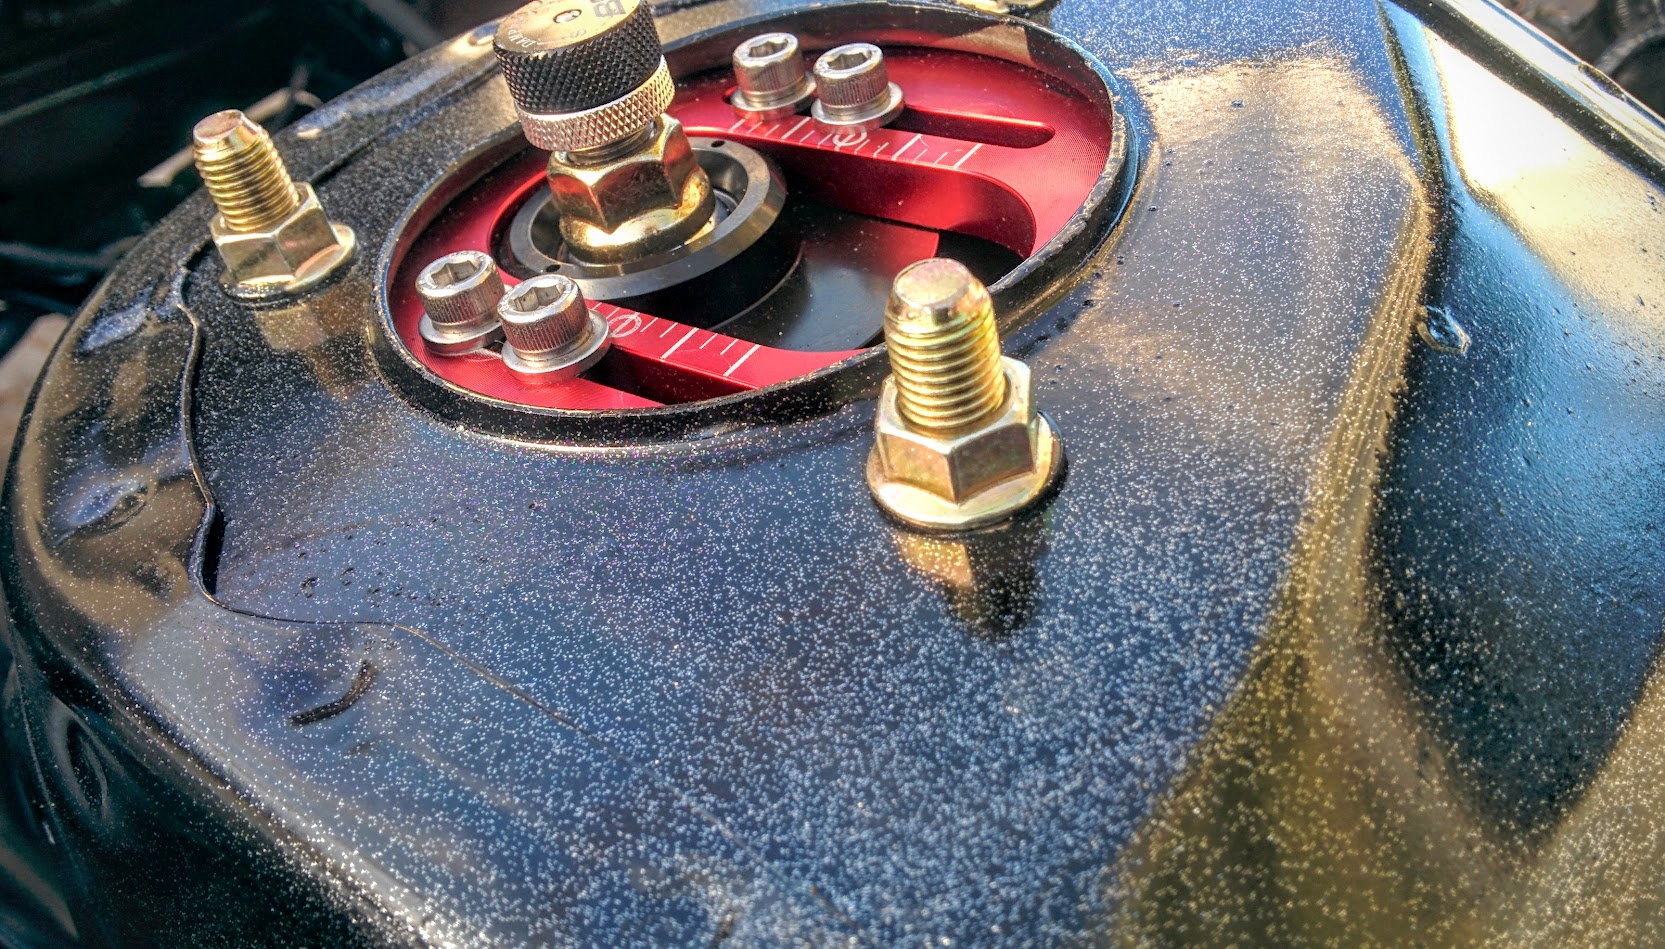
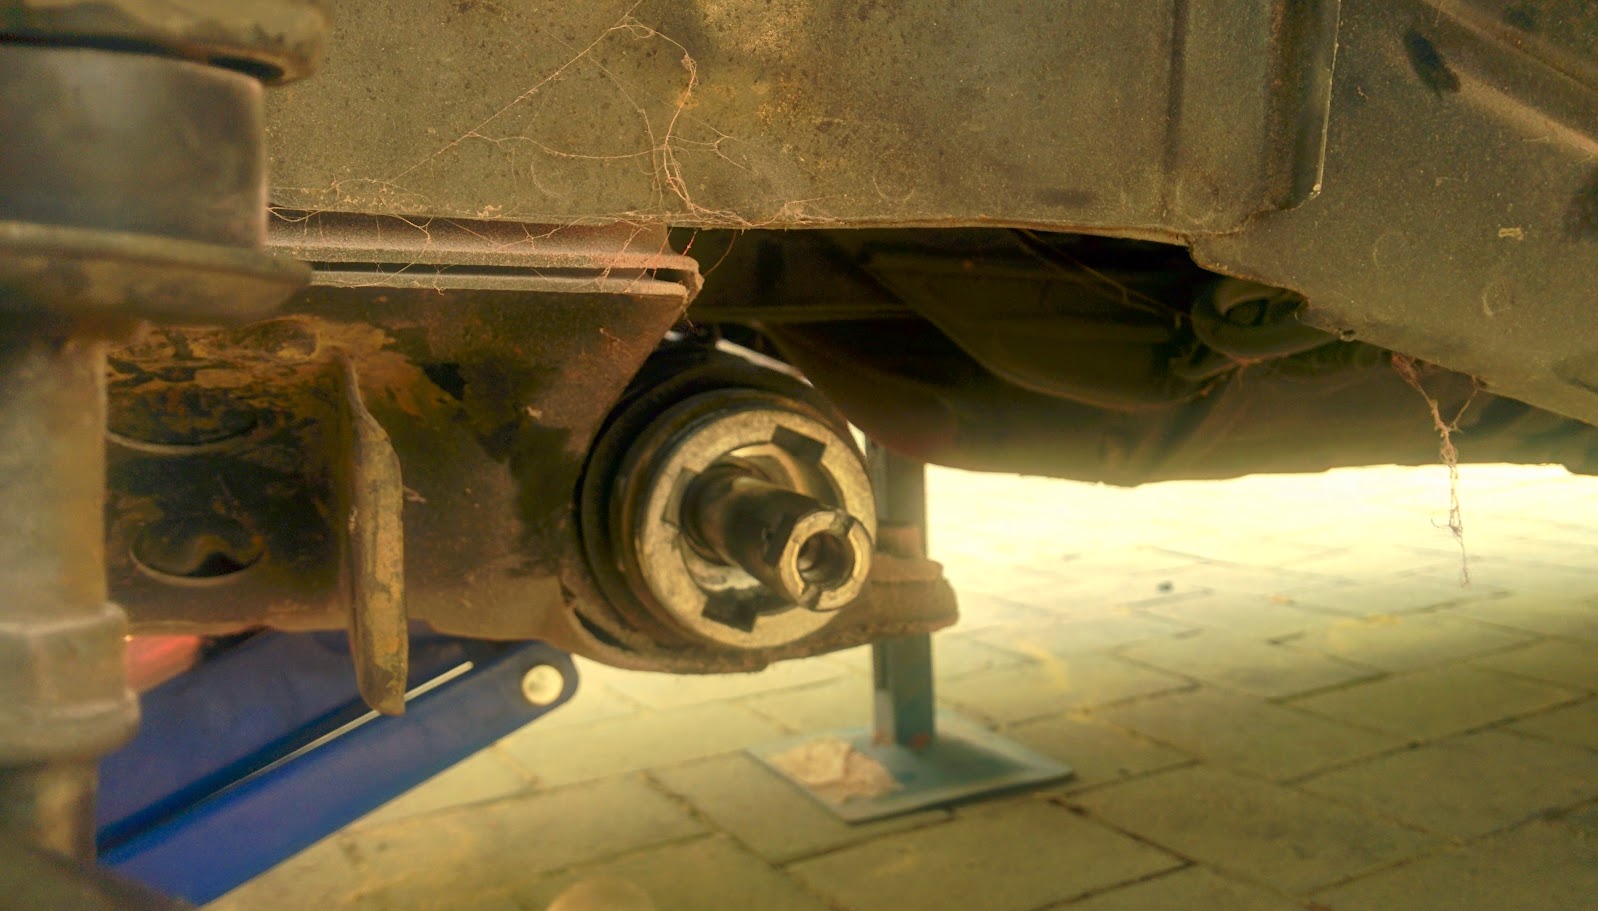
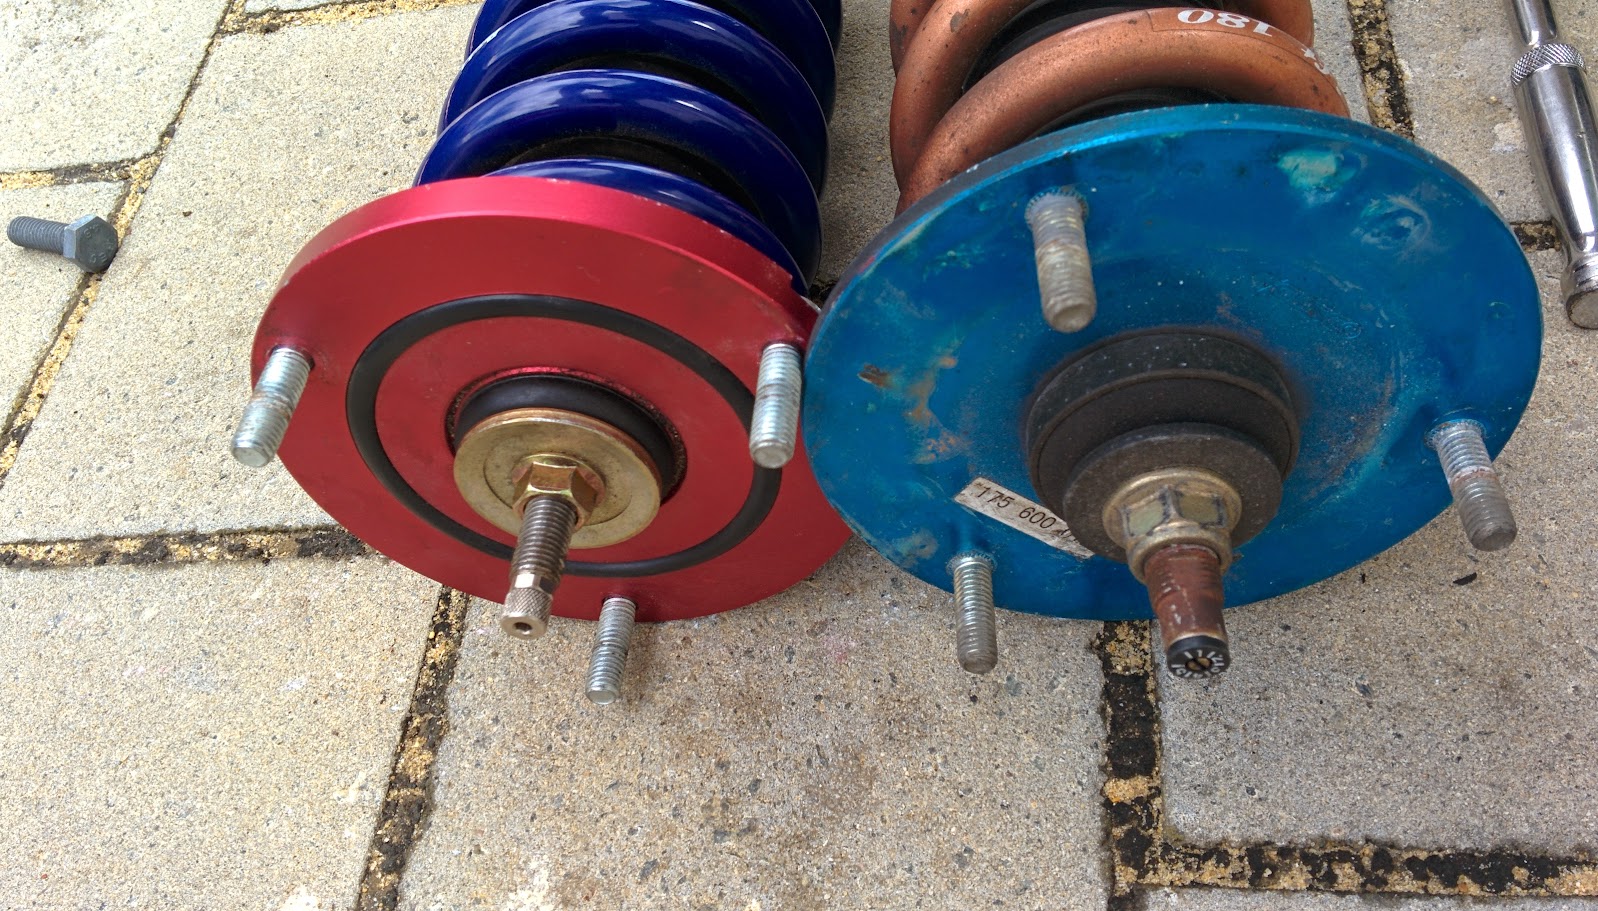
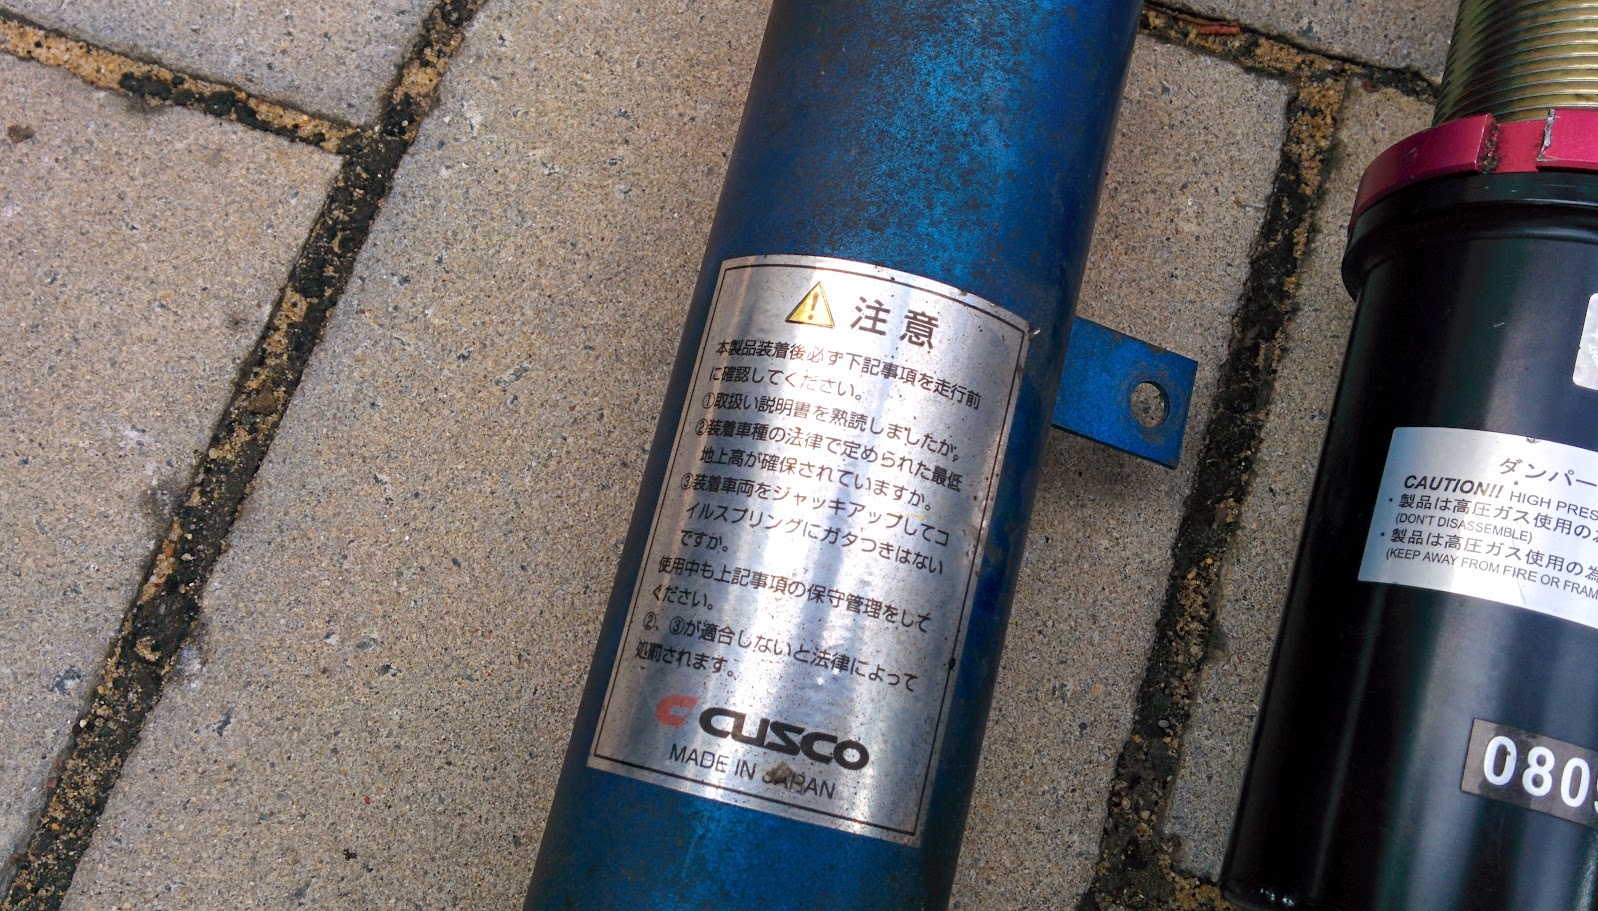
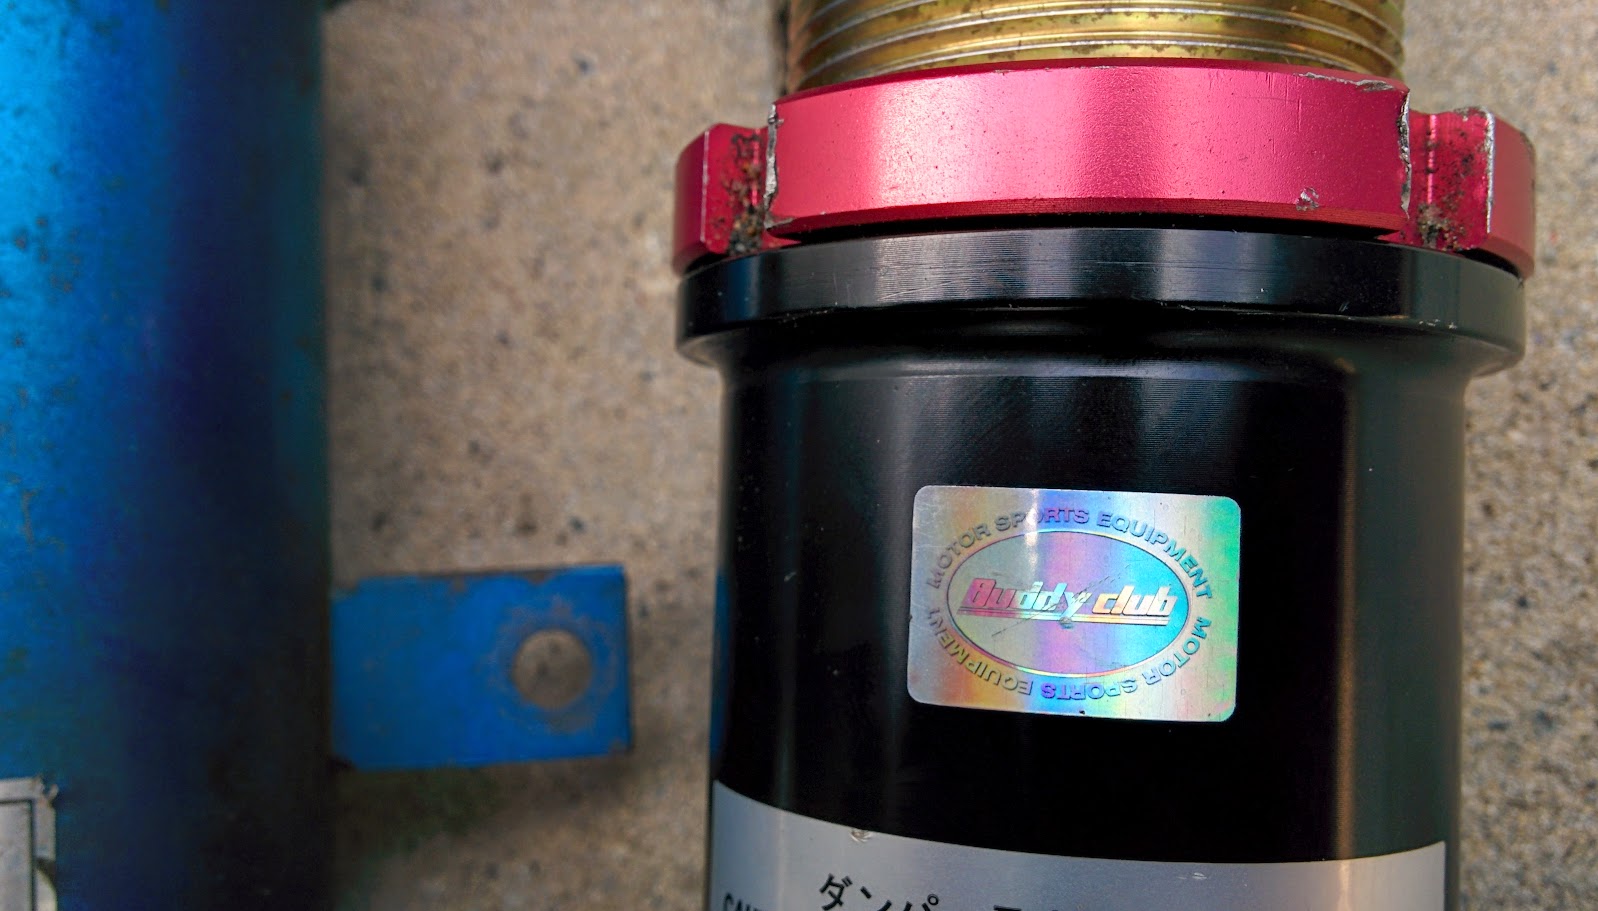
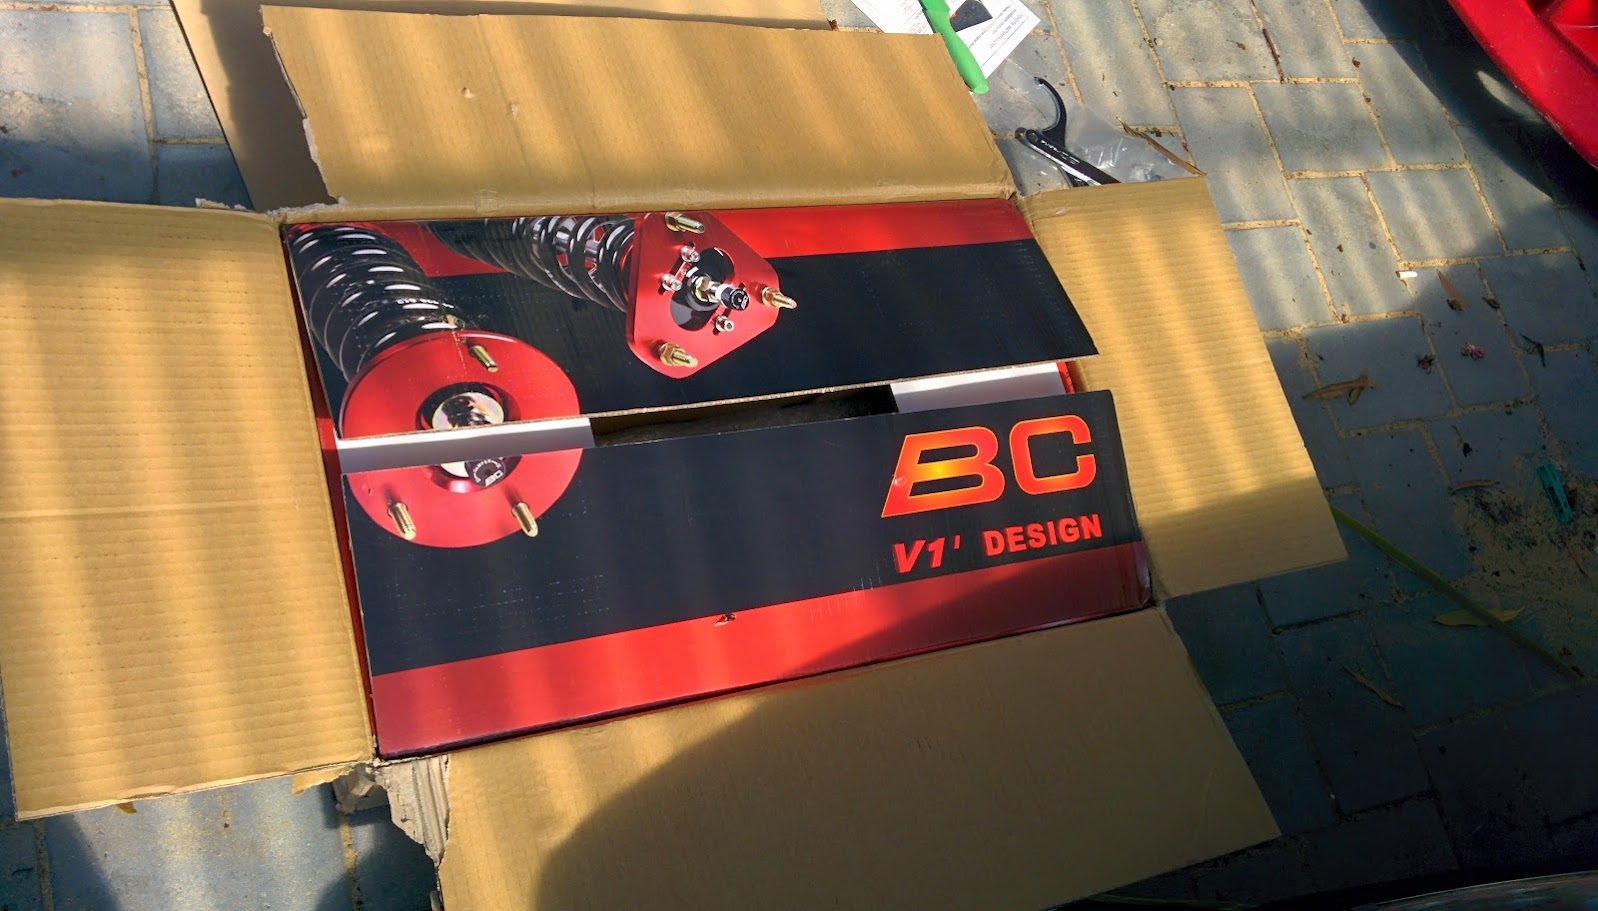
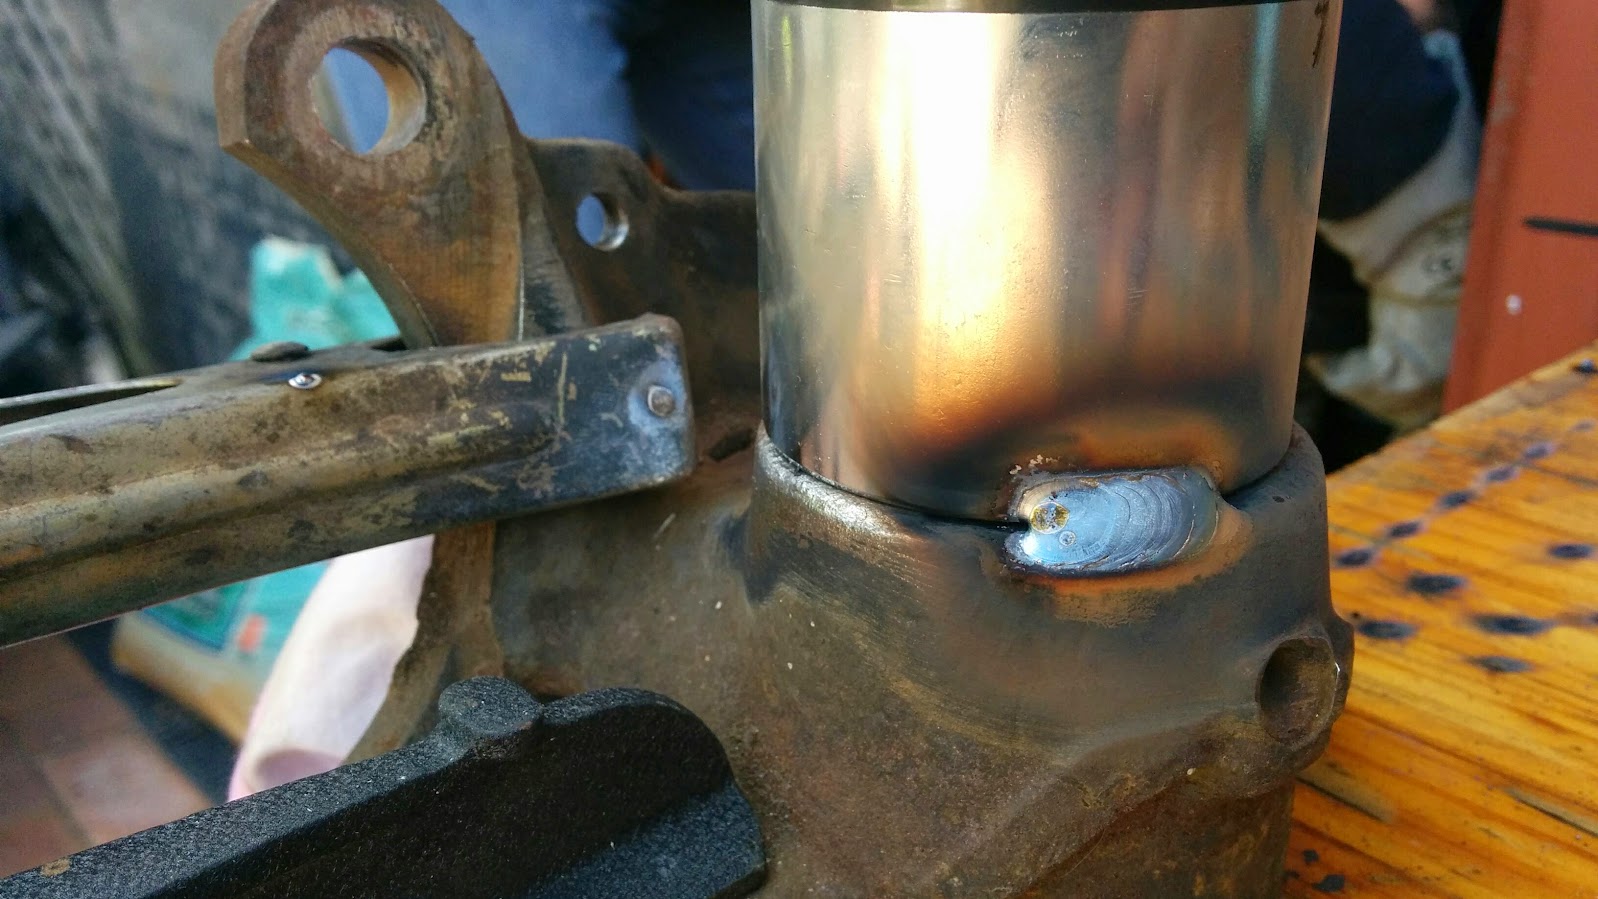
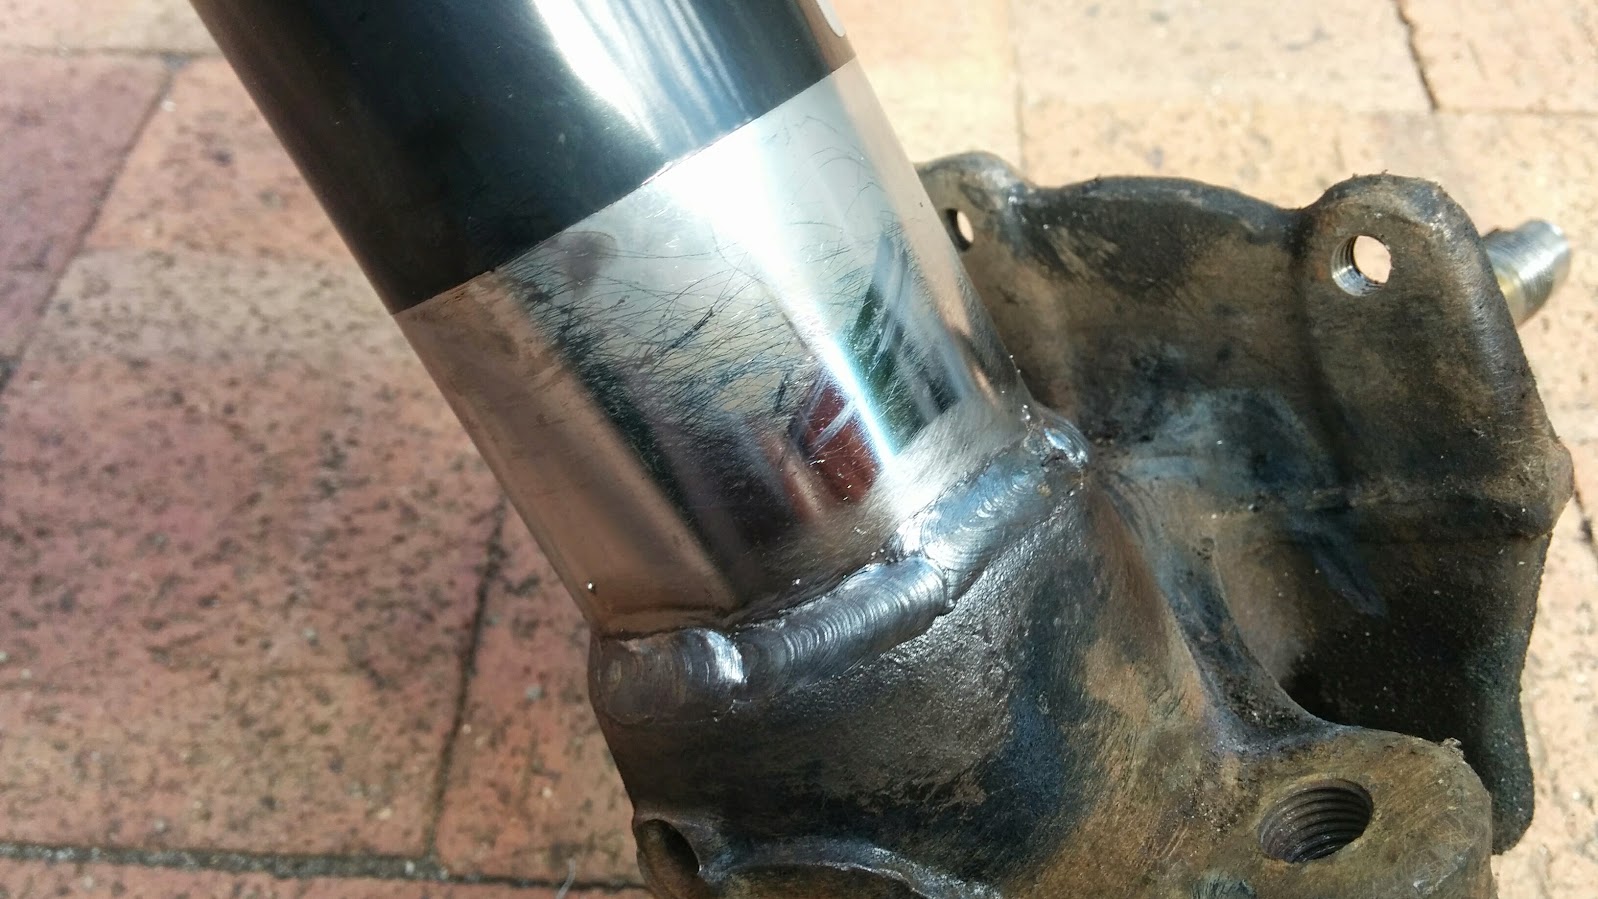
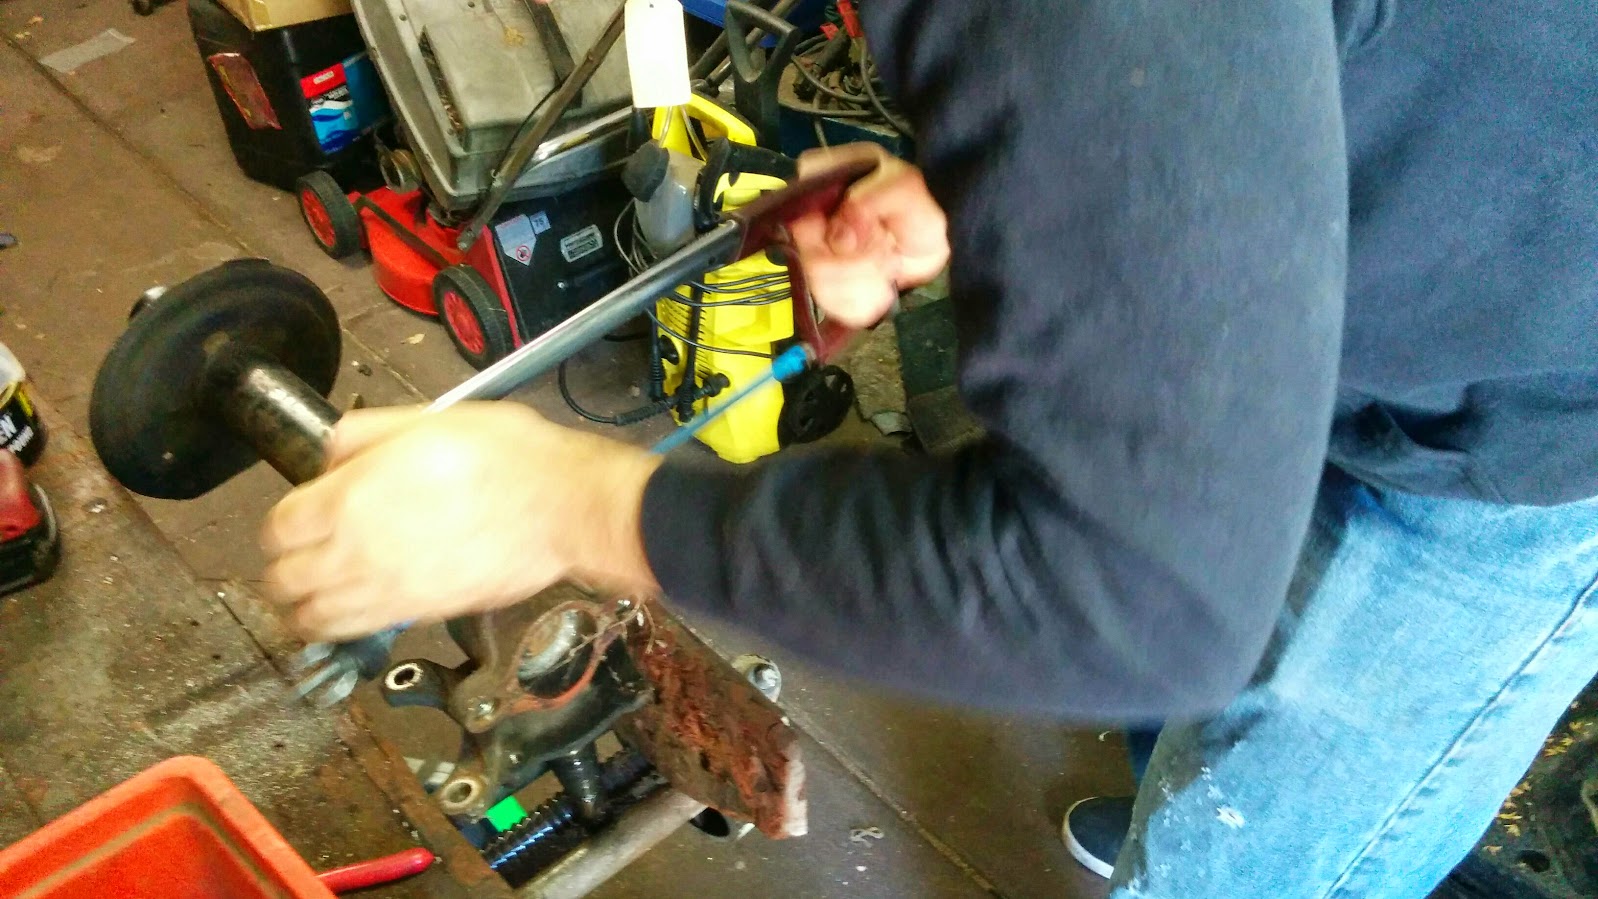
We then use the base of the BC V1 coilover and the stub and weld them together ! 
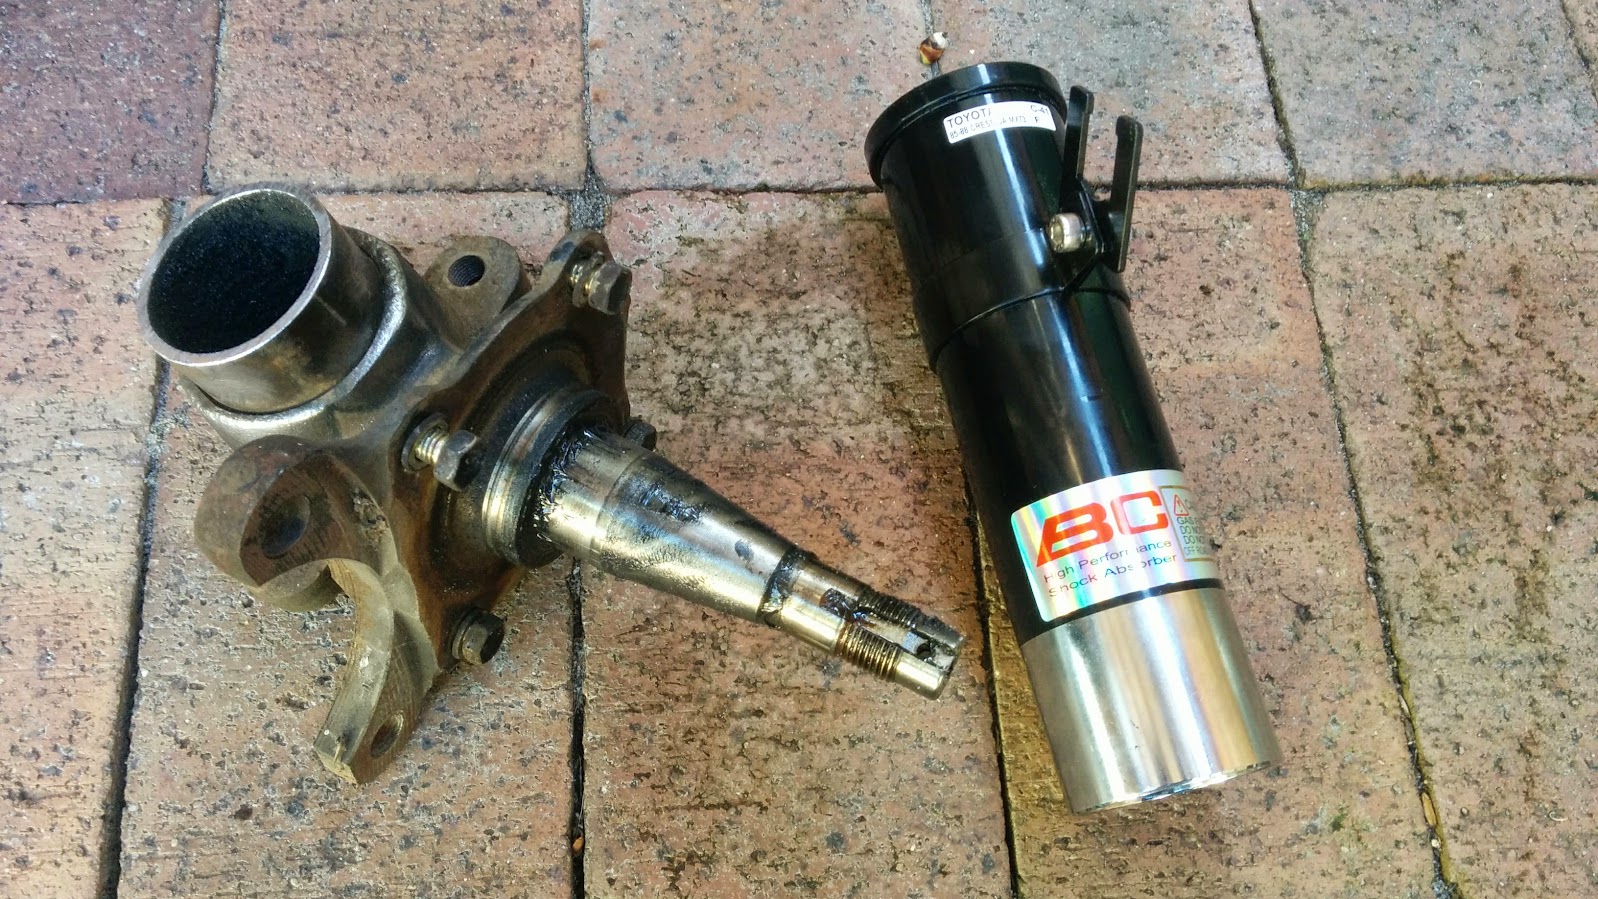
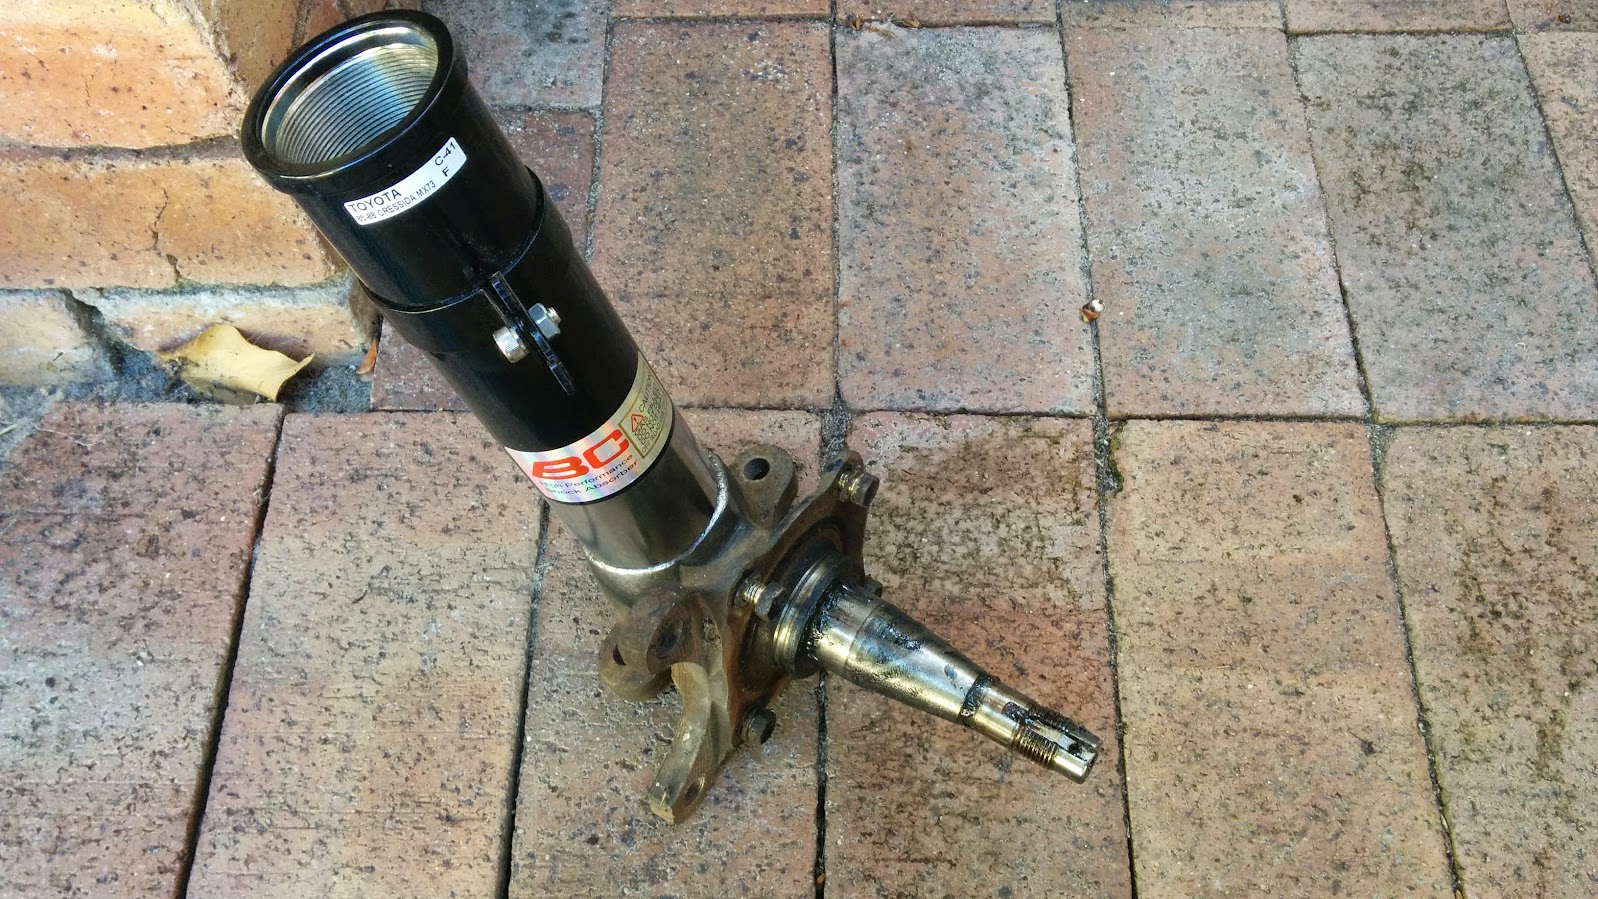
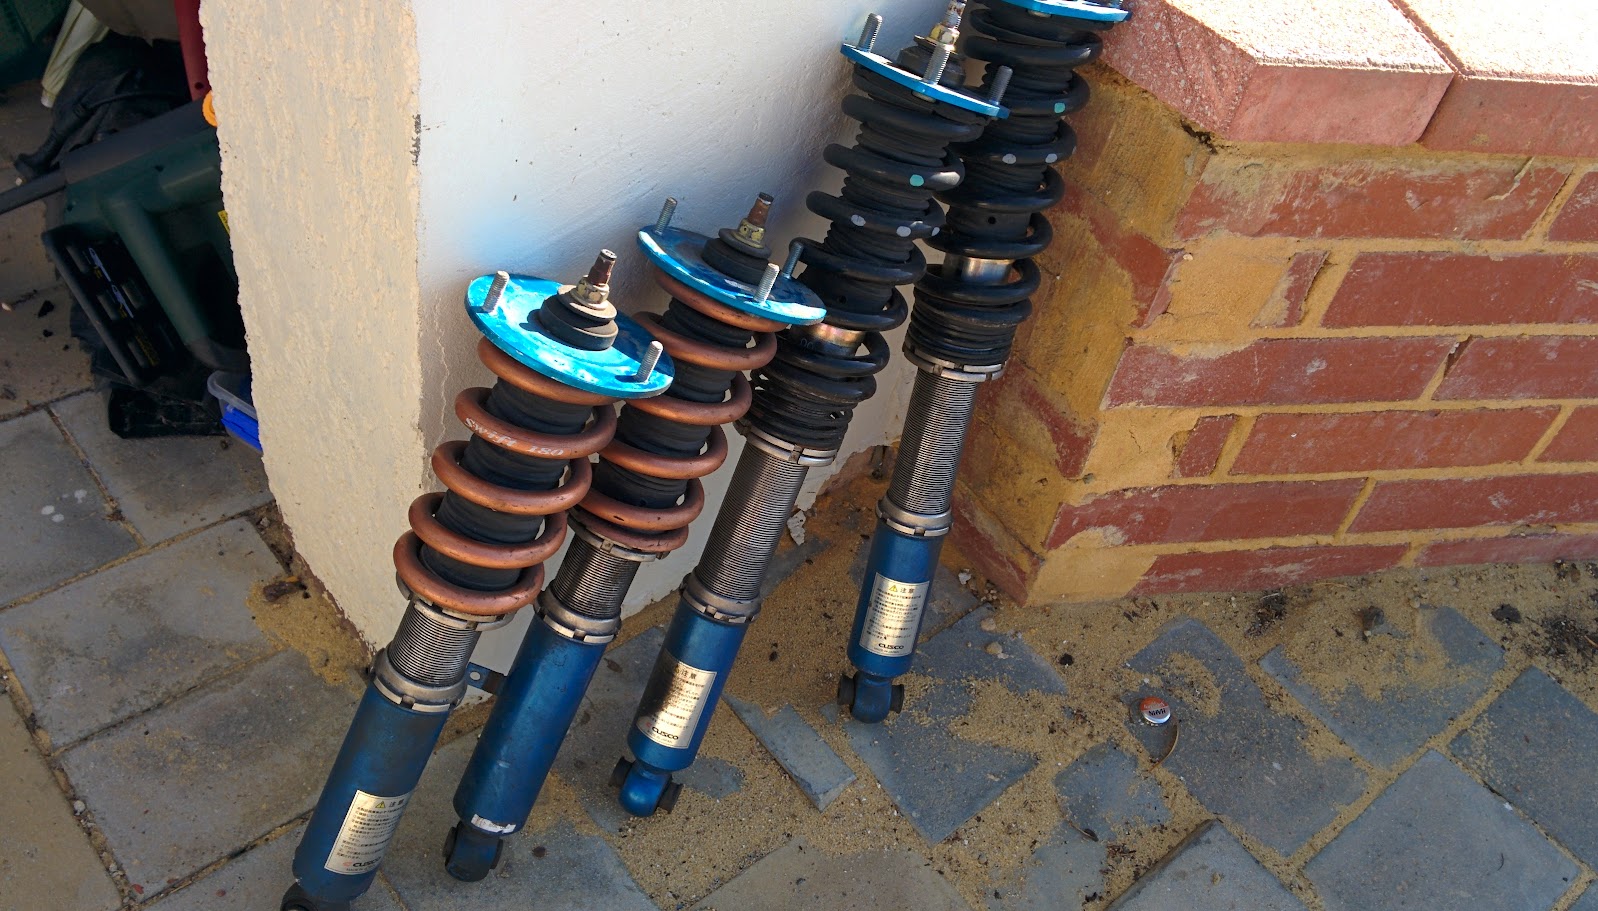
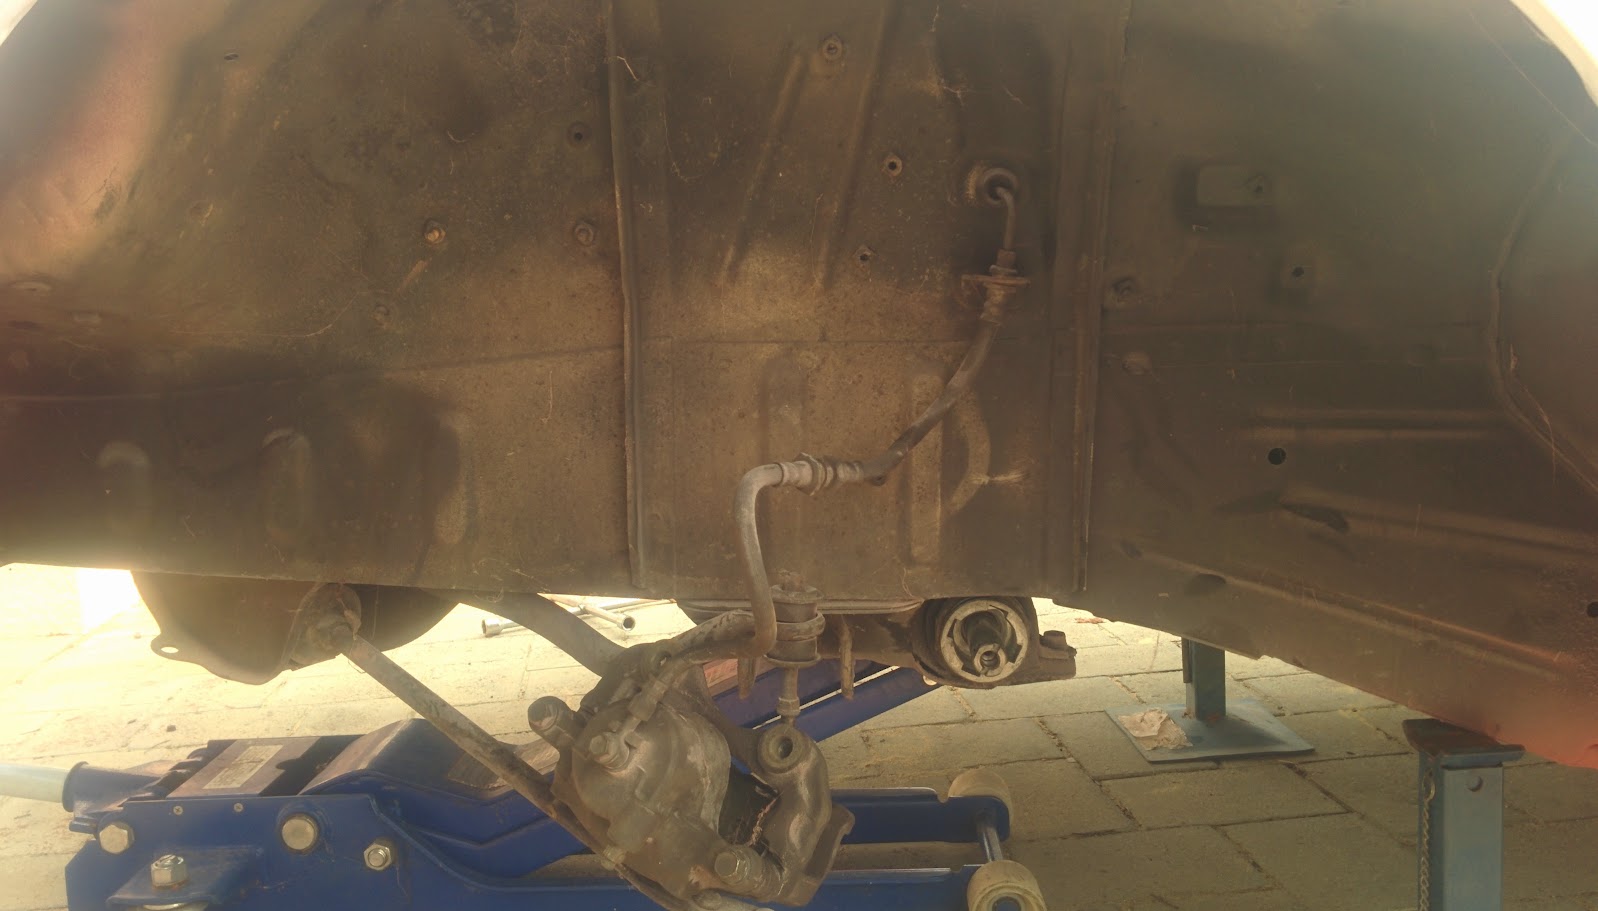
Here they are completed. Only took us around an hour casually working on them. 
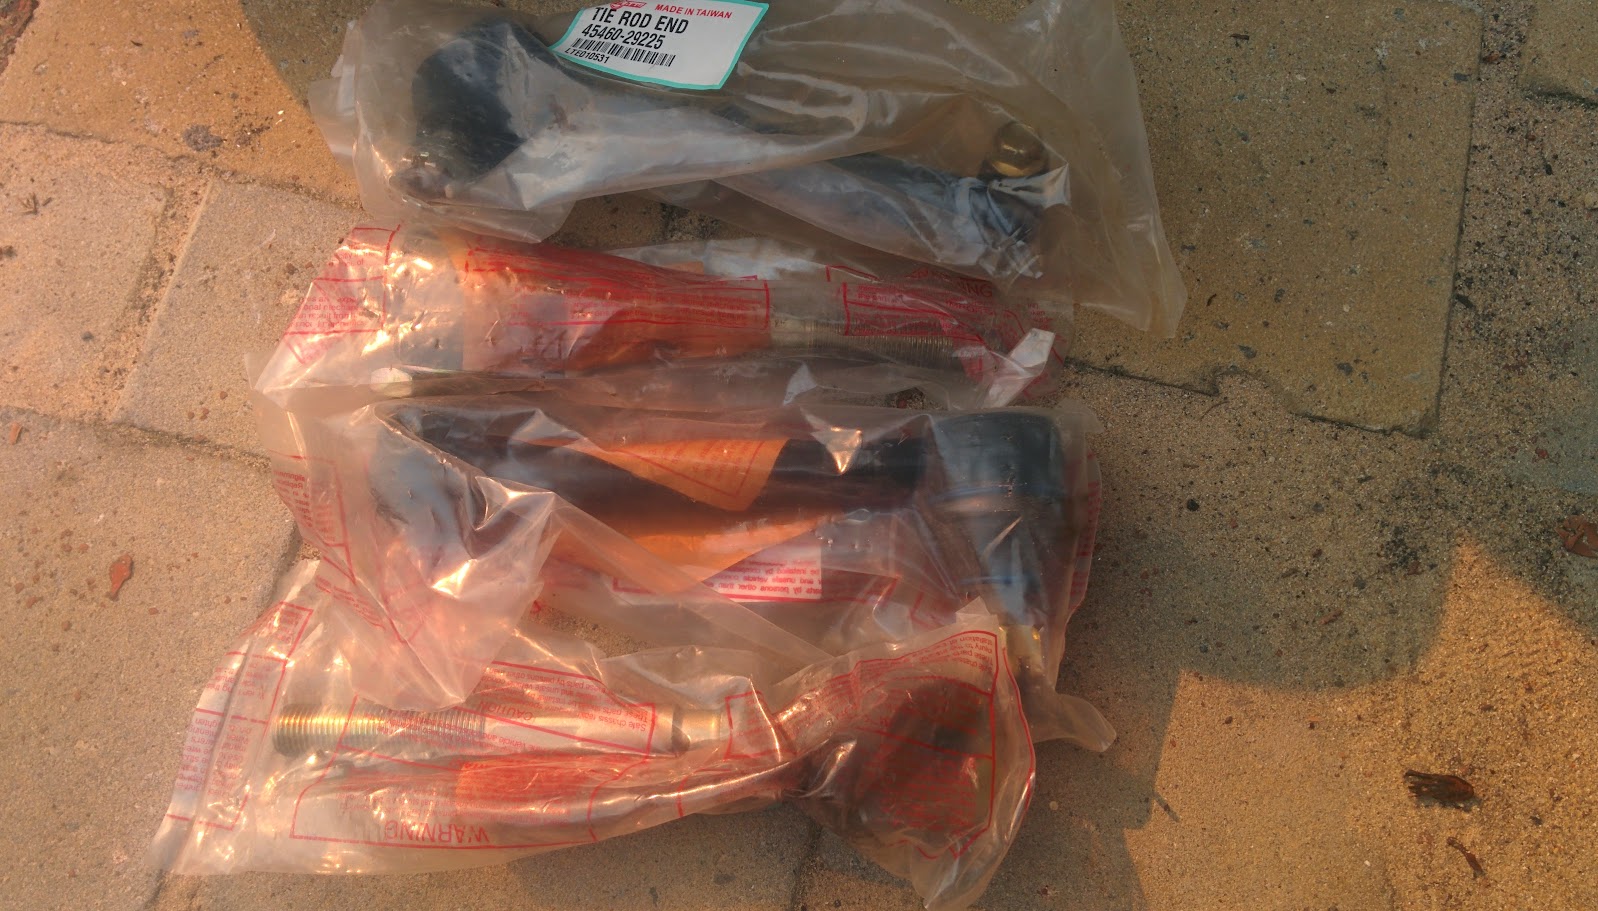
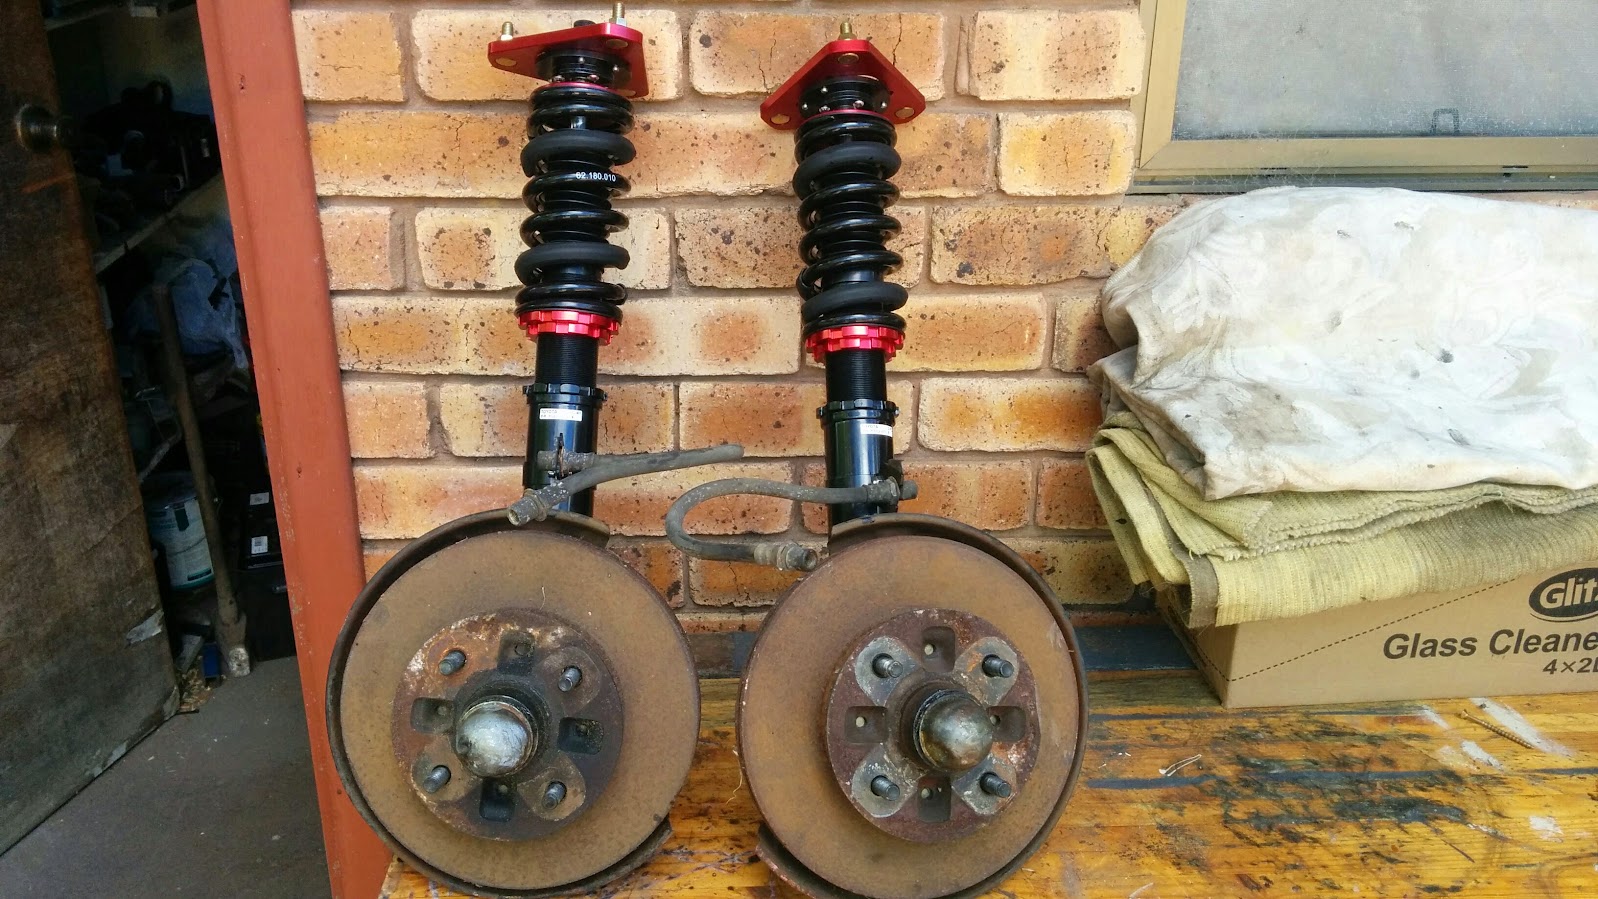
I will combine them with new Rack ends and Tie Rods. So that everything can feel new ! 🙂 
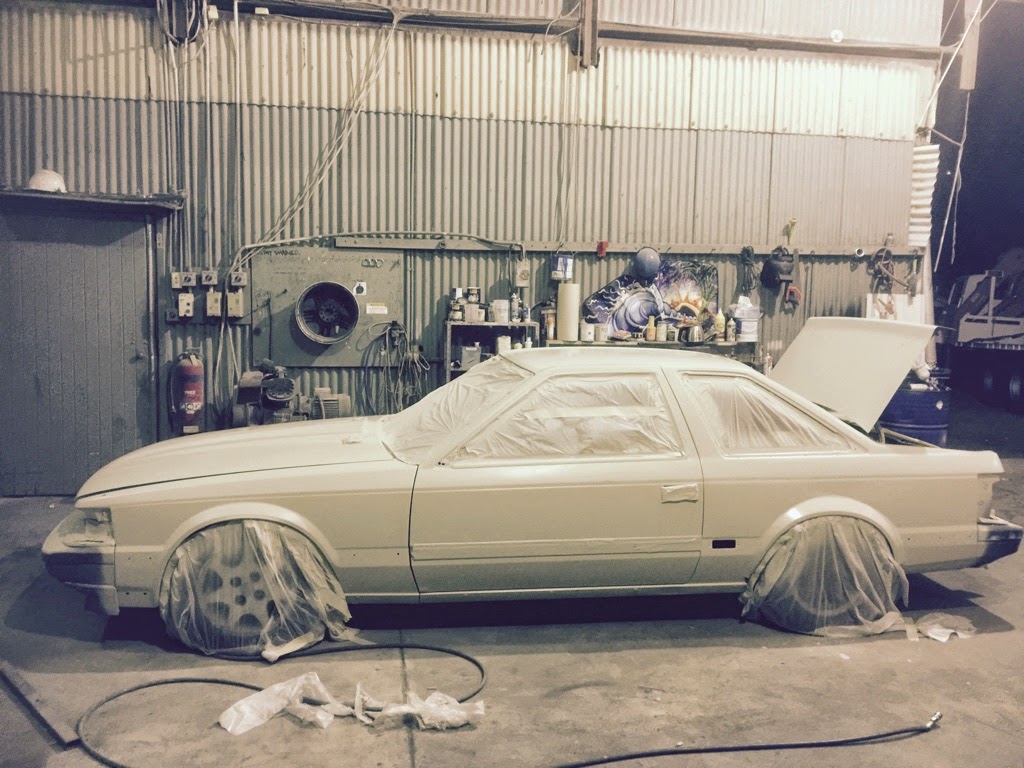
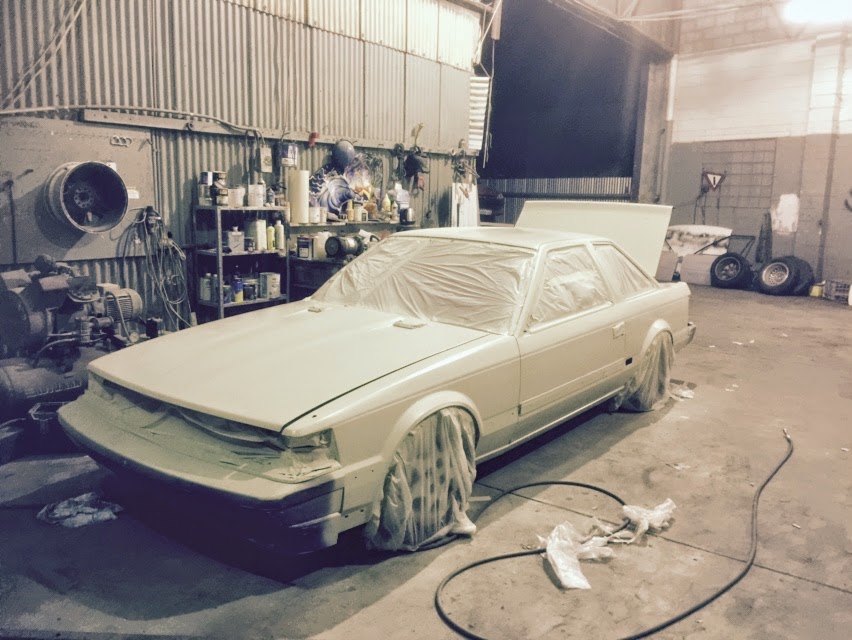
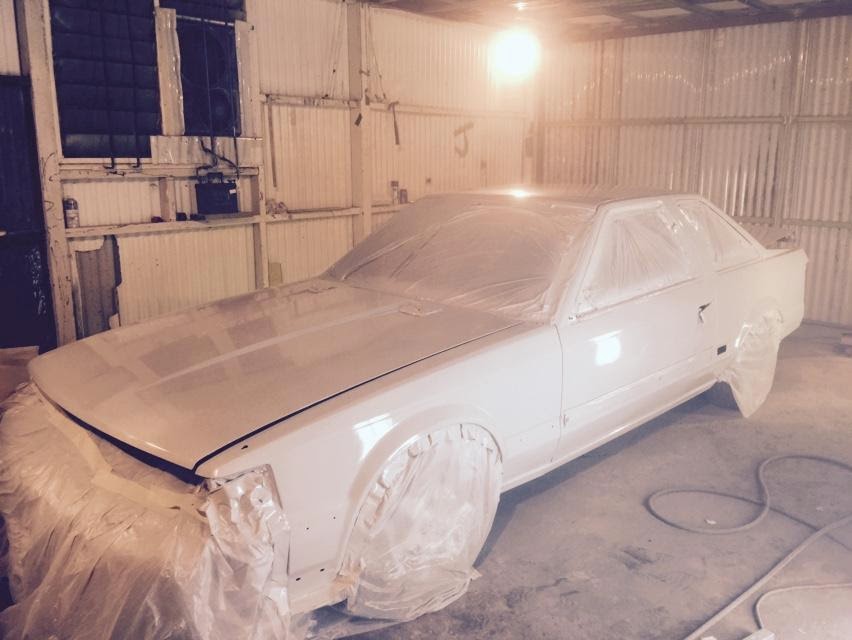
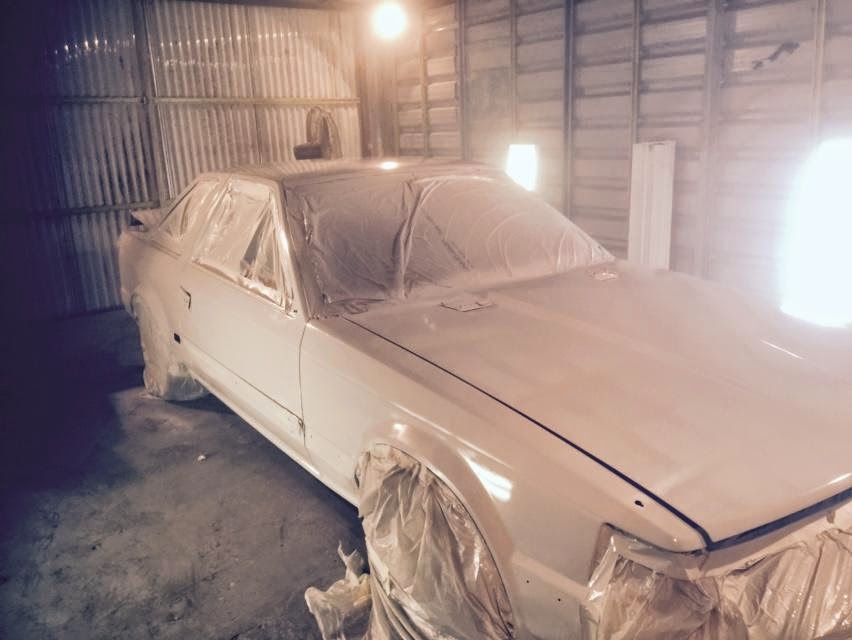
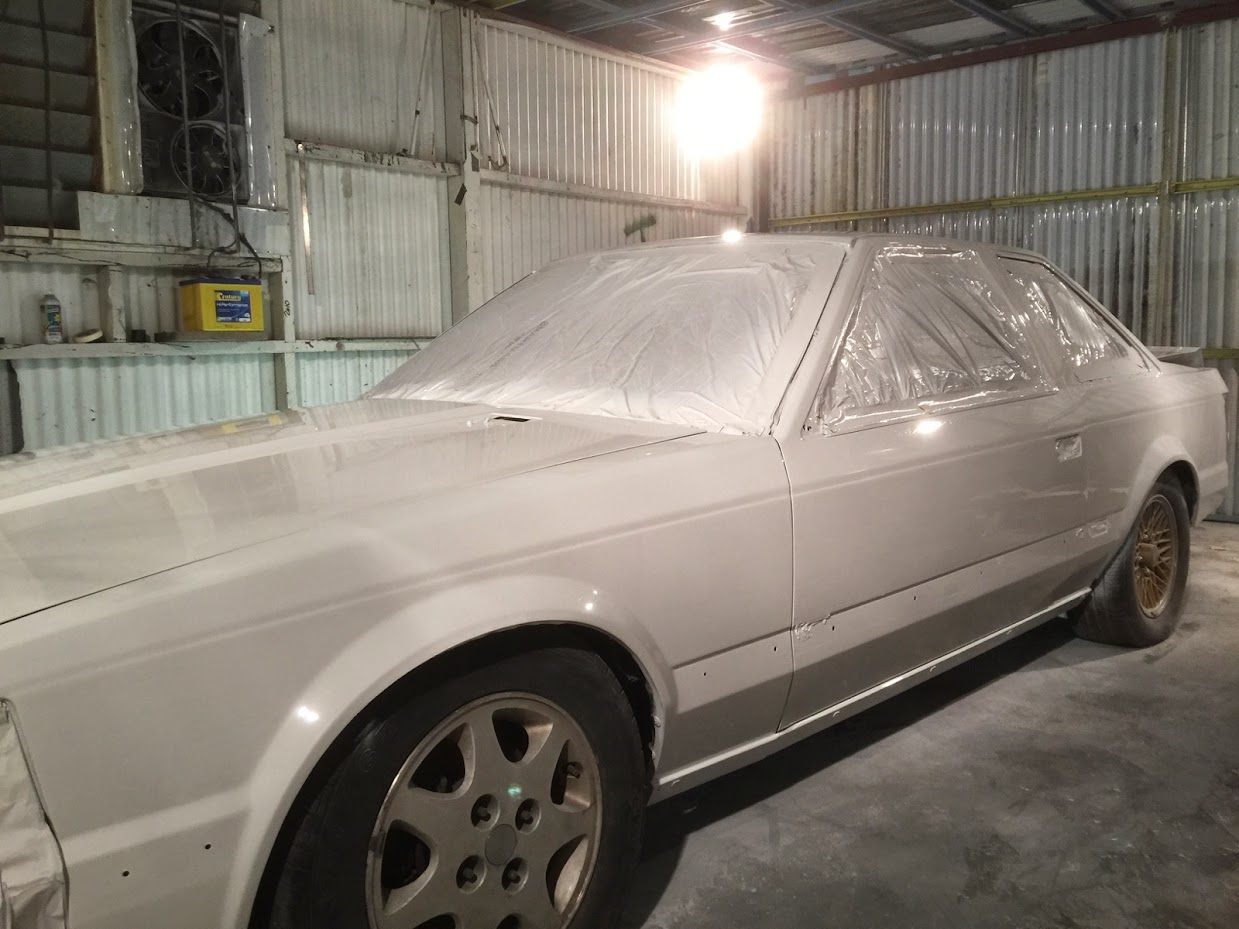
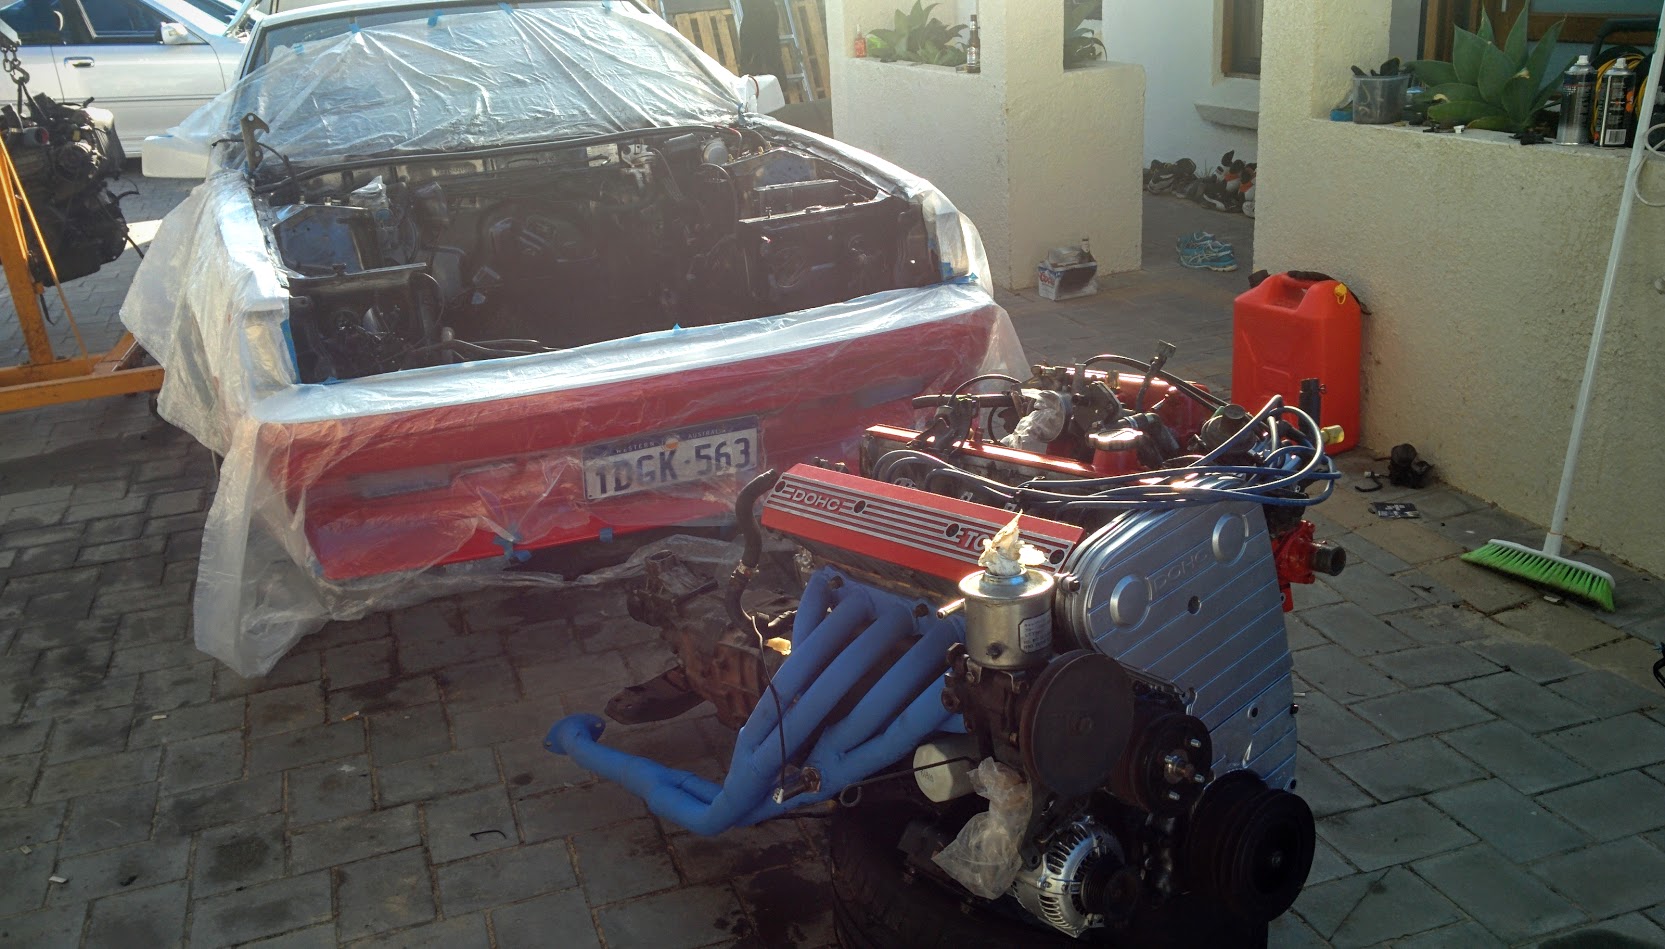
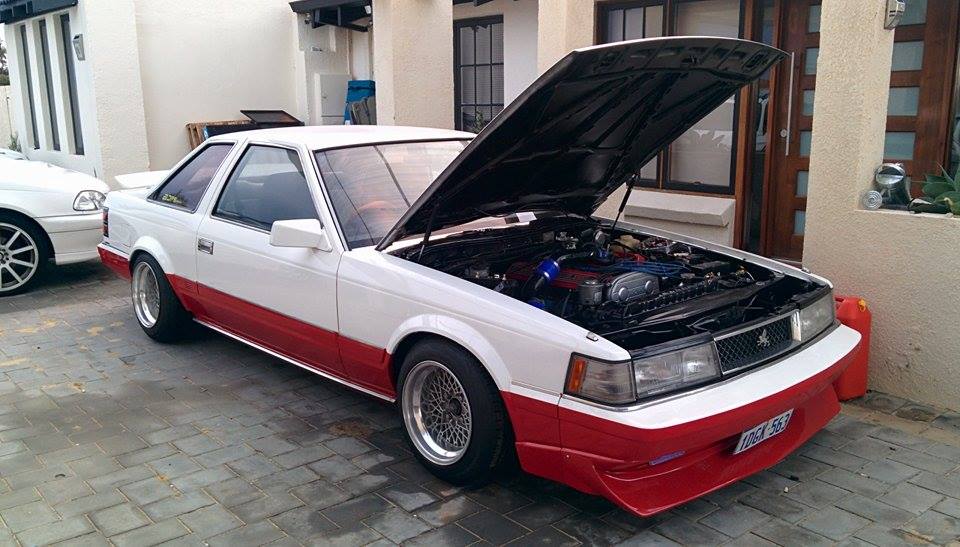
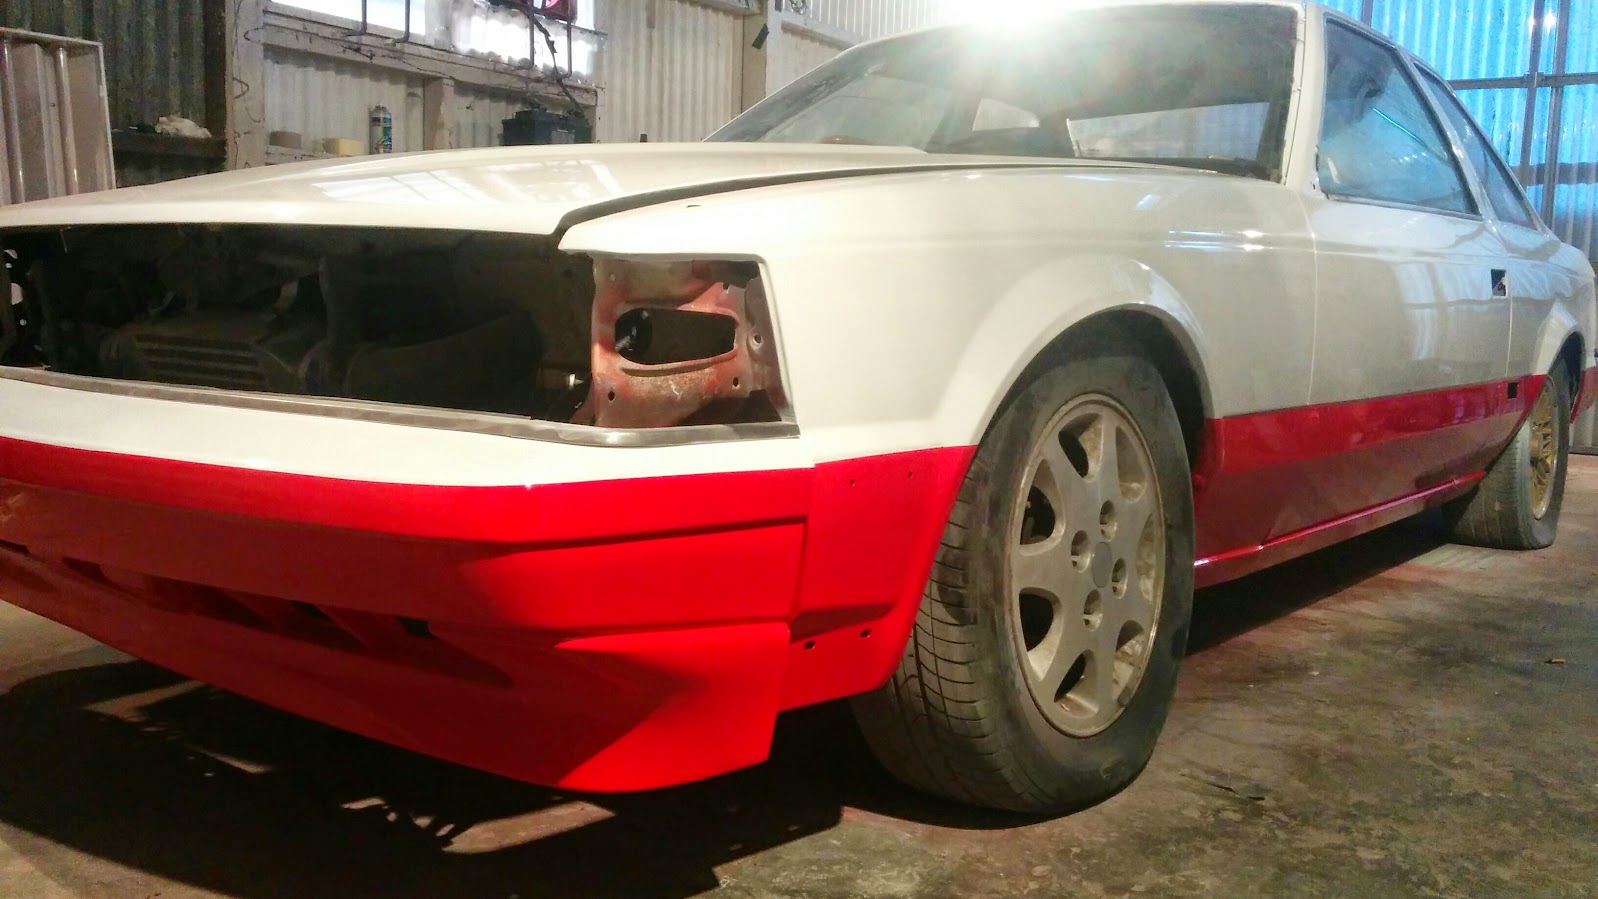
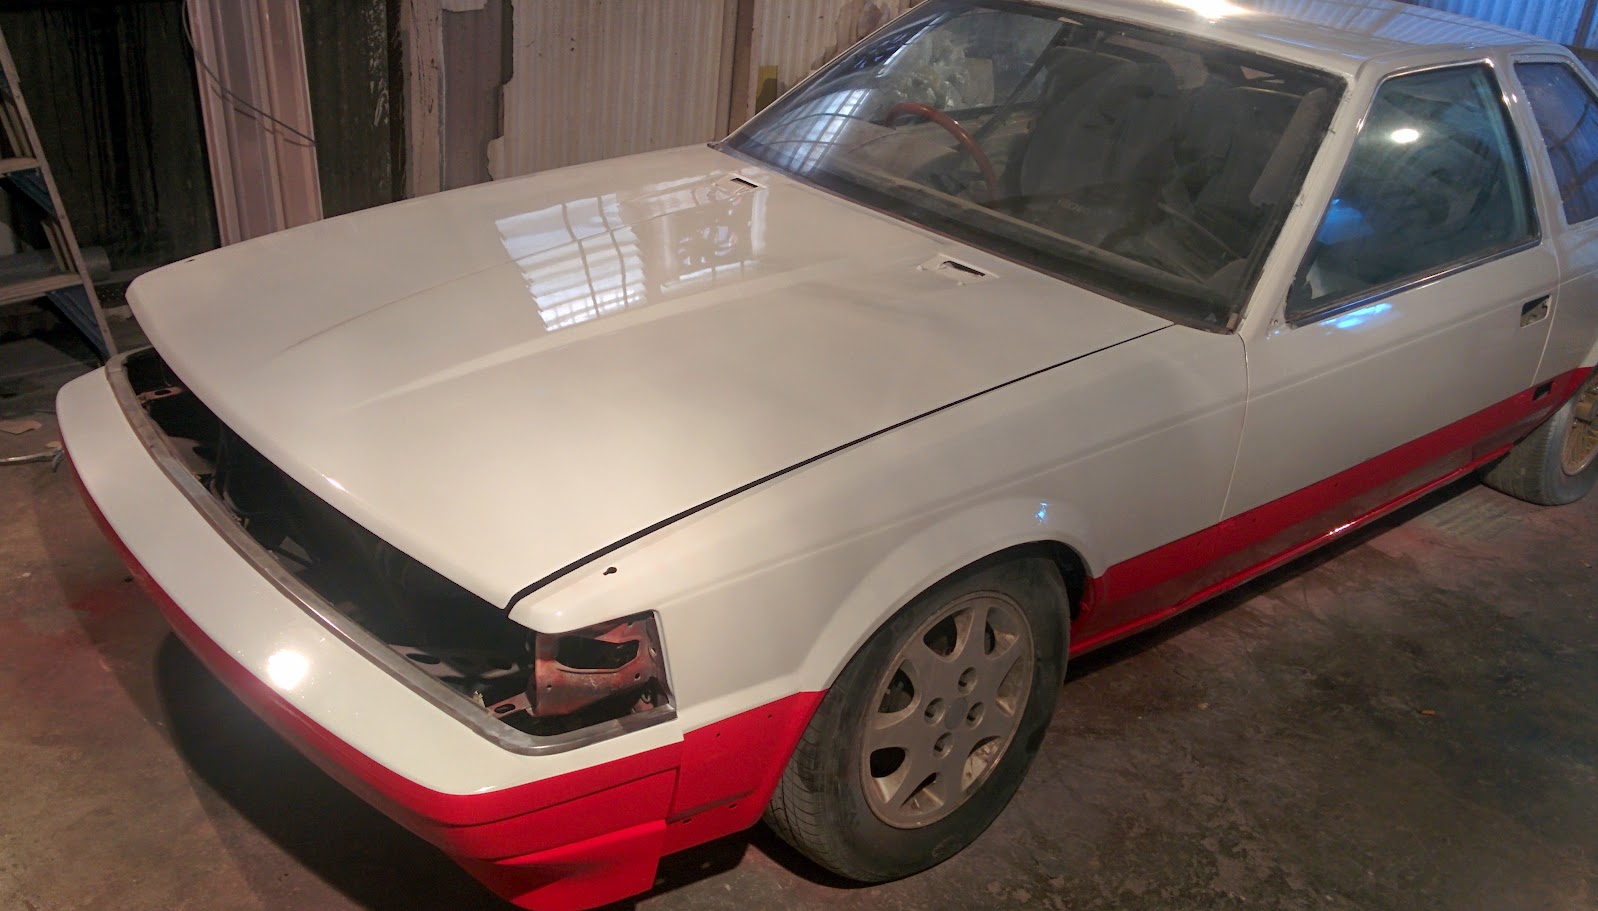
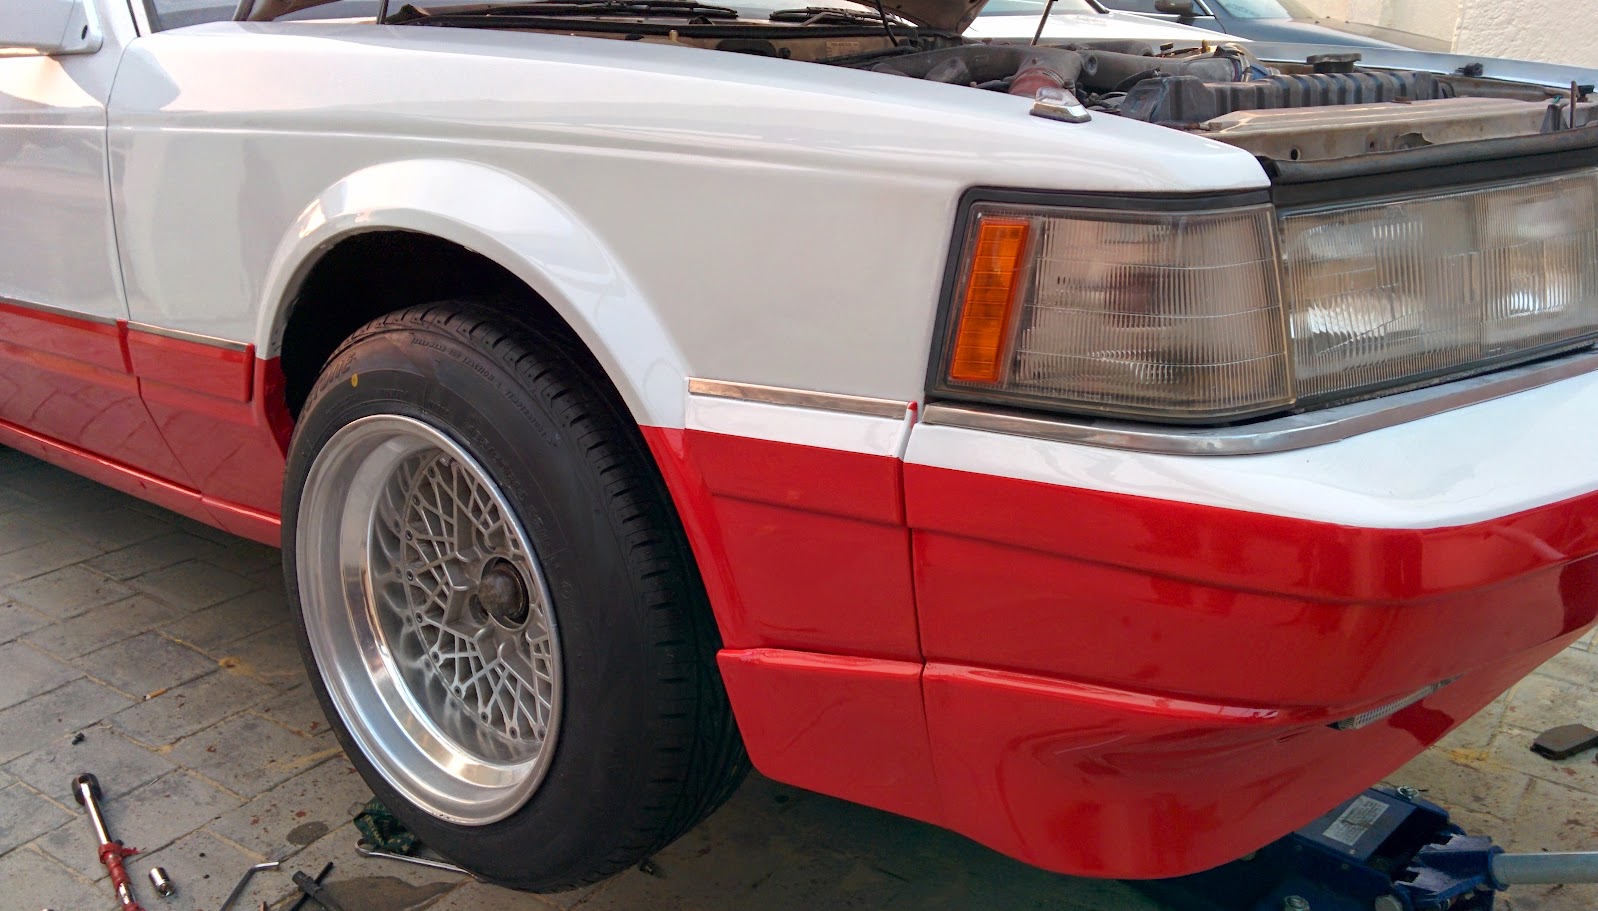
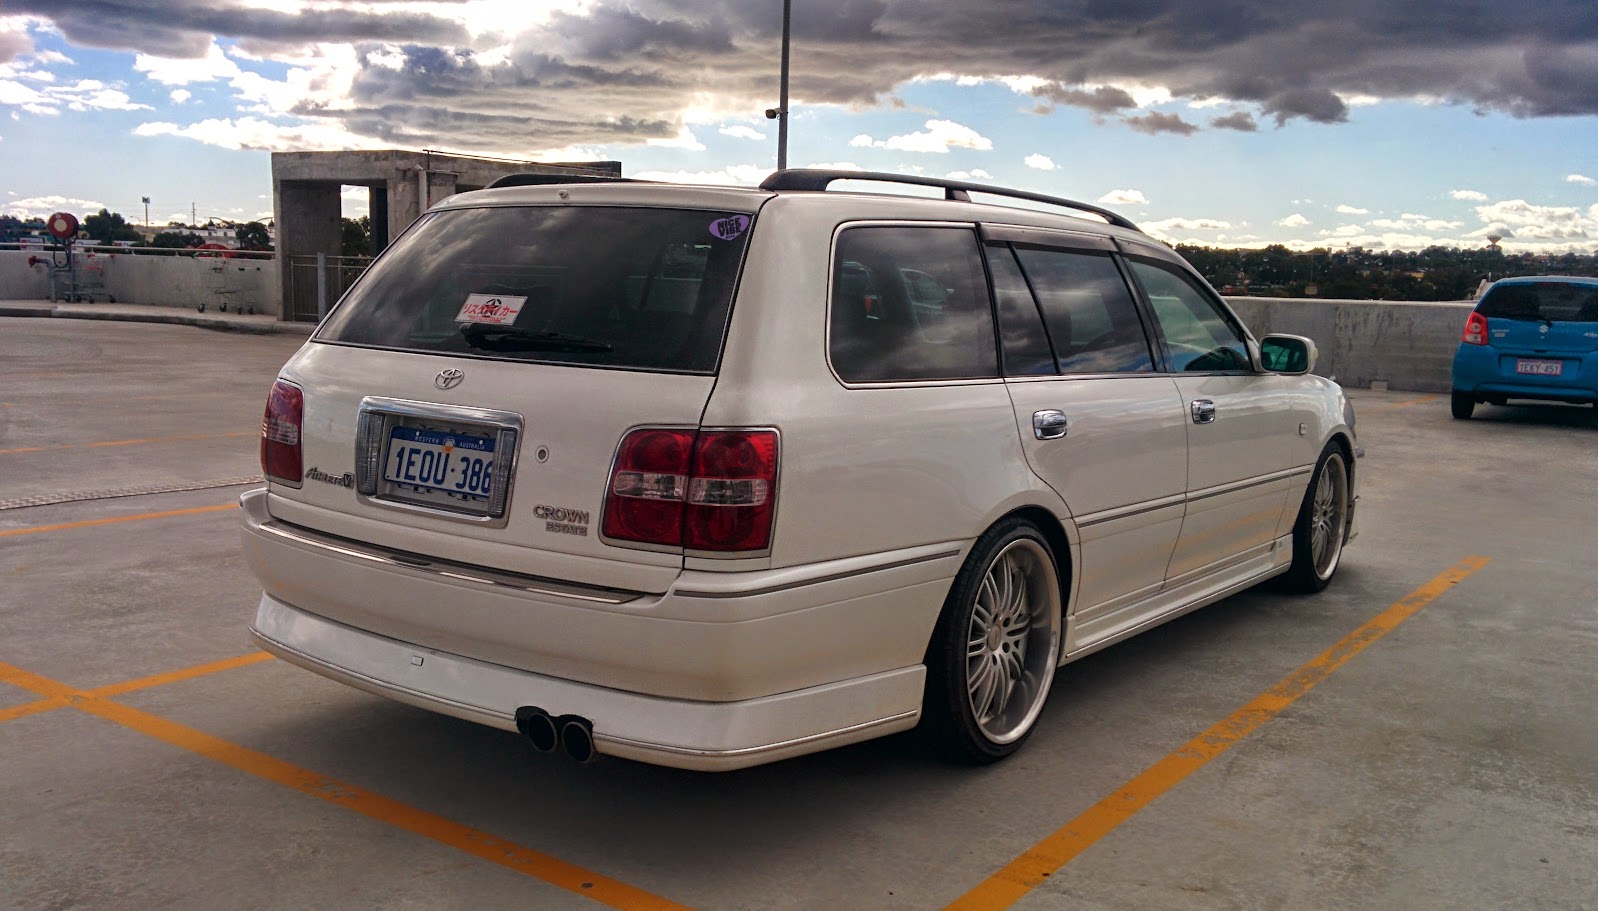
Soon to be installed along with everything else as the paint job is complete and the car is no longer at the paint shop !!!!! (teaser) 
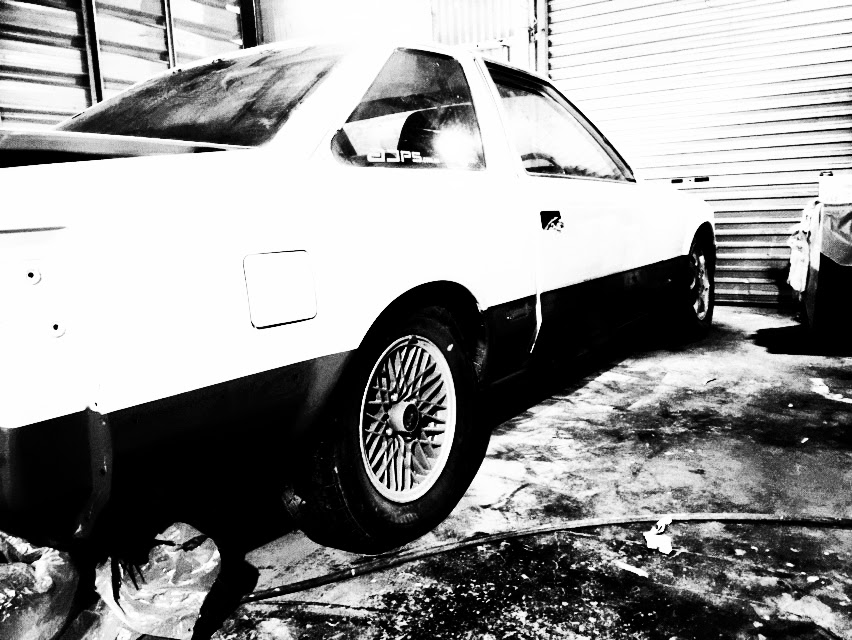
Next update soon, I have 3 weeks off work starting 28/04/15 and plenty to do.

Rebuilding The Big Red – Phaze 2

Hey All,
Over the last two months the MZ11 has moved into a paintshop to have a final cleanup and fixup. The mismatched colours and panels needed some work before i “do this right” for the first time since owning the car.


At the yard I found a 1992/1993 Toyota Corolla, once owned by somone who loves Shirtstuckedin !


A few days after being back up at work, pictures were sent to me of the progress!
After a few rub backs the initial guide-coat was put on to see what condition the lines of the car were like.
Paul and Bozz put a mist of black over the primer and rubbed it all back again to find the high and low spots.

Then the MZ11 was moved into an actual covered booth for further prep work and body work.
Then another “first official coat” of primer after many many lines bumps and low spots were fixed!


Paul who is paiting the car, had a fair amount of difficulty with the amount of set-in rust kill in some panels, especially the bonnet vent/squirters and the rear quater body line. Another strip and clean of many areas was needed. The rear 1/4s got taken back to metal and he started again with filler and paint. After all, i did tell Paul to get it nice ! looks like he really did!

Over the next week I spent at home having a fiddle with the JZS171W Crown suspension. Although it was nice to have the cornering ability of the Cusco Zero-2 coilovers, the comfort just wasnt there.
The Cusco coilovers had 18KG Swift front springs, mixed with original 7KG Cusco rear springs. Which made for a bumpy ride at times on our below average roads here in Perth.

A long time friend Nikko Joe (Tom V) who previously owned a Lexus GXE10 IS200 had a set of Buddyclub coilovers for sale that i thought would run nice in the JZS171W. With softer springs and dampners 10KG front and 6KG rear i thought swapping them out was a good idea!

I contacted Nikko Joe and grabbed them off him for a great price! They were in very decent condition.


The ride of these ended up being PERFECT! , bumps in the road are no longer felt and inconsistencies in road angle here and there is no longer a problem as the Crown floats over them with ease!

A week up at work found me grabbing some more parts from Japan via Jesse Streeter, Both for the MZ11 and the JZS171W

200mm Shifter

Clear Rainbow indicator lens

Drivers and Passengers MZ/GZ/GX – LX Series rails

To Fit my 1991 Recaro LX-C Seats !

An 6M-GE Air flow meter!

And last but not least, a set of MZ11 Limited very very clean tail lamps and centre garnish!
グレード    2,8GT LIMITED
車体番号    MZ11-013329
エンジン型式    5M-GEU
走行距離      108539Km

Then for the JZS171W Crown :

A steering wheel with cruise control (Was going to just buy cruise control alone, however this was cheaper!)


A later model Royal horn pad with the Crown badge emblem

Some JZS171W headlamp eyelids for my Royal style headlights!


A 2002 Royal model Grill. All chrome with white and gold emblem

Late Feb early Apr i got some tyres fitted up to the SSR Formula Mesh at Tyreright Wangara by my friend Matthew Booker!

I wanted some trusty Bridgestone rubber on these, but was also on a little bit of a budget. I decided MY-02 Sports will be good enough for the MZ11.
14×8.5J with 185/60R14
14x9J with 195/60R14

While i was getting the tyres fitted. I had the pleasure of seeing Stephen “MOMO” Morando’s early 70’s  model :164 Volvo
The car was setup with airbag suspension and a 1JZGTE ! He even took me for a ride around the streets with it. Amazing car!


Early April had come around, and Paul had finished the final prep of the MZ11 and had the fresh white coat down!

Im hoping he will be done with the two tone job soon and ill have the car back ready for its complete re-birth!

So that wraps up two months gone by!

More updates soon !

Rebuilding the Big Red – 2015

After Clifford was completed, running well and proven it is capable of doing many laps of the track without losing all its oil and with the JZS171 Crown being a perfect daily drive. It was time to turn my focus to a very deprived Big Red.
(The MZ11)

Many moons ago, i really loved driving Big Red daily, to work with Holly… to mates houses… to car shows etc.

Since then, the combination of flying to the desert for work every second week and the WA POLICE taking a tougher than ever approach to modified vehicles meant Big Red sat around garaged, laying dormant.

The Kill Rust paint i used to apply two very very heavy coats had faded since 2010.
Along with faded paint, i found a few sections of rust that had come back in the rear and around the rear quarter windows.
This meant I had 100% left Big Red too long without any love.

Boy did it look glorious back then!

This was the last picture i took before getting to work. With the Enkei HR 385’s and Delicious Red paint.
Still with S13 Lower control arms, 1982? Nissan Bluebird tierods and S13 Tein Coilovers / Hub / Knuckles.

Into the new “car port” at the home that Holly and I now own. Time to remove the rusted sections for good. Time to not use fibreglass and bog to cover everything as i did in the past.

Cutting into the boot was like ripping off a band-aid. It was something that i hoped i’d never have to do… however, to save bigred from being scrap in a few more years… it was time..
Large sections of metal pictured below were removed from the lip and rear quaters.
After i had completed the cutting, I felt good. I imagined Matt Capp would say “its the right thing to do” 
I asked my neighbour Bozz who runs a towing service and wrecking yard (BozzAutos) to grab me a random bonnet from his yard for new metal to cut and bend up and place in the gaps i’d cut earlier. This took a long time to measure and get correct. I always took the easy route by using fibreglass in the past so this was a different experience. However when getting it right it feels good! haha.

I continued doing a few small welds to keep them in place , after the pics below I ground them all back and make sure they were sealed and seated the best i could get them.

Again with the help of my neighbour Bozz we threw some bog (bondo) onto the sections needing repair. Its going to need more than this to look good !


During December, Holly Loch Morgan and I went to New Zealand for Xmas time. Such a beautiful place, So much adveture!
Was a much needed break from life and the life i lead in the Desert for work. Big thankyou to John and Sue for looking after us while we were over there ! 🙂


Many weeks later, i continued working towards making the two rear quaters as perfect as i could. Here is what around 2 weeks on and off work looks like. I think its pretty good for my first “more pro” repair… Cleaned up all areas, and applied two coats of isolator along with high build primer.


I then got to work on the sanding portion of this big adventure. The part i really was NOT looking forward to. After 4 years of long hot summers and the KillRust paint baking into the car, i knew it was going to be a mission to remove.
I purchased 20 x 80 Grit and 20 x 140 Grit sanding pads for my Orbital sander. I went through every single one and then some. It was extremely tiring and hard, i think i spent a total of 65 – 70 hours sanding.
Was it worth painting in RustKill ? I guess so, if you dont have much money, you have some sort of control when spraypainting and you have somewhere to do it.


Sometimes during my quiet and lonely evenings in the desert at work, when Facebook sux and so does TV , I like to search “Gumtree” which is Australias free forsale listings (Similar to “Craigslist” in the USA)
One evening i found a GZ10. Painted Purple with a big OST sticker on the rear window.
This was a car owned by a member of one of the first car clubs i had ever had the fun of joining and crusing around with back when i had an RA65 Celica.
The car was way worse for wear 10 years later. Rust everywhere and the paint had come off multiple parts. However it DID have Kouki bumpers, doors, perfect window chrome trim and side mouldings. It also had a really nice and clean interior and a 1G-GE which had been serviced with what looks to be a new head. I contacted the lady owner who used to work at the racetrack we drift at she was happy to sell. I picked it up for a good price and Bozz helped me drag it home with his trailer.

I removed the bumpers, doors and the side mouldings to install on the MZ11. To my suprise, everything matched up just fine. This time, sanding them was a breeze as it appeared to be only Acrylic paint on these parts! haha.
I love the look of the Kouki bumpers and side mouldings. The doors were a huge score, as mine contained a fair amount of rust at the top and inside the base of the doors. The new (purple) doors are pefectly clean. A simple loom swap from GZ10 to MZ11 inside the door is all that was needed before bolting them up (Thanks Morgan for helping!)
I feel im getting closer to paint now which is very exciting!!! Im wanting to do a white and red two tone. Classic style, but reversed.


Along this journey of rebuilding i also picked up a nice set of SSR – Formula Mesh in 14×8.5j -10 and 14x9j -12 and a new front chinsupo!  from Yahoo Auctions !
(Thanks Jesse !!)

Also, to finally remove the binding S13 setup ive had for so long, BC Coilovers for MX73!!

More to come…..